> ## Documentation Index
> Fetch the complete documentation index at: https://orgo.space/docs/llms.txt
> Use this file to discover all available pages before exploring further.
# Custom Fields
> Create organization-specific data fields for profiles, registration, and applications
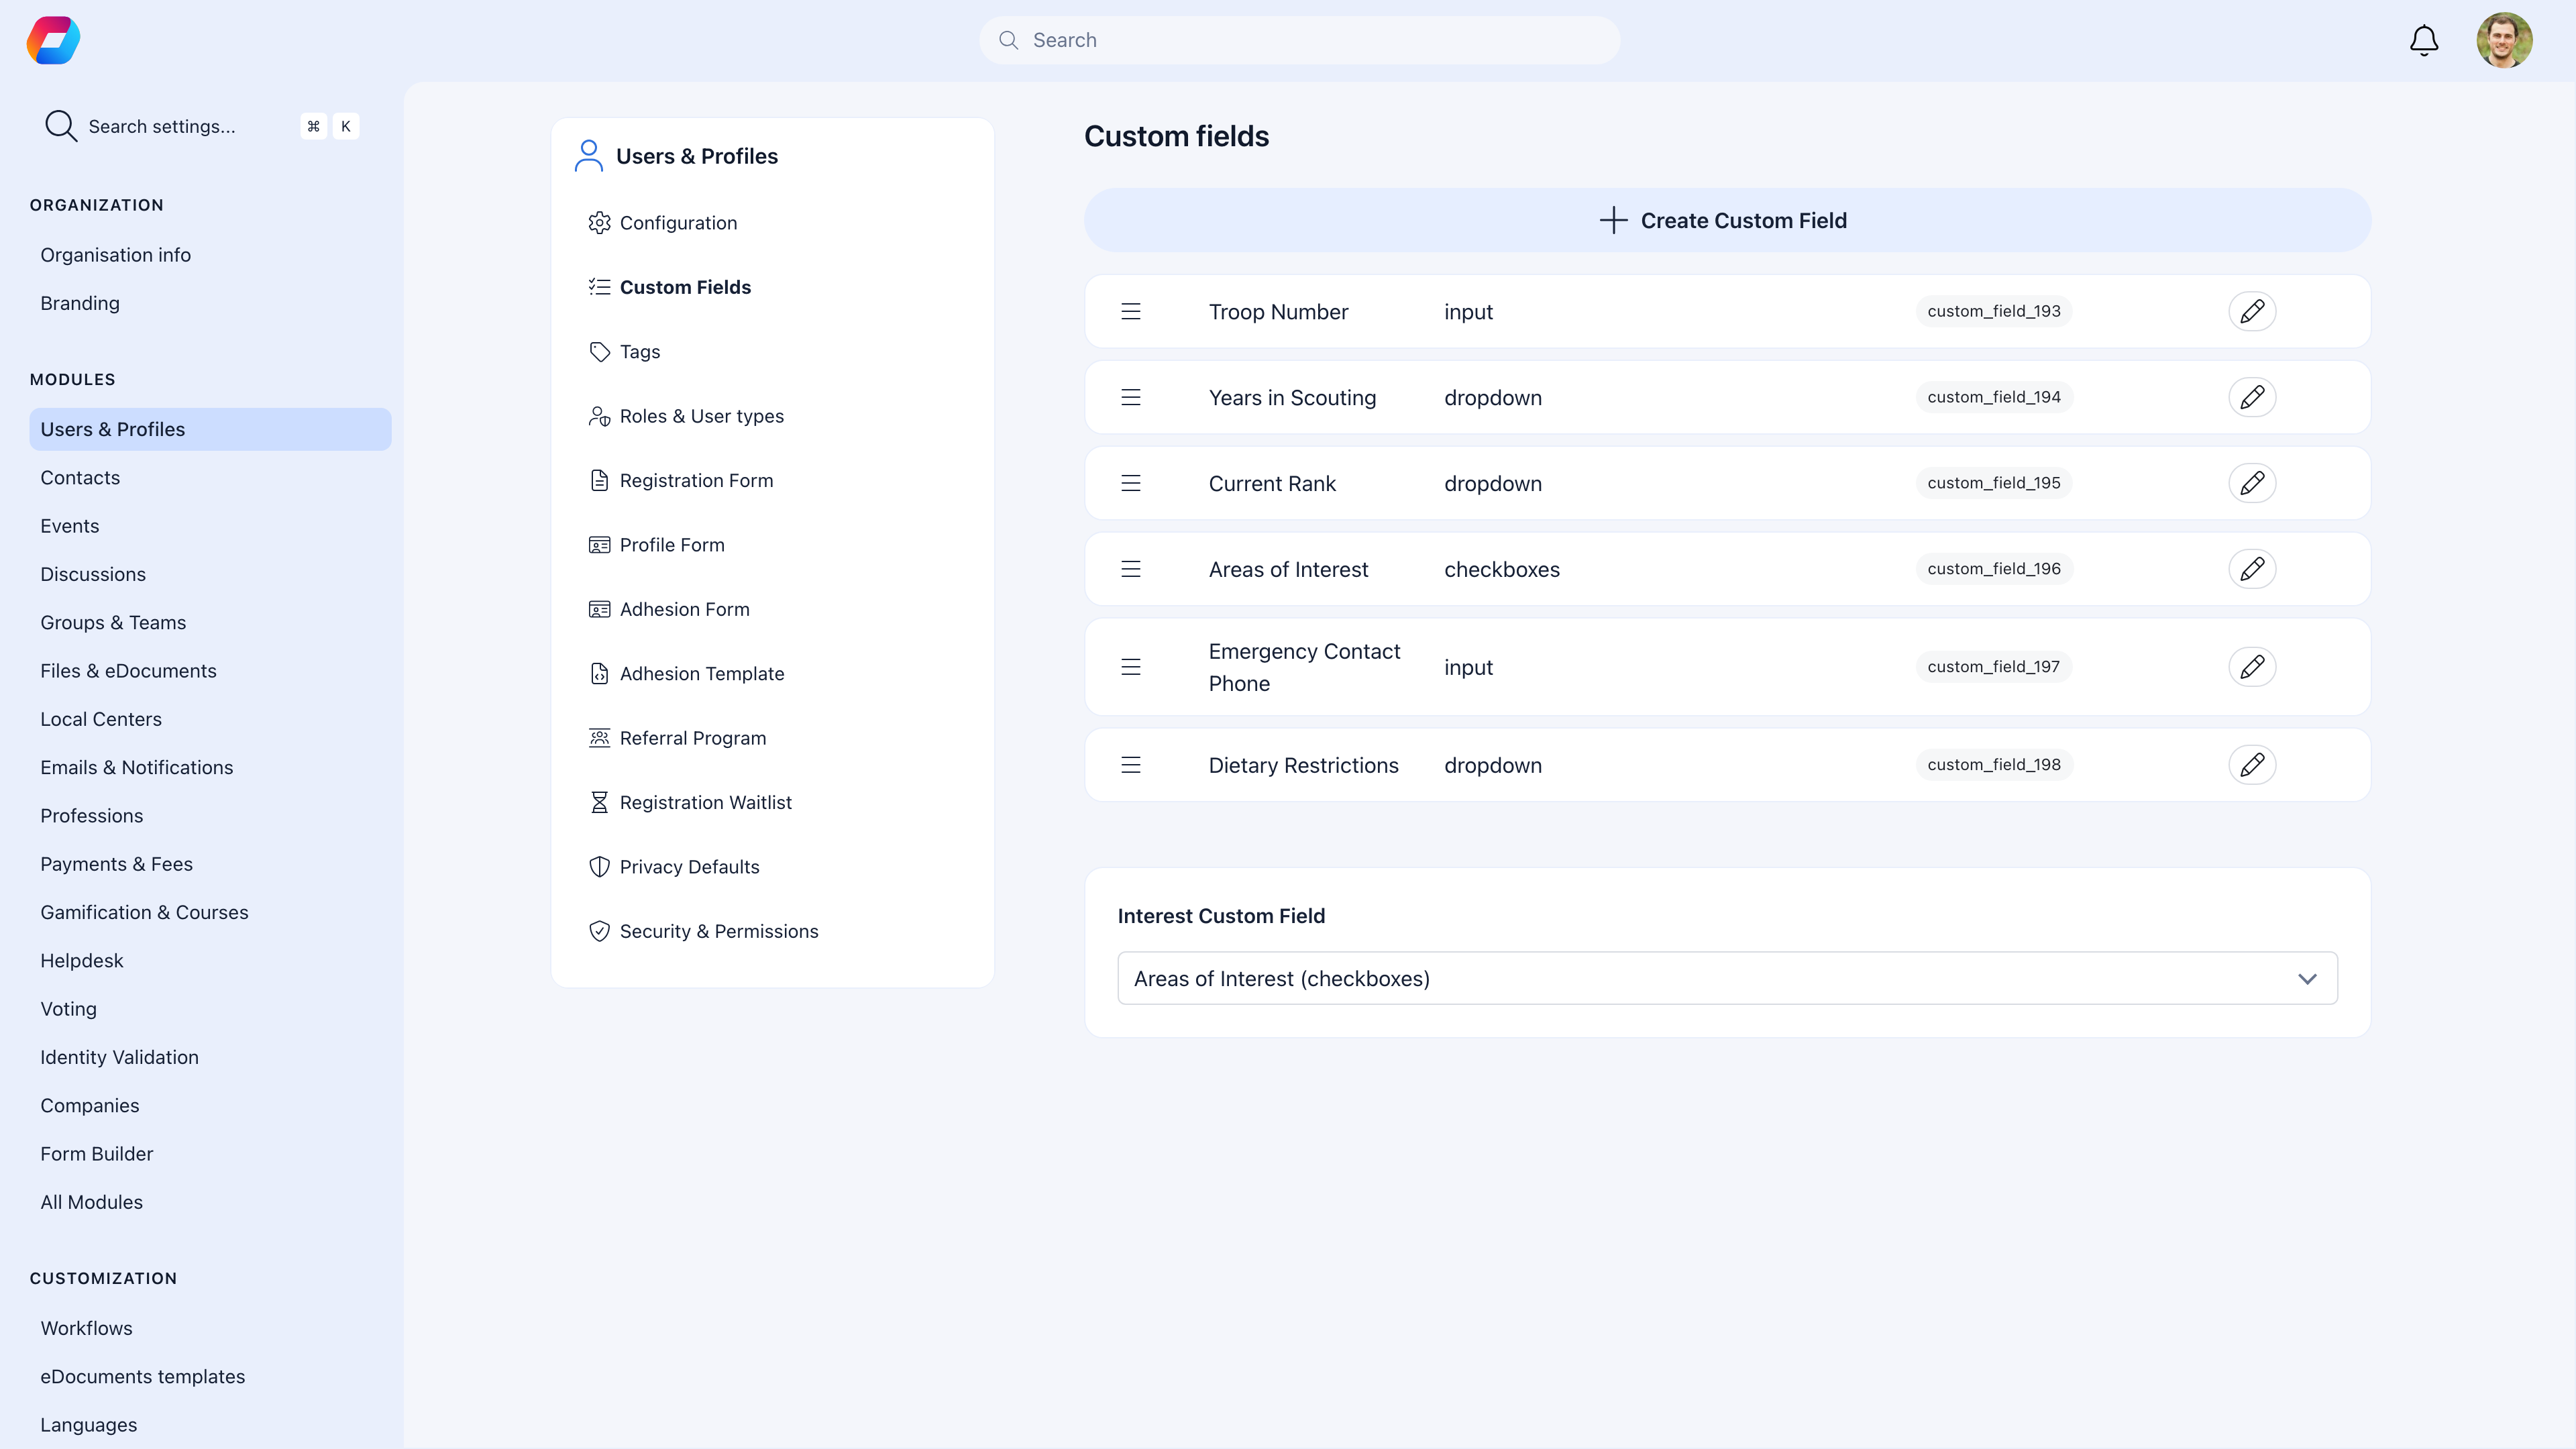
Custom Fields let you capture information that doesn't exist in Orgo's standard field set. Emergency contact, T-shirt size, license number, dietary restrictions — whatever your organization needs to track about members.
 ***
## How to access
**Settings** → **Users & Profiles** → **Custom Fields**
***
## Creating a custom field
Go to **Settings** → **Custom Fields** → **Create Custom Field**.
Pick the type that matches your data. See the field types table below.
**Name** is what members see as the label. **Description** appears as help text below the field — use it to explain what you're asking for.
Enter each option on a new line.
Toggle **Admin only** if this field should be hidden from members and only visible to administrators.
After creating the field, go to [Registration Form](/platform/users/registration-form) and/or [Profile Fields](/platform/users/profile-fields) to enable it where you need it.
***
## Field types
| Type | Best for | Example |
| ---------------- | -------------------------------------- | ----------------------------------------- |
| **Text** | Short single-line values | Membership Number, Emergency Contact |
| **Textarea** | Longer text, descriptions | Skills, Bio, Medical Notes |
| **Number** | Numeric values you might sum or filter | Years of Experience, Age at Joining |
| **Date** | Calendar dates | Certification Expiry, Join Date |
| **Select** | One option from a list | Department, Region, Skill Level |
| **Multi-select** | Multiple options from a list | Interests, Languages Spoken, Committees |
| **Checkbox** | Yes/No | Newsletter Opt-in, Volunteer Availability |
| **URL** | Web links | Portfolio, Personal Website |
| **Email** | Email addresses | Secondary Email, Work Email |
***
## Where custom fields appear
After creating a field, you choose where it's used:
| Location | How to enable | What happens |
| --------------------- | ----------------------------------------------------------------------------------------- | ----------------------------------------------- |
| **Registration Form** | Go to [Registration Form](/platform/users/registration-form) → find the field → toggle on | New members see it during sign-up |
| **Profile Fields** | Go to [Profile Fields](/platform/users/profile-fields) → find the field → toggle on | Members can fill it on their profile page |
| **Adhesion Form** | Go to [Adhesion](/platform/users/adhesion) form builder → find the field → toggle on | Applicants see it on the membership application |
On profile fields, you get additional options:
* **Required** — Triggers the [splash screen](/platform/users/profile-fields) on login if empty
* **Immutable** — Members can set it once, then only admins can change it
***
## Admin-only fields
Fields marked as **Admin Only** are invisible to members. Only administrators can see and edit them.
**Use admin-only fields for:**
* Internal notes about a member
* Admin-assigned categories or scores
* Verification status or approval notes
* Sensitive information that members shouldn't edit
***
## The Interest Custom Field
At the bottom of the custom fields list, you'll find the **Interest Custom Field** dropdown. Selecting a multi-select field here makes it the source for Orgo's interest-matching feature — members with overlapping interests are suggested as connections.
To set this up:
1. Create a multi-select custom field (e.g., "Interests" with options like Hiking, Photography, Cooking, etc.)
2. Enable it on Profile Fields so members can select their interests
3. Select it as the Interest Custom Field
***
## Tags
Tags are simpler than custom fields — they're labels that admins apply to member profiles for filtering and segmentation. Members don't see or edit tags themselves.
***
## How to access
**Settings** → **Users & Profiles** → **Custom Fields**
***
## Creating a custom field
Go to **Settings** → **Custom Fields** → **Create Custom Field**.
Pick the type that matches your data. See the field types table below.
**Name** is what members see as the label. **Description** appears as help text below the field — use it to explain what you're asking for.
Enter each option on a new line.
Toggle **Admin only** if this field should be hidden from members and only visible to administrators.
After creating the field, go to [Registration Form](/platform/users/registration-form) and/or [Profile Fields](/platform/users/profile-fields) to enable it where you need it.
***
## Field types
| Type | Best for | Example |
| ---------------- | -------------------------------------- | ----------------------------------------- |
| **Text** | Short single-line values | Membership Number, Emergency Contact |
| **Textarea** | Longer text, descriptions | Skills, Bio, Medical Notes |
| **Number** | Numeric values you might sum or filter | Years of Experience, Age at Joining |
| **Date** | Calendar dates | Certification Expiry, Join Date |
| **Select** | One option from a list | Department, Region, Skill Level |
| **Multi-select** | Multiple options from a list | Interests, Languages Spoken, Committees |
| **Checkbox** | Yes/No | Newsletter Opt-in, Volunteer Availability |
| **URL** | Web links | Portfolio, Personal Website |
| **Email** | Email addresses | Secondary Email, Work Email |
***
## Where custom fields appear
After creating a field, you choose where it's used:
| Location | How to enable | What happens |
| --------------------- | ----------------------------------------------------------------------------------------- | ----------------------------------------------- |
| **Registration Form** | Go to [Registration Form](/platform/users/registration-form) → find the field → toggle on | New members see it during sign-up |
| **Profile Fields** | Go to [Profile Fields](/platform/users/profile-fields) → find the field → toggle on | Members can fill it on their profile page |
| **Adhesion Form** | Go to [Adhesion](/platform/users/adhesion) form builder → find the field → toggle on | Applicants see it on the membership application |
On profile fields, you get additional options:
* **Required** — Triggers the [splash screen](/platform/users/profile-fields) on login if empty
* **Immutable** — Members can set it once, then only admins can change it
***
## Admin-only fields
Fields marked as **Admin Only** are invisible to members. Only administrators can see and edit them.
**Use admin-only fields for:**
* Internal notes about a member
* Admin-assigned categories or scores
* Verification status or approval notes
* Sensitive information that members shouldn't edit
***
## The Interest Custom Field
At the bottom of the custom fields list, you'll find the **Interest Custom Field** dropdown. Selecting a multi-select field here makes it the source for Orgo's interest-matching feature — members with overlapping interests are suggested as connections.
To set this up:
1. Create a multi-select custom field (e.g., "Interests" with options like Hiking, Photography, Cooking, etc.)
2. Enable it on Profile Fields so members can select their interests
3. Select it as the Interest Custom Field
***
## Tags
Tags are simpler than custom fields — they're labels that admins apply to member profiles for filtering and segmentation. Members don't see or edit tags themselves.
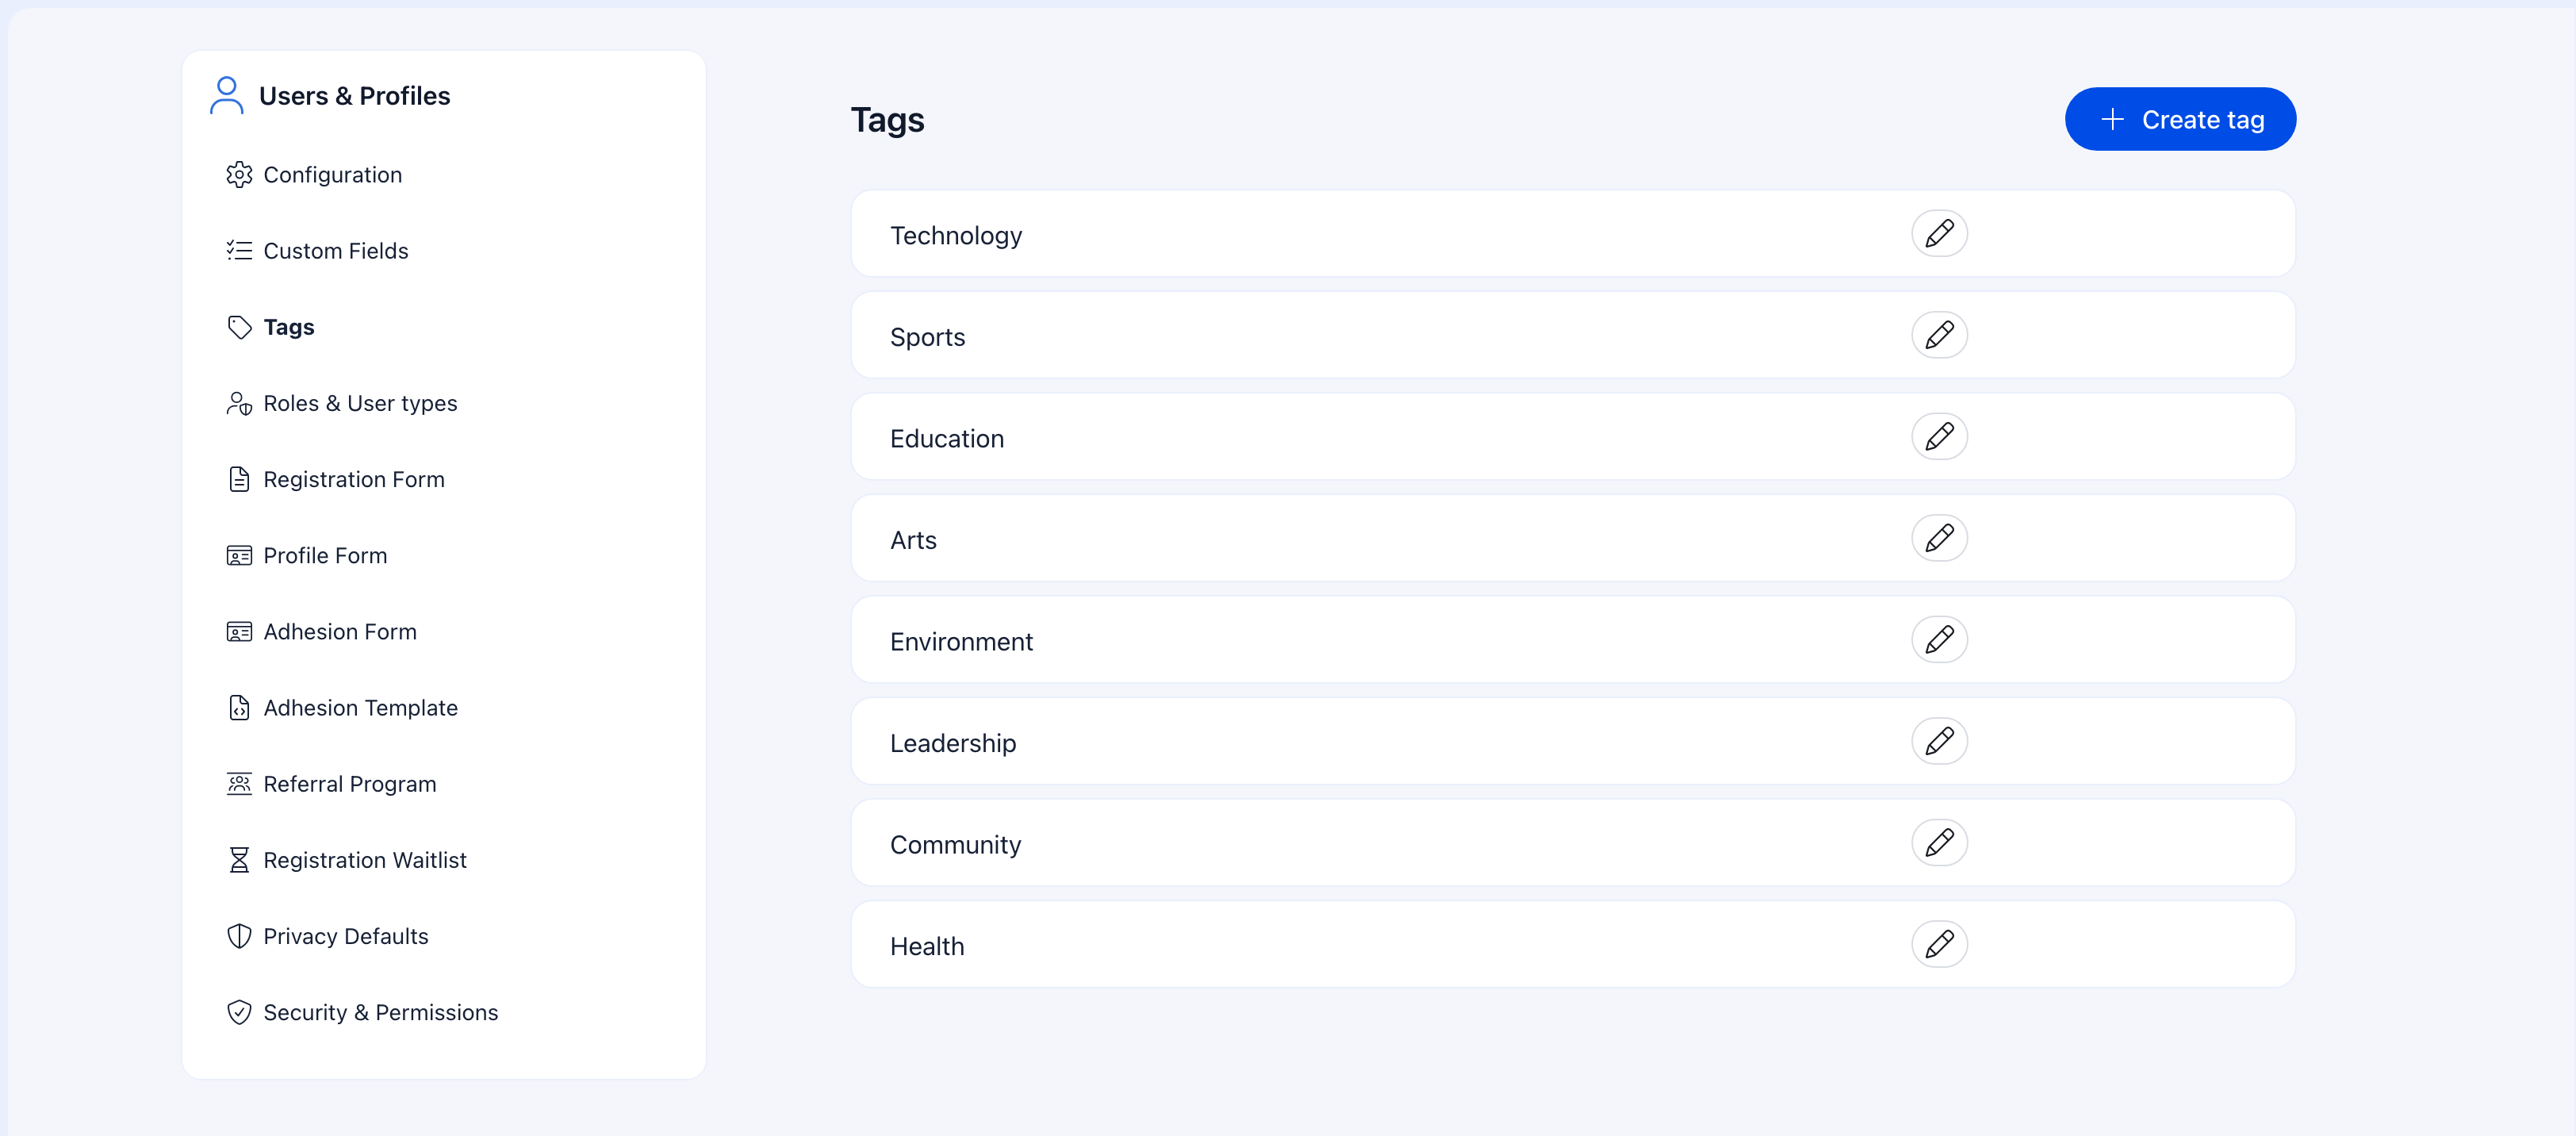 The tags management page shows all tags as a simple list. Each tag has a name and a color indicator. You can create, edit, or delete tags from this page. Tags are applied to user profiles by administrators and can be used to filter and segment the member directory.
Manage tags at **Settings** → **Users & Profiles** → **Tags**.
**Tags vs custom fields:** Use tags when admins need to categorize members (e.g., "VIP", "Needs Follow-up", "Founding Member"). Use custom fields when members need to provide information themselves (e.g., "T-Shirt Size", "Emergency Contact").
***
## Real-world examples
### Youth scouting organization
| Field | Type | Settings | Purpose |
| ----------------- | -------- | ------------------------ | ------------------------------------ |
| Scout ID | Text | Admin-only, Immutable | Official scout number assigned by HQ |
| Current Rank | Select | Required on profile | Eagle Scout, Star, Life, etc. |
| Parent Contact | Text | Required on registration | Emergency contact for minors |
| Allergies/Medical | Textarea | Admin-only | Medical information for events |
### Professional association
| Field | Type | Settings | Purpose |
| --------------- | ------------ | ------------------- | --------------------------------------- |
| License Number | Text | Required, Immutable | Professional license verification |
| Specializations | Multi-select | Required on profile | Areas of expertise for directory search |
| CPD Hours | Number | Admin-only | Continuing education tracking |
| Firm Name | Text | On registration | Current employer |
### Community group
| Field | Type | Settings | Purpose |
| -------------------------- | ------------ | -------------------- | -------------------------- |
| How did you hear about us? | Select | On registration only | Track acquisition channels |
| Dietary Restrictions | Multi-select | On profile | Event catering planning |
| T-Shirt Size | Select | On profile | Merchandise orders |
| Volunteer Availability | Checkbox | On profile | Who's available to help |
***
## Common scenarios
Create the custom field, enable it on [Profile Fields](/platform/users/profile-fields), and mark it as **Required**. Every member will see a splash screen on their next login prompting them to fill it out.
Create a **Select** field. You can edit the options at any time — go to Custom Fields, click Edit on the field, and modify the options list. Existing values aren't affected when you add or remove options.
Custom fields are either visible to all members or admin-only. If you need per-type visibility, the workaround is: create the field as admin-only, then have admins fill it out for the relevant members. Alternatively, use per-type [Registration Forms](/platform/users/registration-form) to collect type-specific data at sign-up.
Yes — use the drag handles in the custom fields list to reorder. The order here determines the display order on forms and profiles.
***
## Related
* [Registration Form](/platform/users/registration-form) — Enable custom fields on the sign-up form
* [Profile Fields](/platform/users/profile-fields) — Enable custom fields on member profiles
* [Adhesion](/platform/users/adhesion) — Include custom fields in membership applications
The tags management page shows all tags as a simple list. Each tag has a name and a color indicator. You can create, edit, or delete tags from this page. Tags are applied to user profiles by administrators and can be used to filter and segment the member directory.
Manage tags at **Settings** → **Users & Profiles** → **Tags**.
**Tags vs custom fields:** Use tags when admins need to categorize members (e.g., "VIP", "Needs Follow-up", "Founding Member"). Use custom fields when members need to provide information themselves (e.g., "T-Shirt Size", "Emergency Contact").
***
## Real-world examples
### Youth scouting organization
| Field | Type | Settings | Purpose |
| ----------------- | -------- | ------------------------ | ------------------------------------ |
| Scout ID | Text | Admin-only, Immutable | Official scout number assigned by HQ |
| Current Rank | Select | Required on profile | Eagle Scout, Star, Life, etc. |
| Parent Contact | Text | Required on registration | Emergency contact for minors |
| Allergies/Medical | Textarea | Admin-only | Medical information for events |
### Professional association
| Field | Type | Settings | Purpose |
| --------------- | ------------ | ------------------- | --------------------------------------- |
| License Number | Text | Required, Immutable | Professional license verification |
| Specializations | Multi-select | Required on profile | Areas of expertise for directory search |
| CPD Hours | Number | Admin-only | Continuing education tracking |
| Firm Name | Text | On registration | Current employer |
### Community group
| Field | Type | Settings | Purpose |
| -------------------------- | ------------ | -------------------- | -------------------------- |
| How did you hear about us? | Select | On registration only | Track acquisition channels |
| Dietary Restrictions | Multi-select | On profile | Event catering planning |
| T-Shirt Size | Select | On profile | Merchandise orders |
| Volunteer Availability | Checkbox | On profile | Who's available to help |
***
## Common scenarios
Create the custom field, enable it on [Profile Fields](/platform/users/profile-fields), and mark it as **Required**. Every member will see a splash screen on their next login prompting them to fill it out.
Create a **Select** field. You can edit the options at any time — go to Custom Fields, click Edit on the field, and modify the options list. Existing values aren't affected when you add or remove options.
Custom fields are either visible to all members or admin-only. If you need per-type visibility, the workaround is: create the field as admin-only, then have admins fill it out for the relevant members. Alternatively, use per-type [Registration Forms](/platform/users/registration-form) to collect type-specific data at sign-up.
Yes — use the drag handles in the custom fields list to reorder. The order here determines the display order on forms and profiles.
***
## Related
* [Registration Form](/platform/users/registration-form) — Enable custom fields on the sign-up form
* [Profile Fields](/platform/users/profile-fields) — Enable custom fields on member profiles
* [Adhesion](/platform/users/adhesion) — Include custom fields in membership applications