What you can do
Create Events
Build events with dates, locations, hero images, speakers, and custom registration fields.
Sell Tickets & Addons
Multiple ticket tiers with max seats, optional addons (lunch, workshops, parking) with their own capacity limits, early bird pricing, and Stripe checkout.
Public Event Pages
Every event gets a shareable URL — branded, mobile-friendly, embeddable on your website.
QR Code Check-in
Every ticket gets a unique QR code. Scan at the door to check people in instantly — see their name, ticket type, payment status, and addons.
The event lifecycle
Every event follows the same flow, whether it’s a 10-person committee meeting or a 500-person conference:Create
Fill in details: title, dates, location (or online link), description, hero image. Choose which group is hosting it.
Configure registration
Set up tickets (free or paid), capacity limits, registration fields, and deadlines. Or skip this for info-only events.
Publish
Move from draft to live. The event appears in calendars, members get notified, and the public page becomes shareable.
Manage registrations
Track who signed up, send reminders, process waitlists, invite specific members, handle cancellations.
Managing your event
Once you create an event, it gets its own management area with a sidebar navigation. Each section handles a different aspect of the event: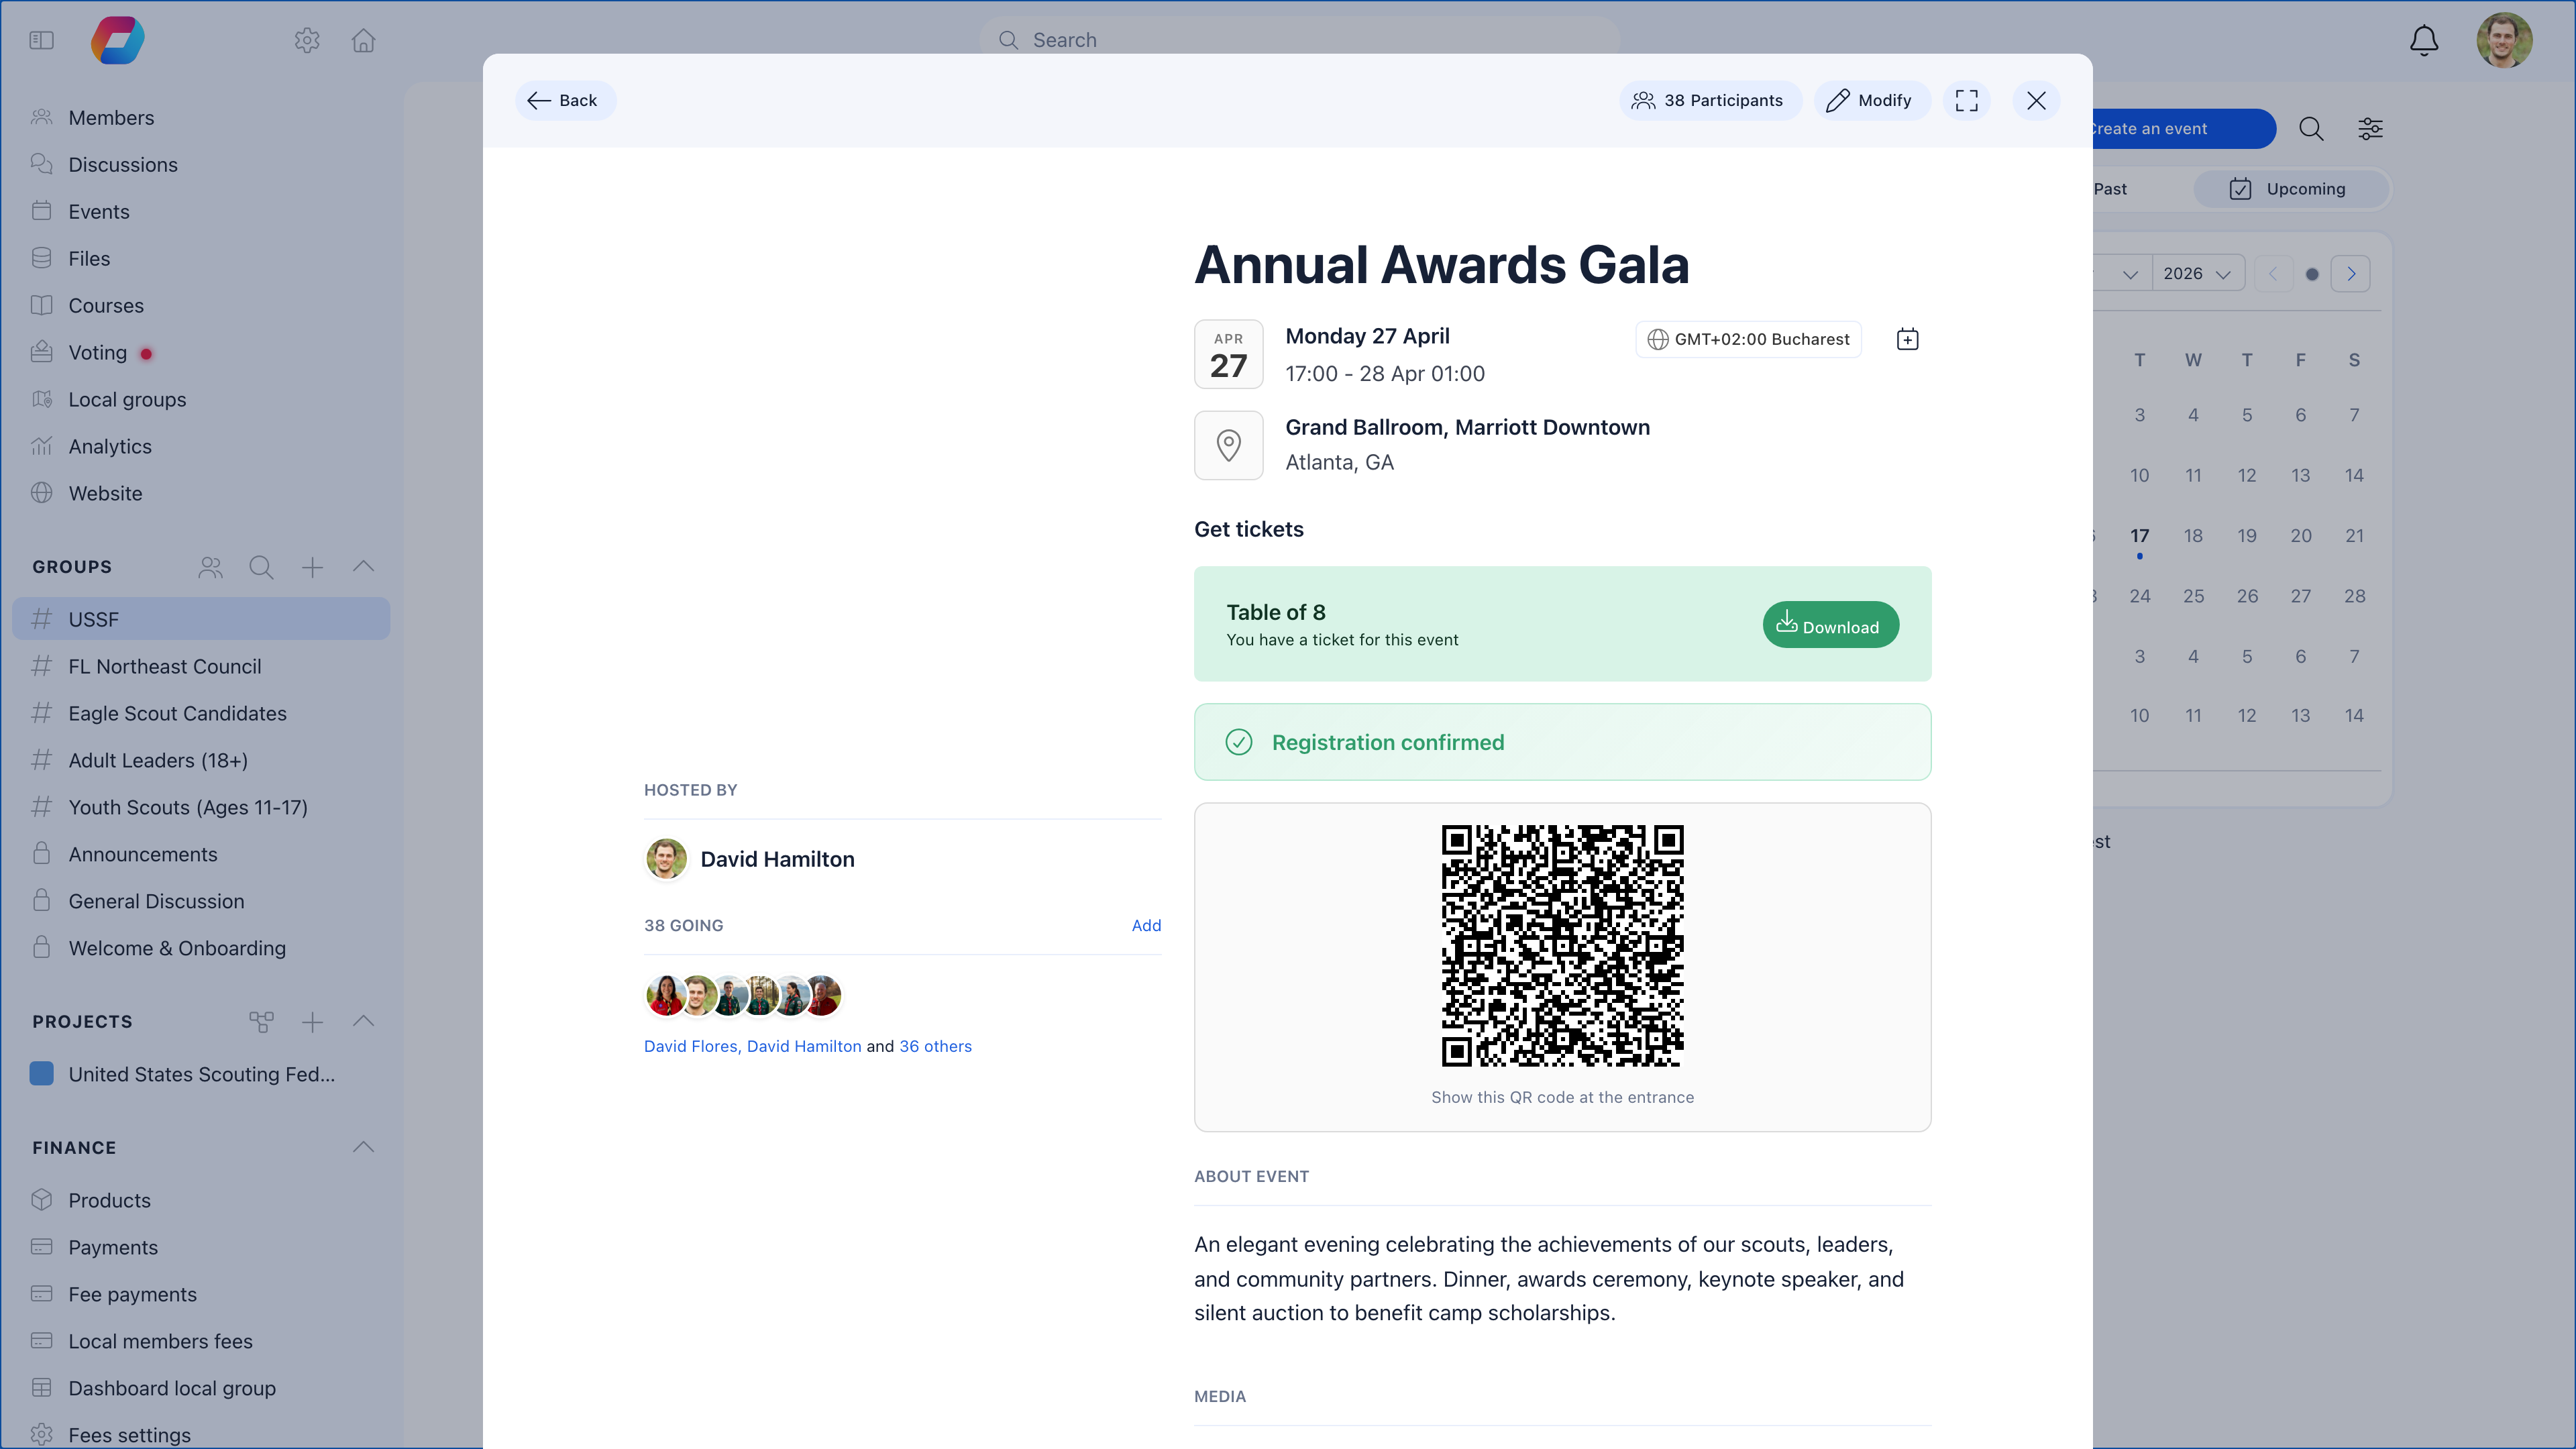
| Section | What it does |
|---|---|
| View event | The event detail page — title, date, location, description, ticket selection, and list of who’s going |
| Participants | Full attendee table with RSVP status (Attending, Attended, Not attending, Maybe), ticket type, town, and export. Invite participants, check people in, and manage the waitlist from here. |
| Speakers | Add internal members or external contacts as event speakers — displayed on the event page with photo, name, and headline |
| Tickets | Configure ticket types with prices, seat limits, and availability dates. Add optional addons (lunch, workshops, parking) with their own capacity. |
| Payments | All ticket orders — see who paid, refund orders, filter by status (Paid, Refunded). |
| Messages | Send targeted emails to event registrants — reminders, updates, logistics, or post-event follow-ups |
| Landing page | Preview and share the public event page — the branded, mobile-friendly URL that non-members can access |
| Modify | Edit event details, dates, location, registration settings, and page customization |
Setting up the Events module
Settings → Events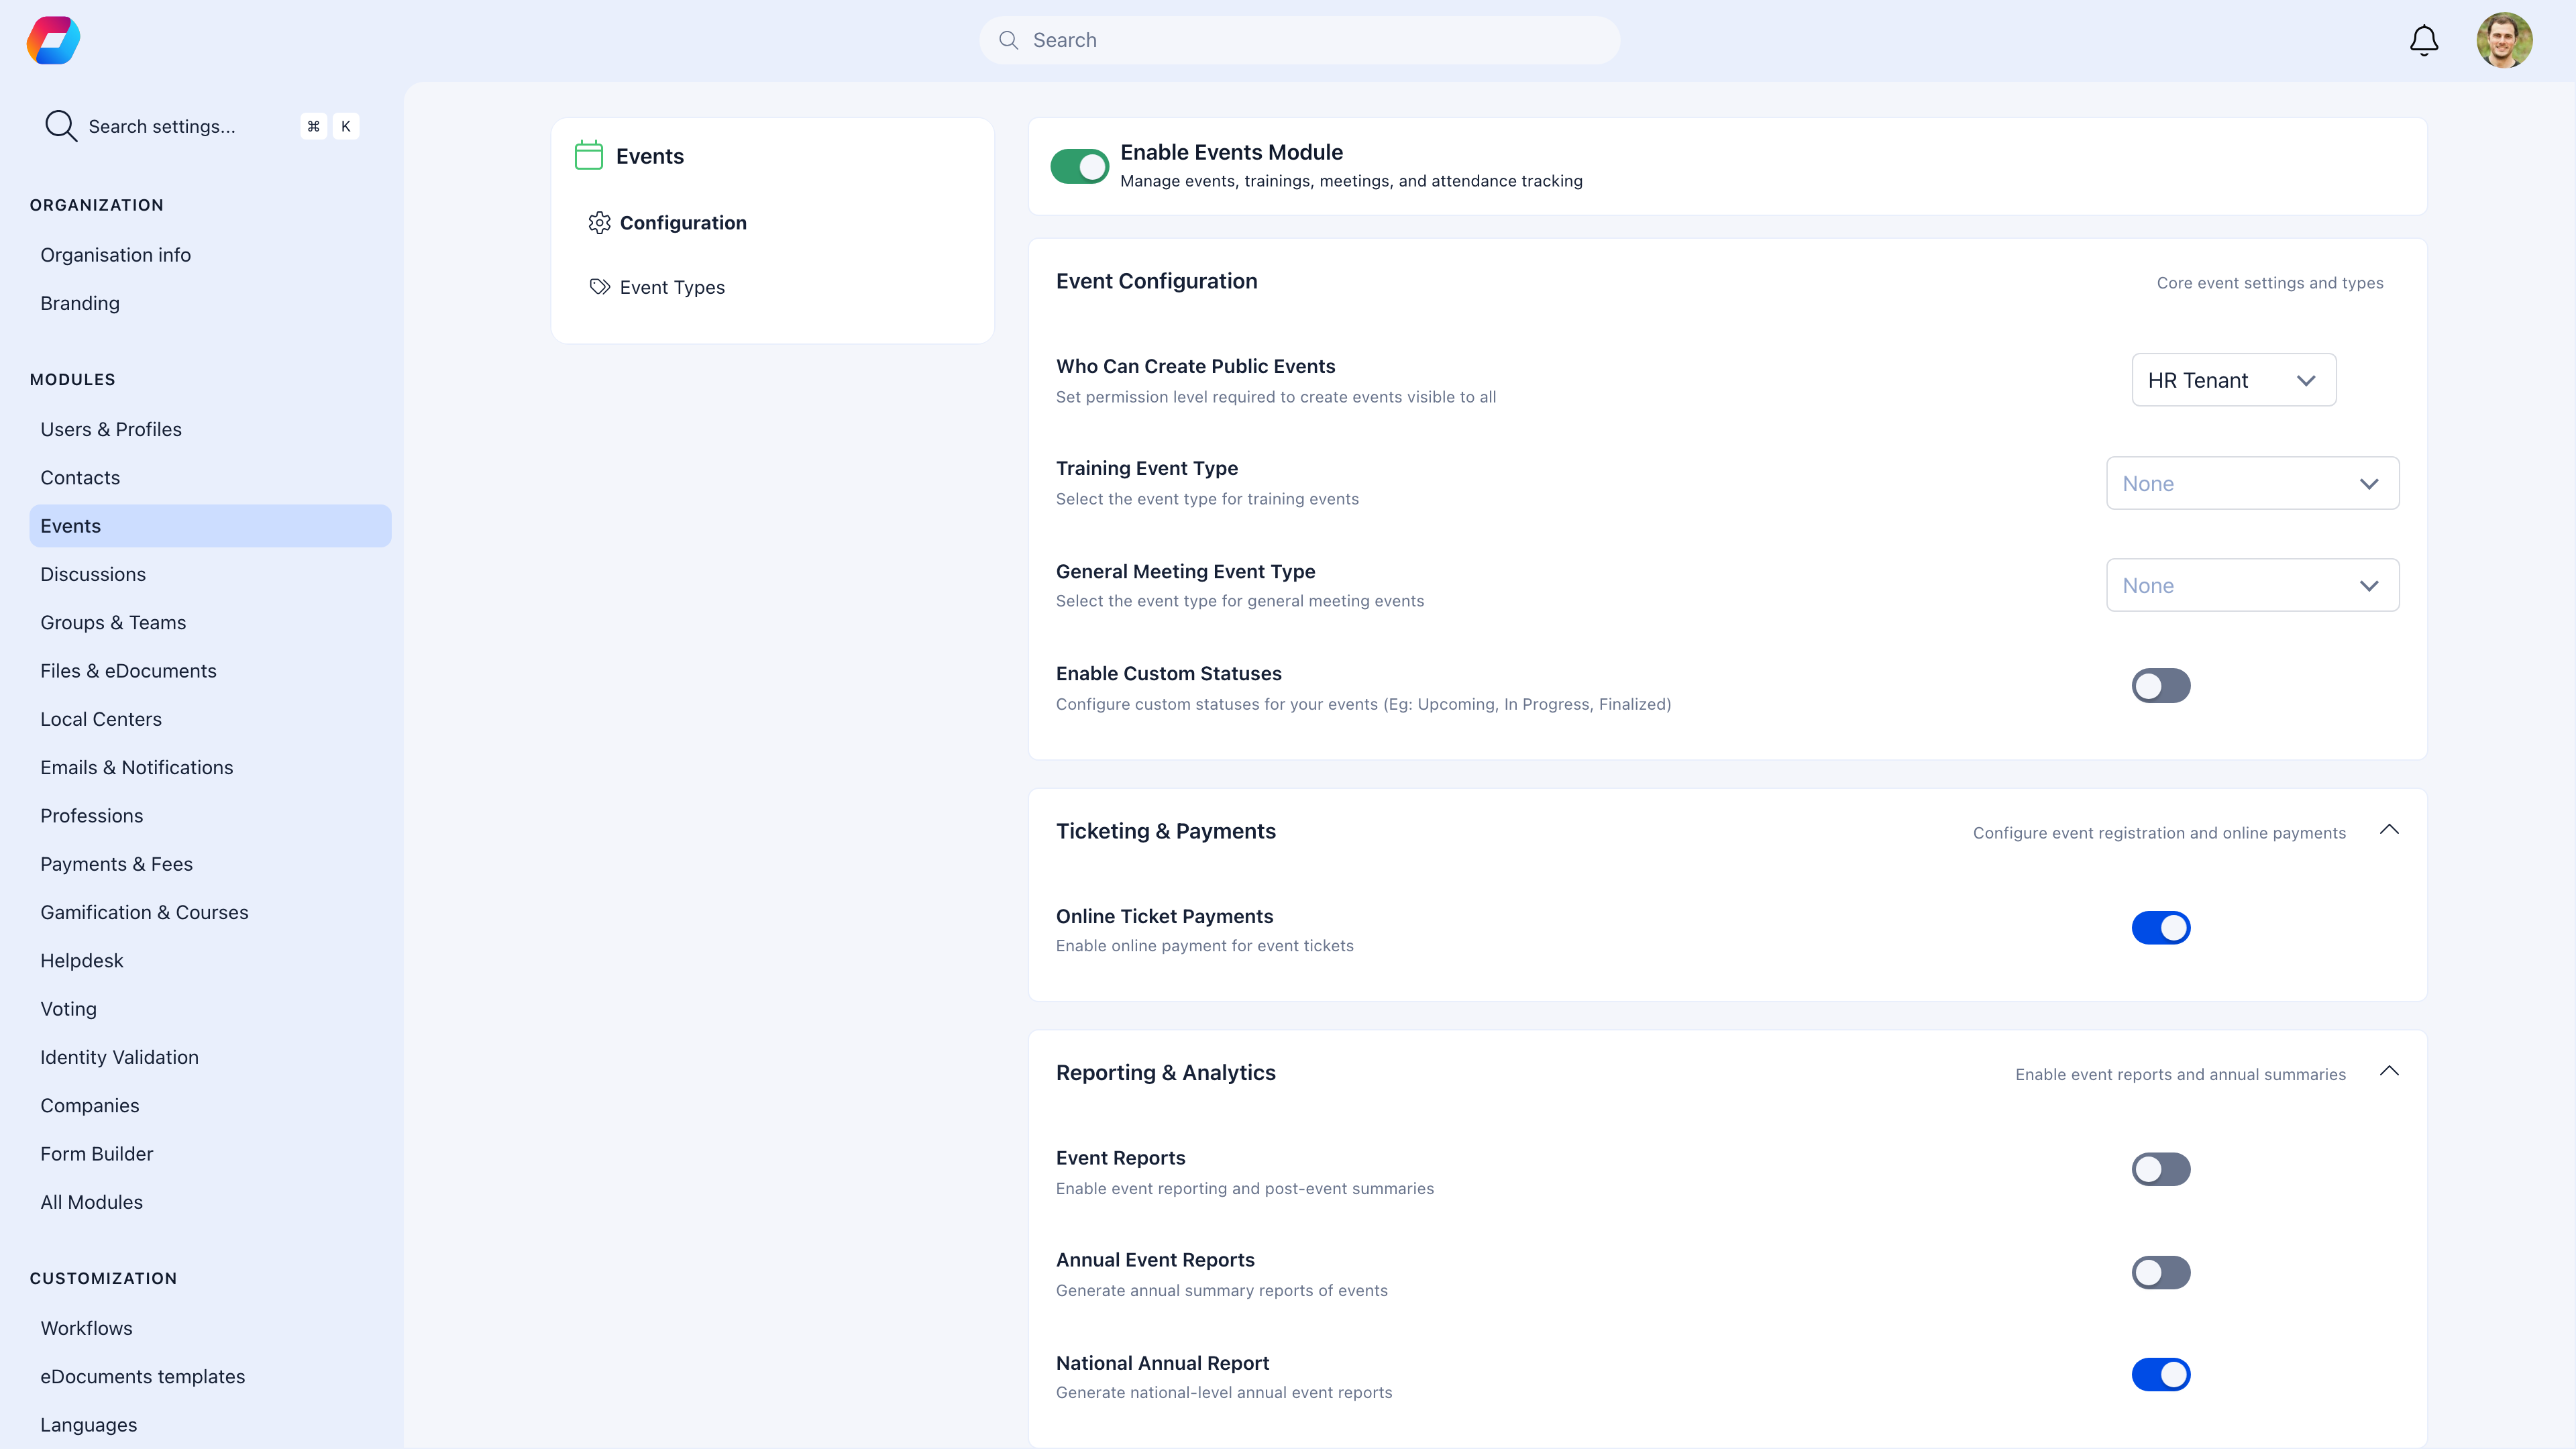
| Setting | What it does | Recommendation |
|---|---|---|
| Who can create public events | Permission level required to create events visible outside the org | Start with admins only, expand later |
| Online ticket payments | Enable Stripe checkout for paid events | Enable if you sell tickets — requires Stripe setup first |
| Attendance reminders | Auto-remind hosts to record attendance 24h after event | Enable — solves the “forgot to check people in” problem |
| SDG tagging | Tag events with UN Sustainable Development Goals | Enable if your org tracks impact alignment |
| Bulk invites | Send invitations to all group members at once | Enable for most organizations |
| Propagate to Local Centers | Copy a national event to all local centers | Enable if you have a federated structure where the same event runs locally |
Event types
Before creating events, set up Event Types to categorize them. This makes filtering and reporting much more useful.Where events live
Events belong to groups. When you create an event, you choose which group hosts it:| Where you create it | Who sees it |
|---|---|
| Main Group | All members — use for org-wide events (AGM, annual conference) |
| Local Center | Members of that center — use for chapter meetings, local meetups |
| Private Group | Group members only — use for team meetings, committee sessions |
| Public event | Anyone with the link — use for open events, fundraisers, public workshops |
Common setups by organization type
Youth scouting organization
| Event type | Ticket? | Public? | Typical frequency |
|---|---|---|---|
| Troop meeting | No (RSVP) | Members only | Weekly |
| Camp/retreat | Paid tickets | Members only | Quarterly |
| Training course | Free/paid | Members only | Monthly |
| Annual conference | Paid tickets | Public page | Yearly |
| Fundraiser gala | Paid tickets | Public page | Yearly |
Professional association
| Event type | Ticket? | Public? | Typical frequency |
|---|---|---|---|
| Networking event | Free RSVP | Members only | Monthly |
| Annual conference | Paid tickets | Public page | Yearly |
| Webinar | Free RSVP | Public page | Bi-weekly |
| Board meeting | No registration | Private group | Quarterly |
| AGM | Free RSVP | Members only | Yearly |
Community group
| Event type | Ticket? | Public? | Typical frequency |
|---|---|---|---|
| Monthly meetup | Free RSVP | Members only | Monthly |
| Workshop | Free/paid | Public page | Occasional |
| Social outing | Free RSVP | Members only | Occasional |
| AGM | Free RSVP | Members only | Yearly |
Common scenarios
I need to sell tickets for a conference — where do I start?
I need to sell tickets for a conference — where do I start?
First, set up Stripe if you haven’t already. Then create an event, enable ticketing, create ticket types with prices (early bird, regular, VIP, member discount), set capacity, and publish. Each registrant pays via Stripe checkout and receives a QR code ticket by email.
I want a simple RSVP event — no tickets, no payment
I want a simple RSVP event — no tickets, no payment
Create an event, enable “Attendable” but don’t enable ticketing. Members can RSVP directly. Set a capacity limit if the venue has one. This works well for meetups, workshops, and internal meetings.
I need to run the same event in every local center
I need to run the same event in every local center
Use Propagate to Local Centers (enable in module settings). Create the event once in the Main Group, then propagate it — a copy is created in each Local Center. Local admins can then adjust their copy (time, venue) for their area.
Members keep registering but not showing up
Members keep registering but not showing up
Enable attendance reminders so hosts remember to check people in. After the event, mark no-shows. Over time, this data helps you: (1) set realistic capacity (aim for 70-80% of registrations), (2) send reminder emails before the event, (3) use waitlists so spots don’t go to waste.
Related
- Create Event — Step-by-step event creation
- Event Types — Categorize your events
- Ticketing — Free and paid ticket setup
- Public Event Pages — Shareable, branded event pages
- Attendance — Check-in and tracking