The member lifecycle
Every member goes through a journey in your organization. Understanding this lifecycle helps you decide which features to enable and how to configure them.| Stage | What happens | Features involved |
|---|---|---|
| Discover | Someone learns about your organization and wants to join | Invitations, Referral Program, Waitlist |
| Register | They fill out a form and create an account | Registration Form, User Types |
| Get approved | Depending on your settings, they may need admin approval before they can participate | Adhesion, User Statuses, Identity Validation |
| Participate | They’re an active member — they fill out their profile, take on roles, join events, connect with others | Profile Fields, User Types & Roles, Custom Fields, Privacy Settings, Family Members |
| Depart | They leave the organization, either voluntarily or by admin action | Resignation, Account Deletion, User Statuses |
What you see on a member’s profile
Click any member to open their full profile. Tabs give you quick access to everything about that person: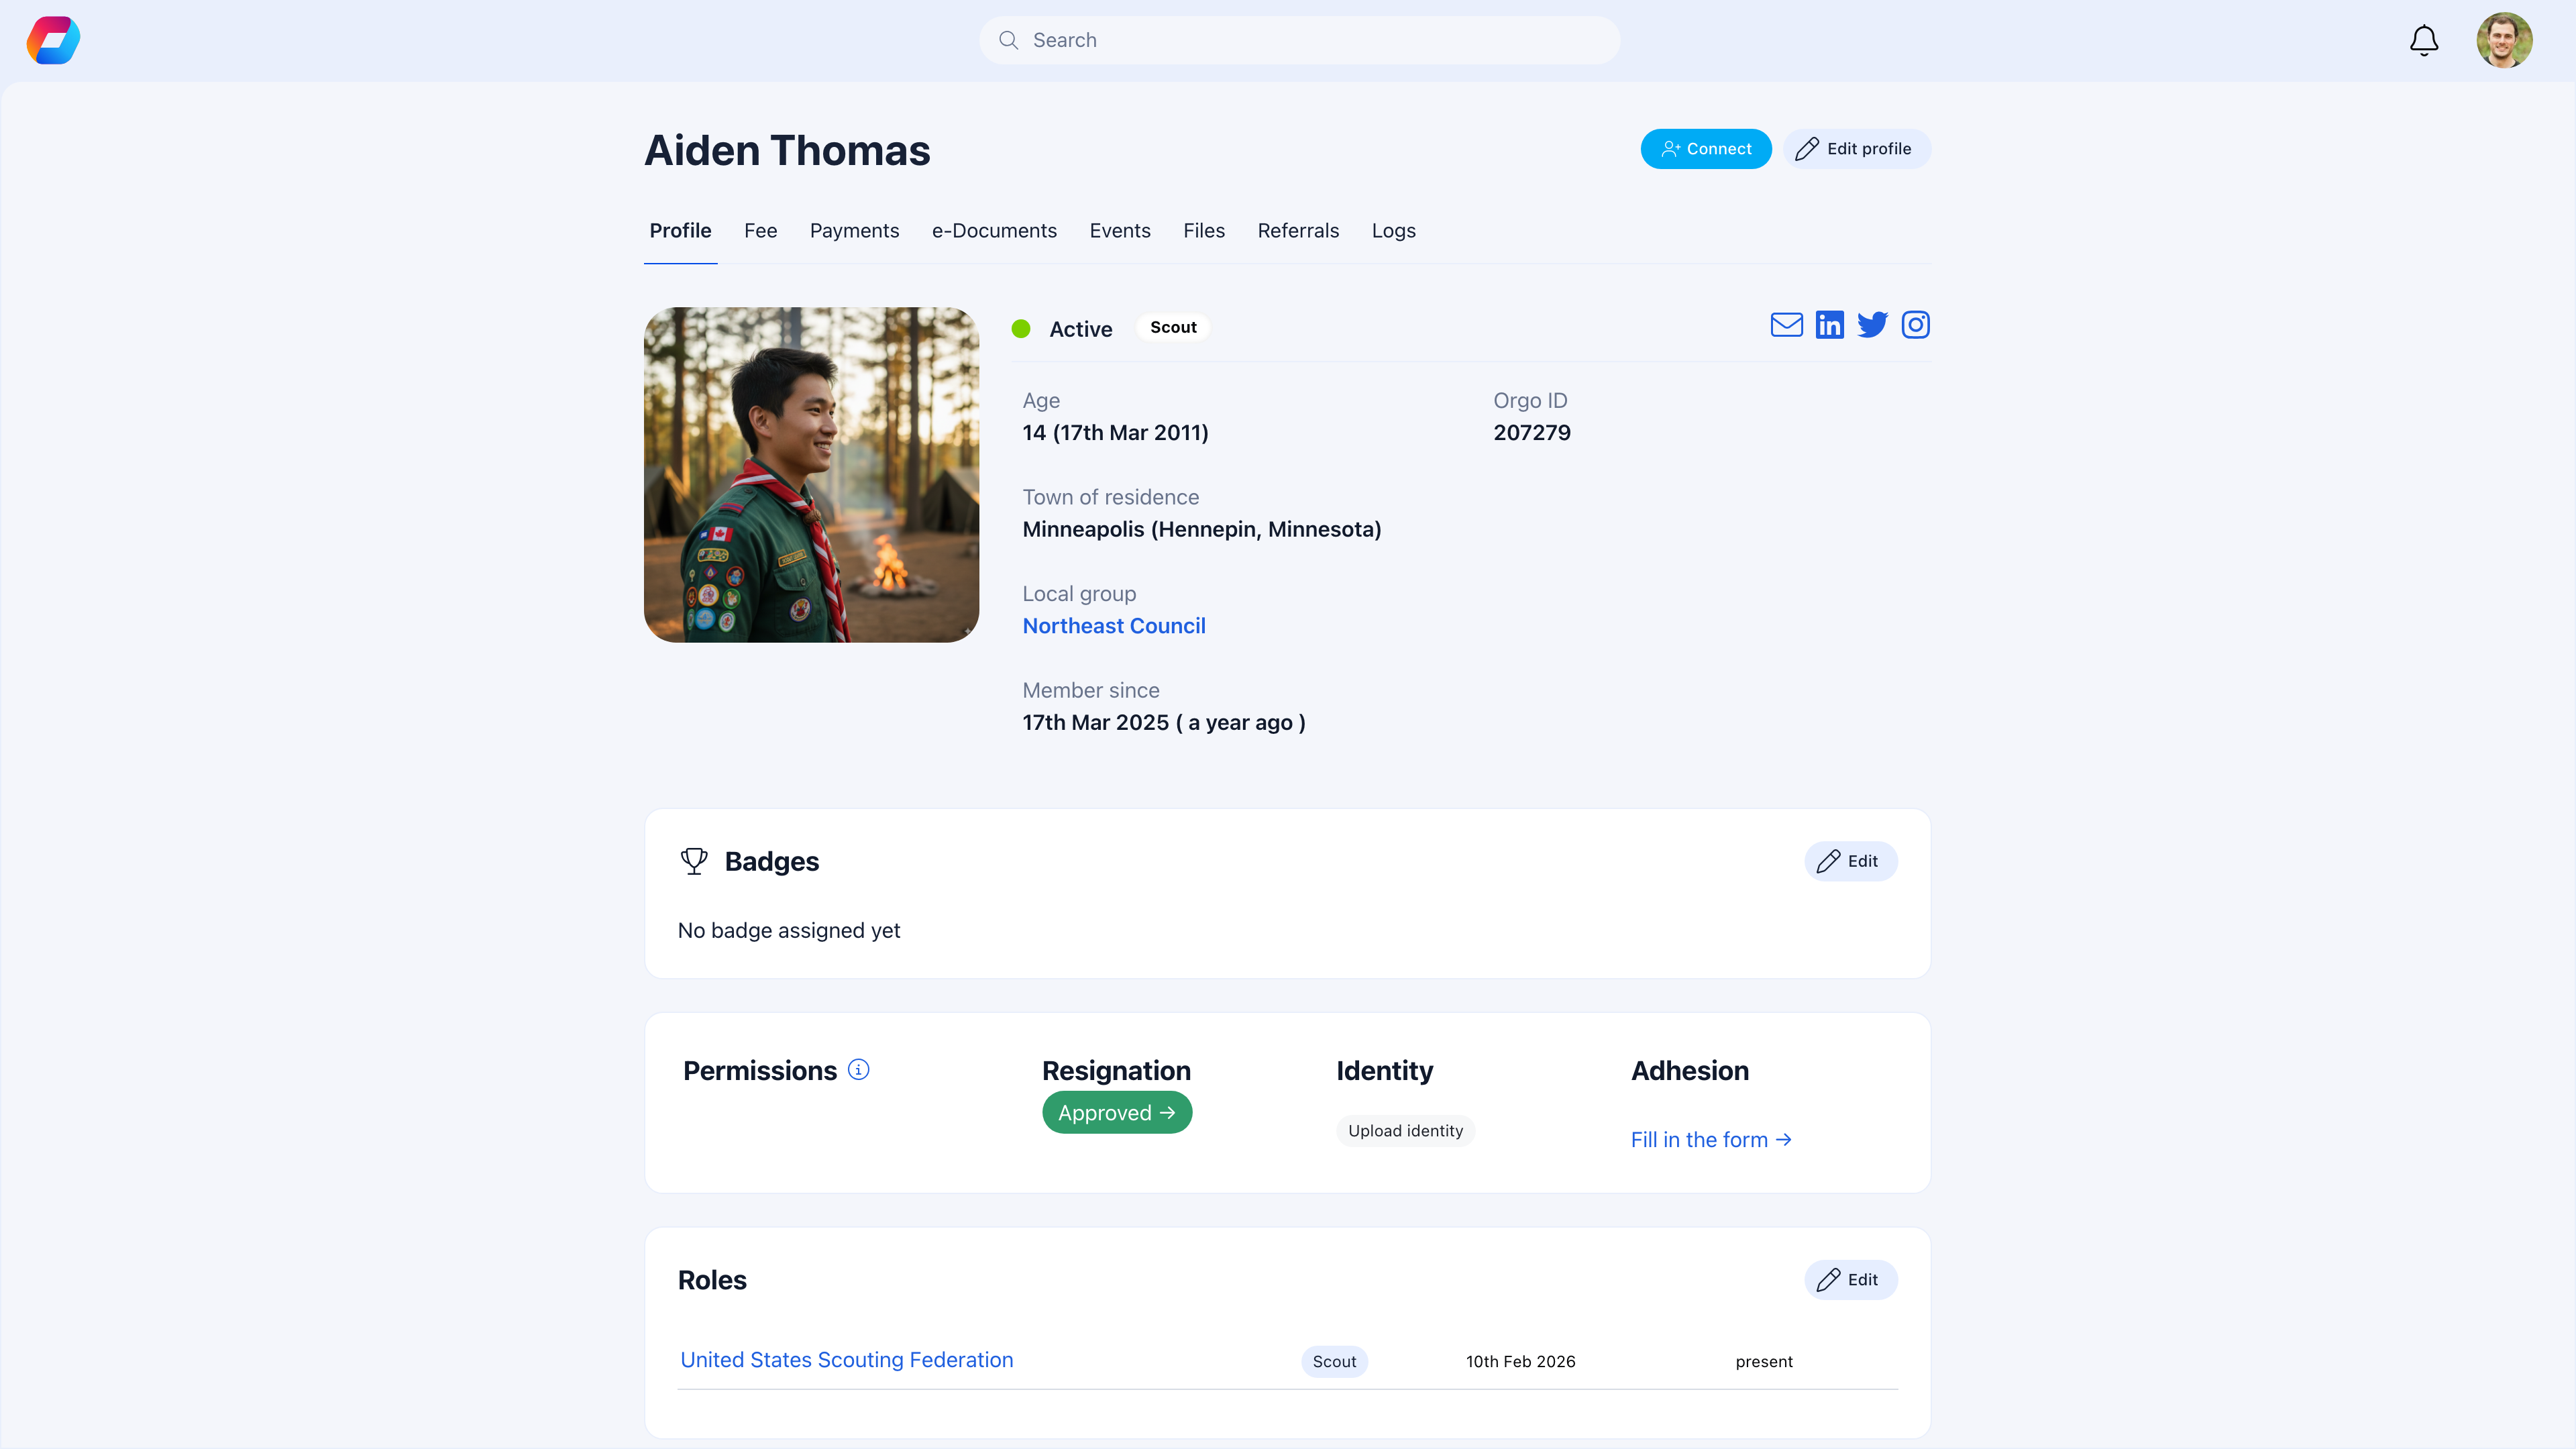
| Tab | What’s there |
|---|---|
| Profile | Personal details, status, user type, badges, permissions, roles, and social links |
| Fee | Current fee level, payment periods, and fee history |
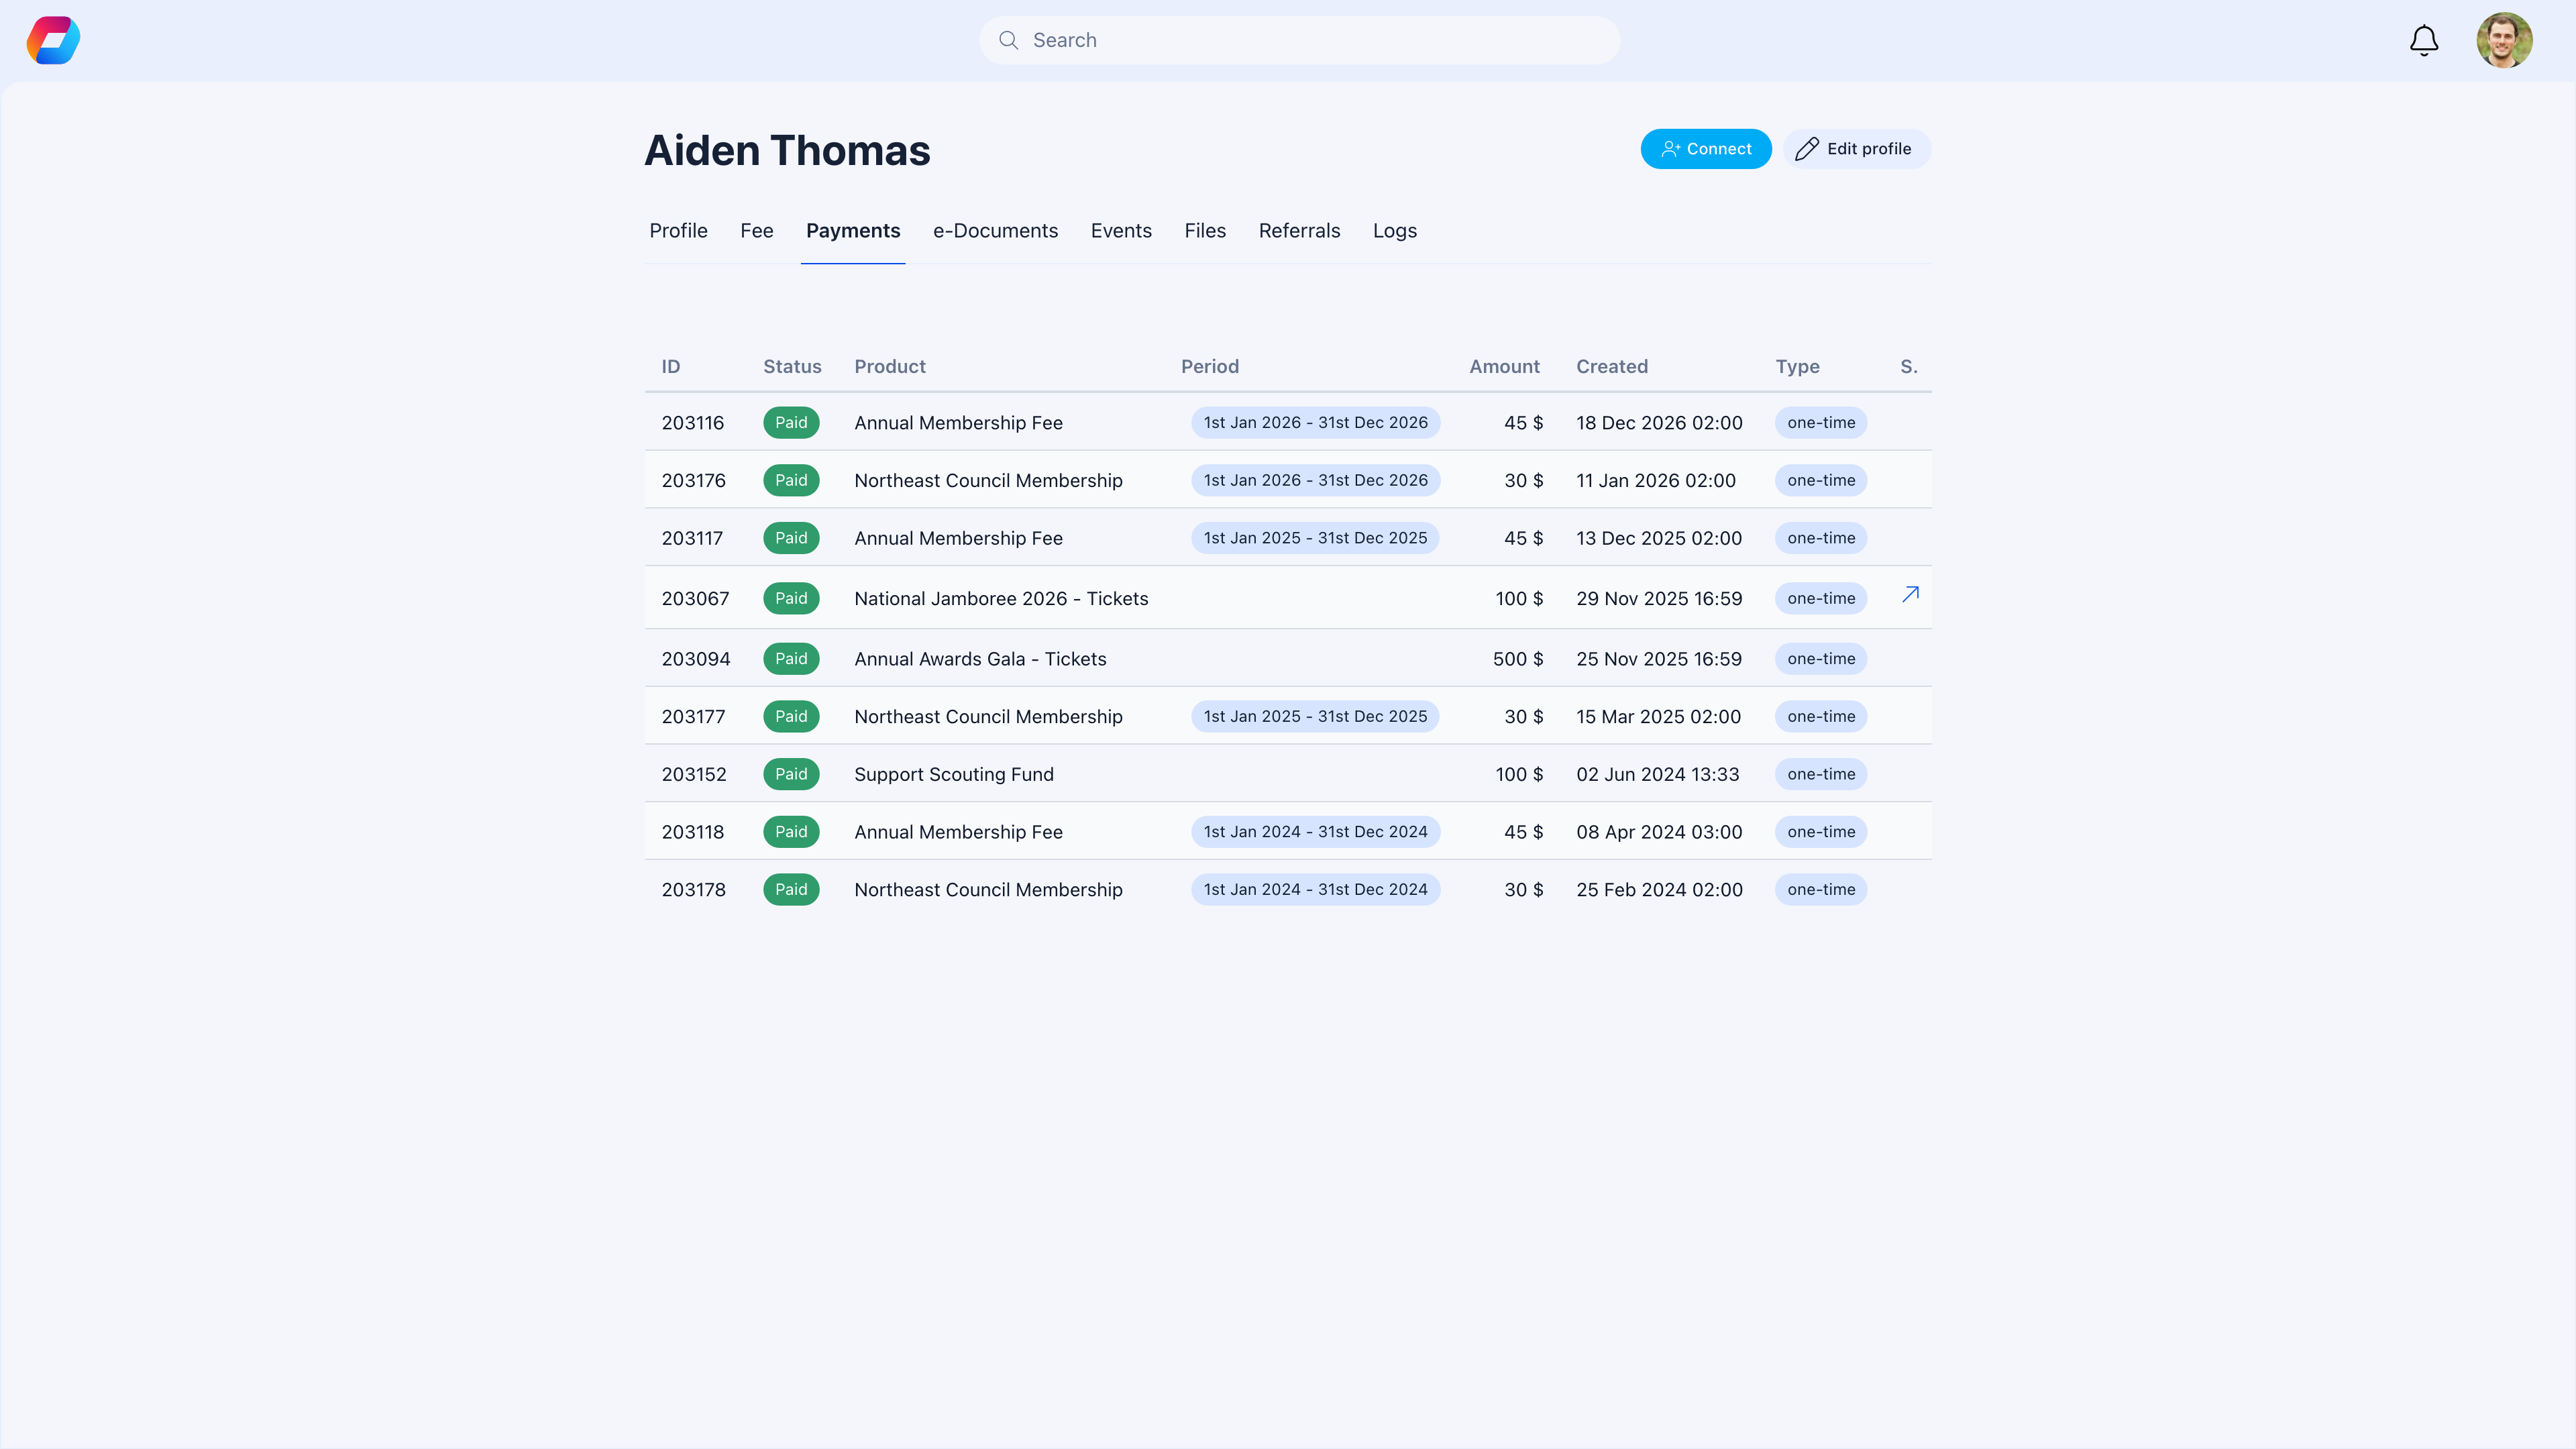
| Payments | All payments made — membership fees, event tickets, donations — with status, amount, and period |
| e-Documents | Generated contracts, certificates, and signed documents |
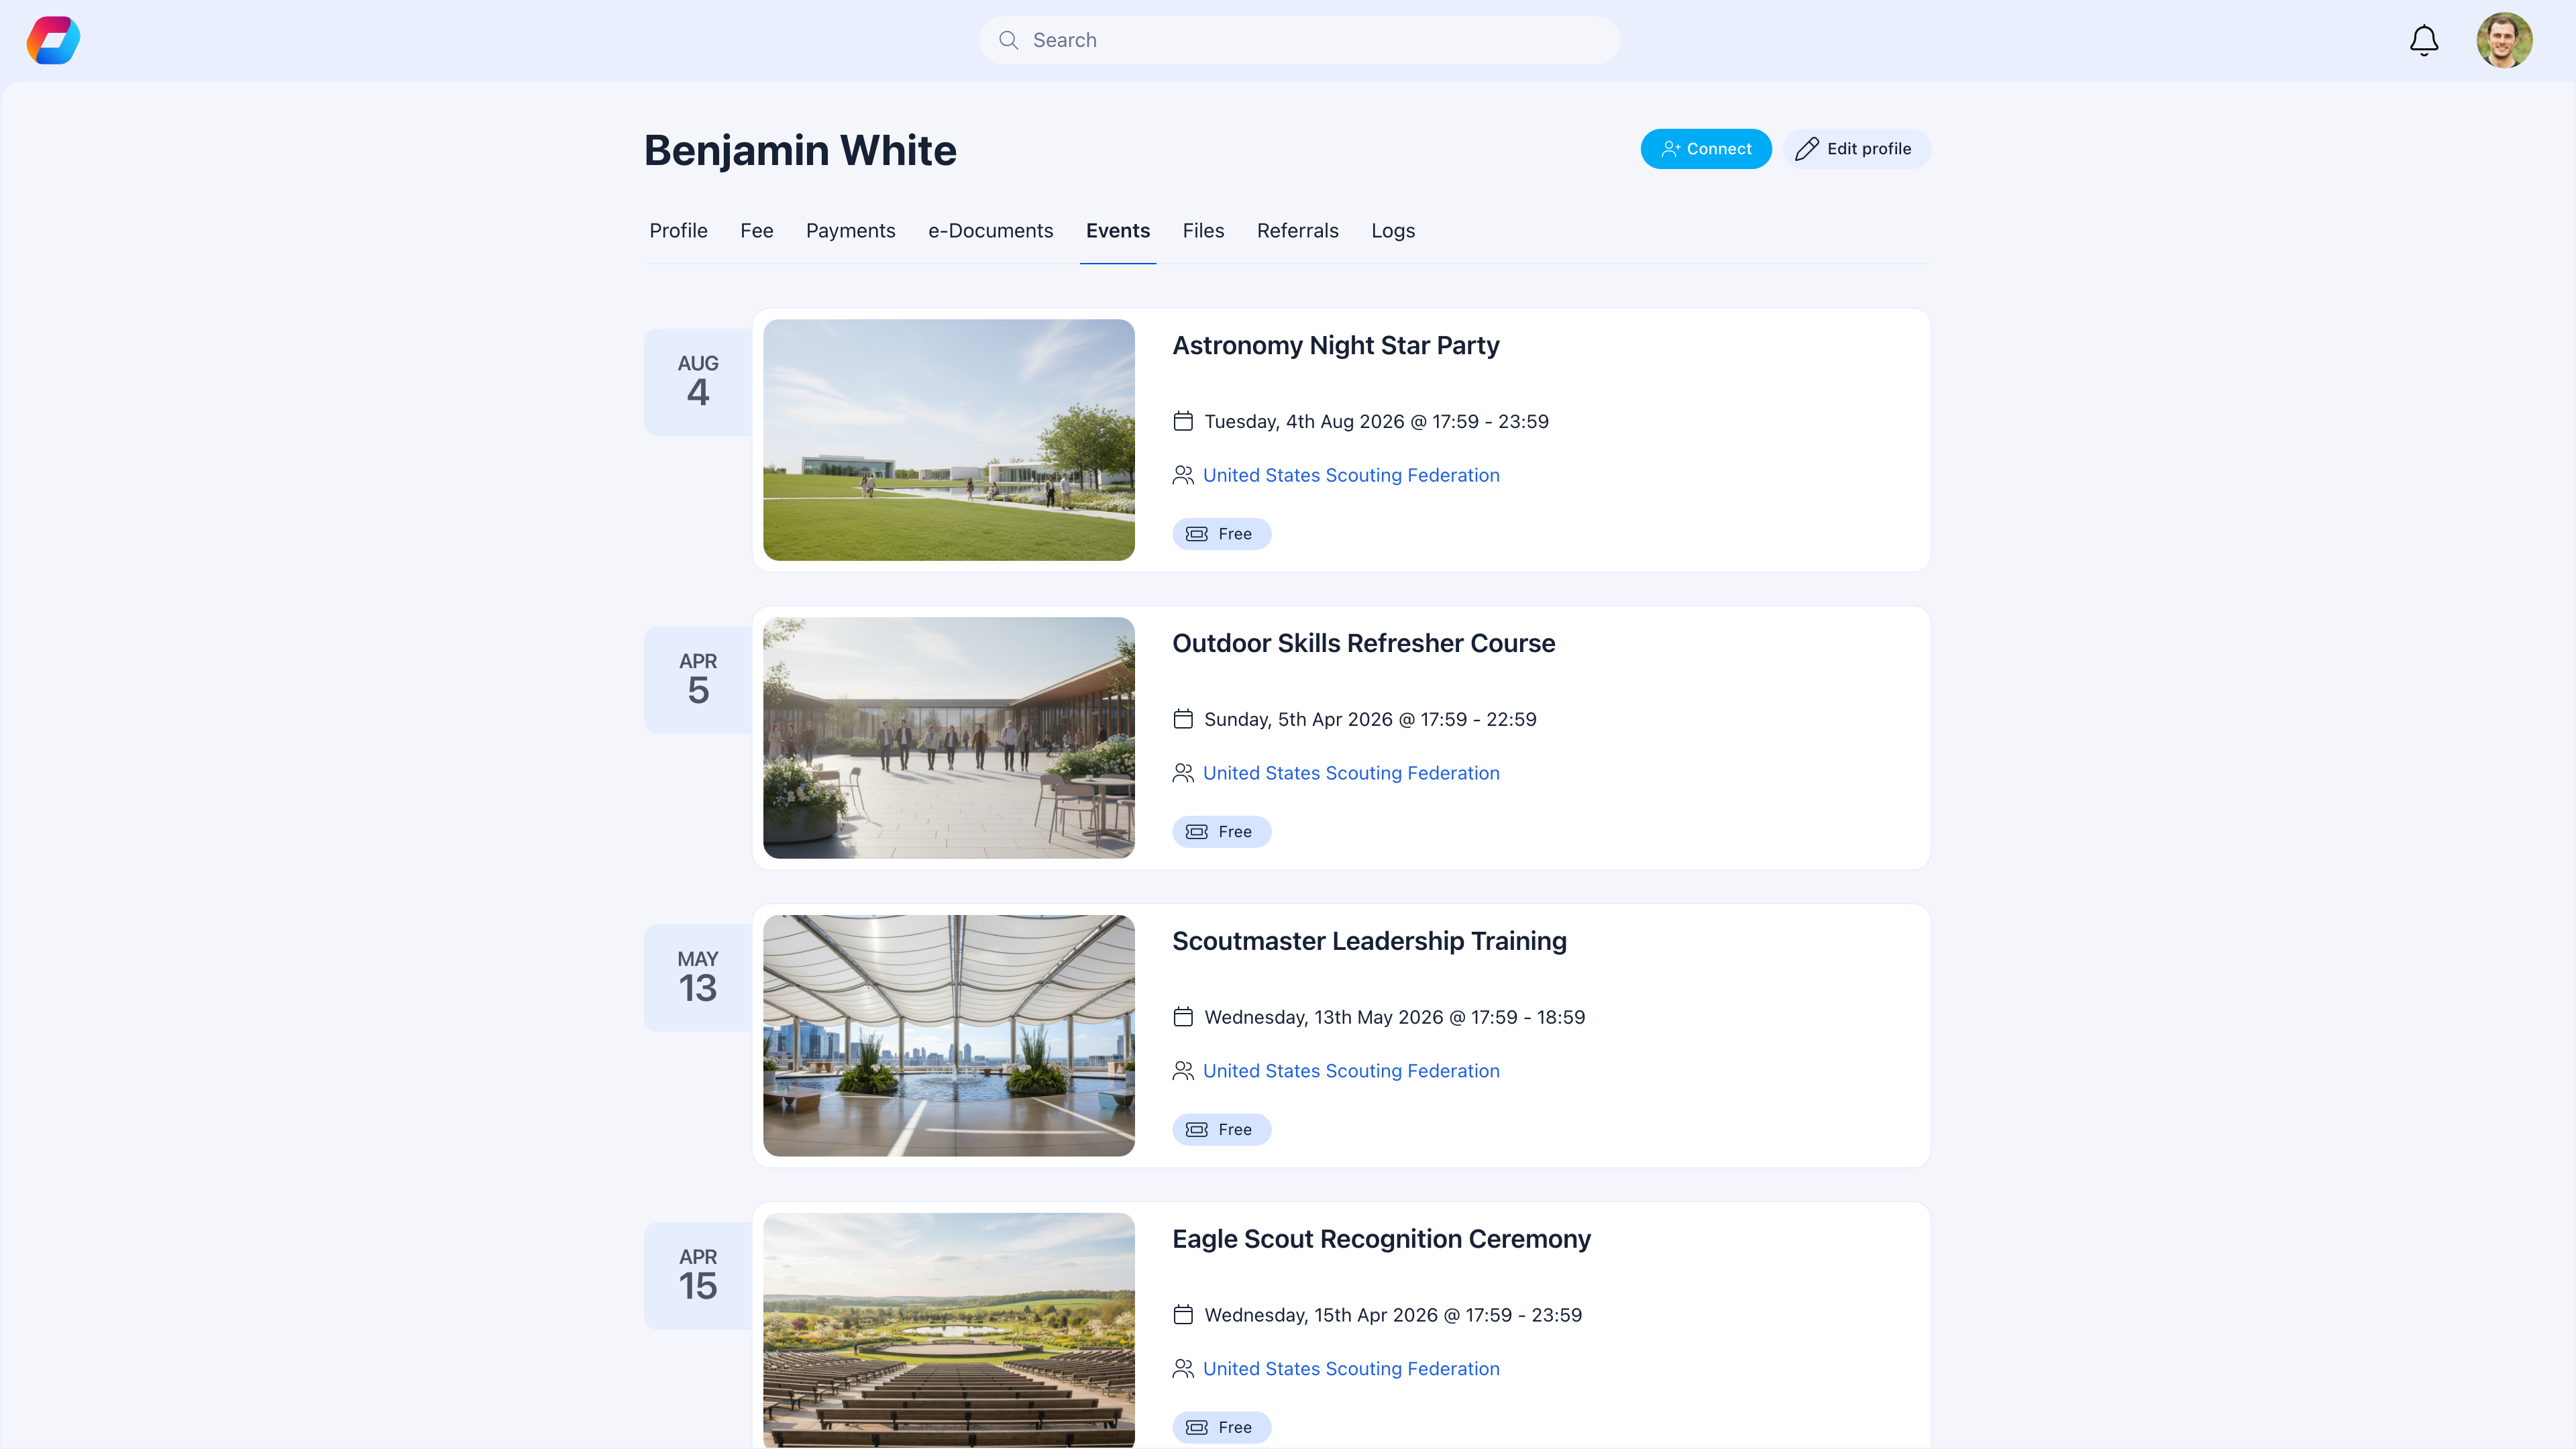
| Events | Events the member attended or is registered for |
| Files | Personal documents uploaded by the member |
| Referrals | Members they’ve invited to the organization |
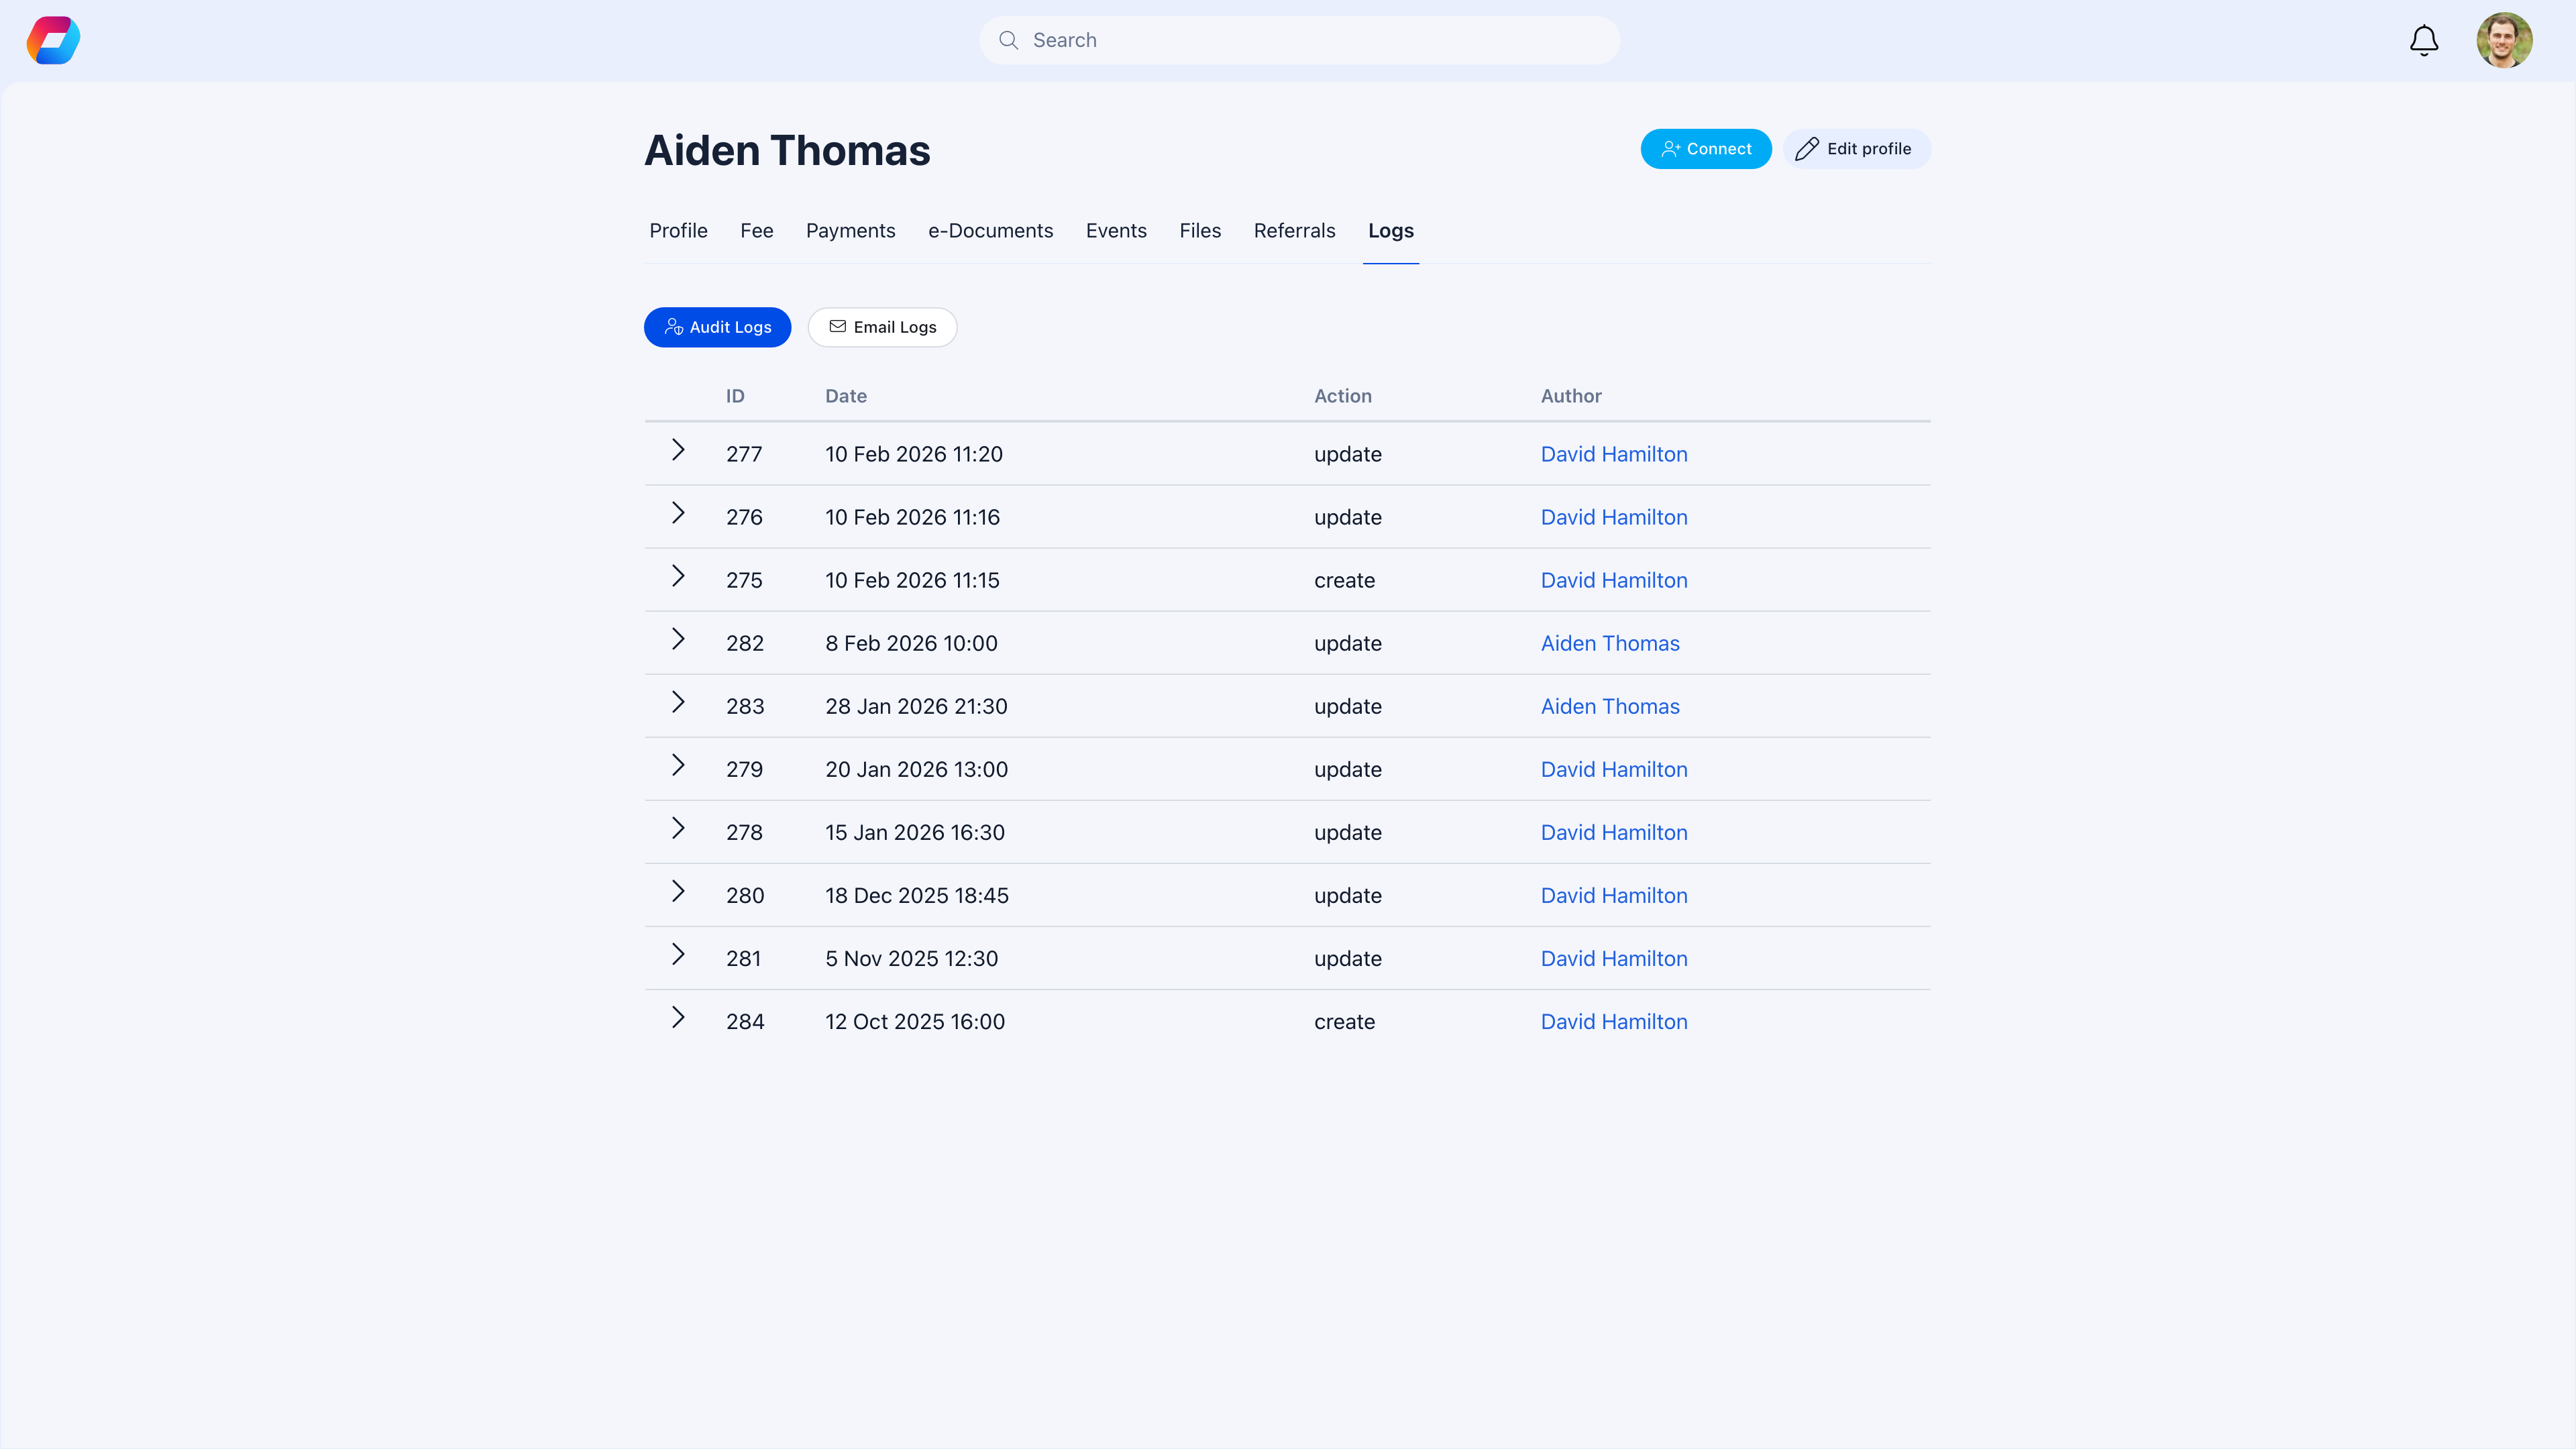
| Logs | Audit trail — every admin action, profile update, and status change on this member |
Setting up your organization
If you’re starting from scratch, follow this order. Each step builds on the previous one.Design your registration form
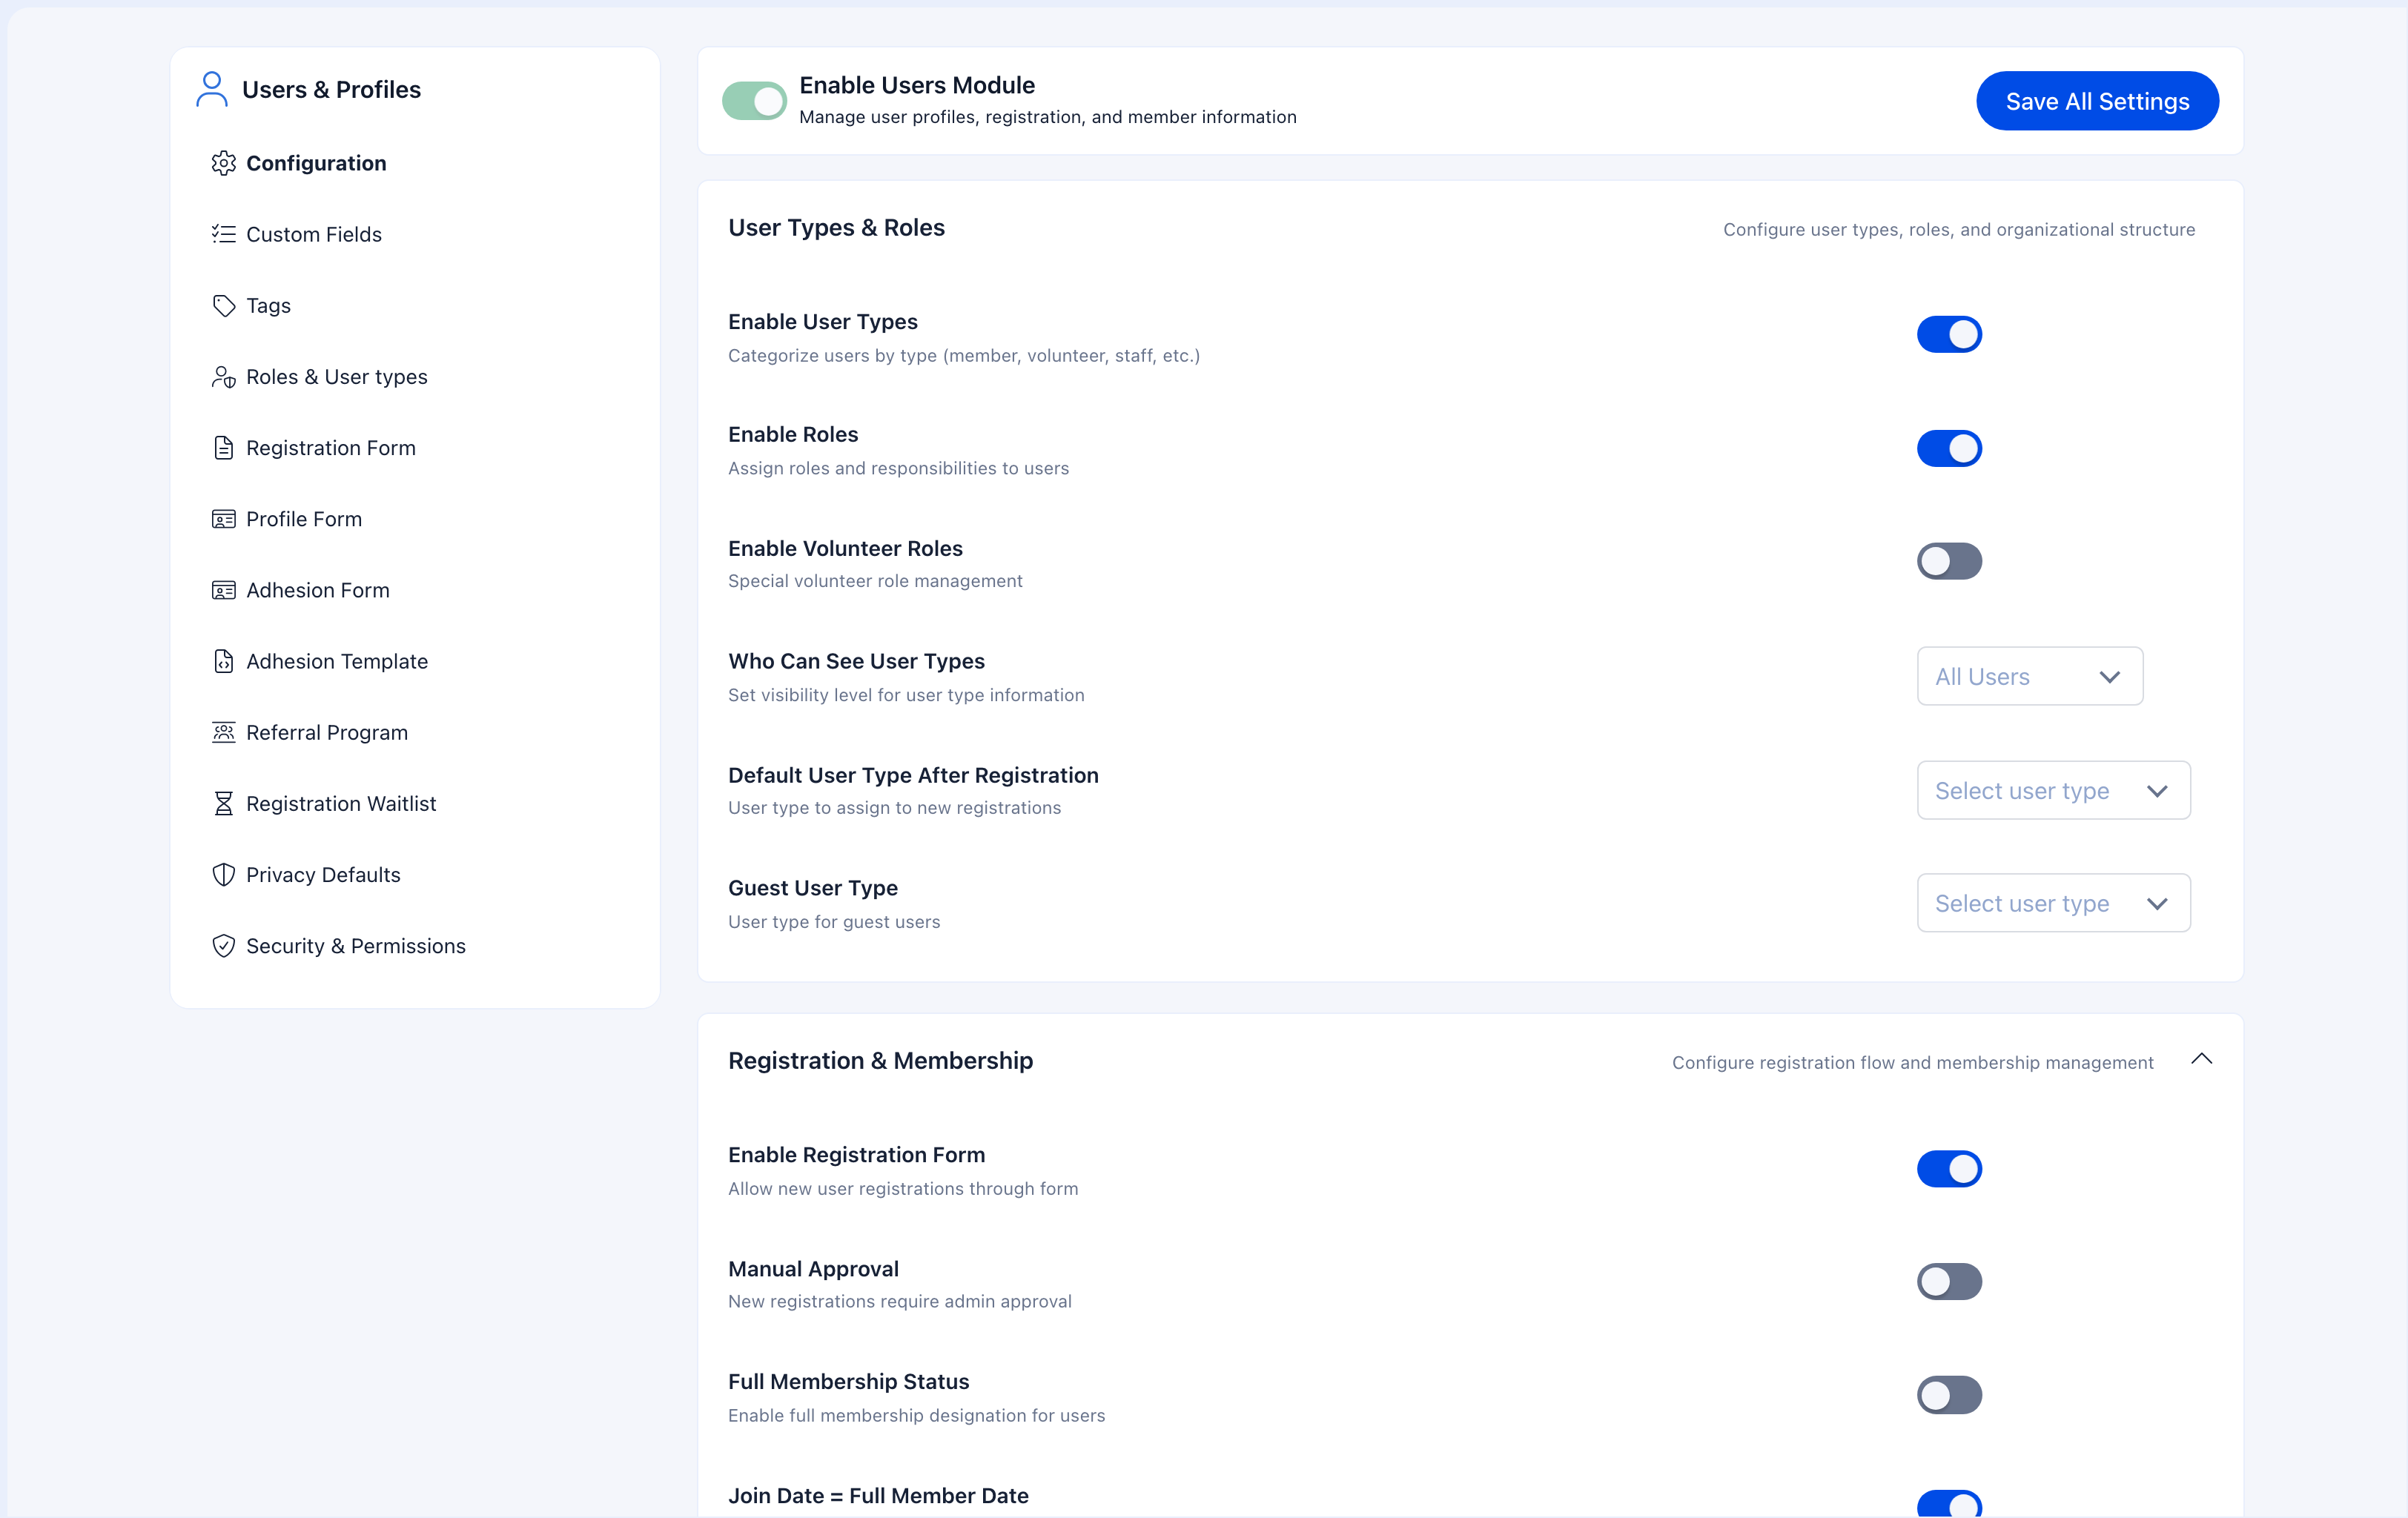
Decide what information new members provide when signing up. Start minimal — you can always collect more data later through profile fields.Go to Settings → Users & Profiles → Registration Form.Set up registration →
Create user types (if you need them)
Do your members fall into categories? Scout vs Leader, Student vs Professional, Full Member vs Volunteer? If yes, create user types so members can identify themselves during registration and you can filter, communicate, and report by type.Skip this if all your members are the same type.Create user types →
Set the default status for new members
When someone registers, what should happen? Three options:
- Active (immediate access — best for open communities)
- Unapproved (admin must approve each registration — best for controlled membership)
- Inactive (registered but not yet participating — for pre-launch)
Configure profile fields
Choose what additional information members can add to their profiles after registration. Mark important fields as required — members will be prompted to fill them on their next login.Configure profiles →
Set privacy defaults
Decide what’s visible to the community by default. Members can always restrict their own visibility further, but you set the starting point.Set privacy defaults →
Define roles and permissions
Model your organizational structure. Create roles for positions (President, Treasurer, Team Leader) and attach permissions so the right people have the right access.Set up roles →
Do I need this feature?
Not every organization needs every feature. Here’s how to decide what to enable.Controlling who joins
| Your situation | Enable | Why |
|---|---|---|
| Anyone can join, no approval needed | Just the registration form | Simplest setup. Members register and are immediately active. |
| You want to review each applicant | Adhesion | Members submit an application. Admins approve, return for revision, or reject. |
| You have limited capacity | Waitlist | When registration is closed or full, interested people queue up. You invite from the waitlist when spots open. |
| Membership is invite-only | Referral + Invitations | Only existing members can bring in new people. Set “referrals needed for signup” to 1. |
| You need to verify identities | Identity Validation | Members upload ID documents. OCR extracts data. Admins verify. |
Organizing members
| Your situation | Enable | Why |
|---|---|---|
| Members fall into categories (Scout, Leader, Volunteer) | User Types | Categorize members for filtering, reporting, and per-type registration forms. |
| You have organizational positions (President, Treasurer) | User Types & Roles | Define positions and optionally attach system permissions to them. |
| You need data beyond standard profile fields | Custom Fields | Create fields like “Emergency Contact”, “T-Shirt Size”, or “License Number”. |
| You serve families with minors | Family Members | Link parent-child accounts, set age restrictions, enable parental controls. |
Handling departures
| Your situation | Enable | Why |
|---|---|---|
| You want to track why people leave | Resignation | Members submit a reason. Admins review before processing. Helps identify retention issues. |
| Members should be able to delete their data | Account Deletion | Supports GDPR right to erasure. If resignation is also enabled, members must resign first. |
| Neither — you just deactivate people | User Statuses | Change their status to Inactive or Suspended. Their data stays, they just can’t log in. |
Common scenarios
”I’m setting up a youth scouting organization”
- Create user types: Scout, Leader, Parent, Volunteer
- Enable Family Members with age restrictions (min registration age: 13, auth restriction: 16)
- Set up per-type registration forms — Scouts need different fields than Leaders
- Enable Adhesion so you can review applications for leadership positions
- Set Status After Register to Active for Scouts, Unapproved for Leaders
- Create custom fields: “Unit Assignment”, “Badges Earned”, “Parent Contact"
"I’m running a professional association with 10,000 members”
- Create user types: Full Member, Associate, Student, Honorary
- Enable Identity Validation to verify professional credentials
- Enable Adhesion with interview tracking for membership applications
- Create custom fields: “License Number”, “Specialization”, “Years in Practice”
- Set privacy defaults to protect contact information (email, phone admin-only)
“I’m launching a small community — keep it simple”
- Use the default registration form with just name and email
- Set Status After Register to Active
- Skip user types, adhesion, and waitlist — you don’t need them yet
- Enable Invitations so your first members can bring friends
- Add profile fields later as your community grows
Feature reference
Setup & Configuration
Registration Form
Design what new members fill out when joining. Per-type forms, iframe embedding, required fields.
Profile Fields
Configure post-registration profile data. Required fields trigger a splash screen on login.
User Types & Roles
Categorize members by type and model your organizational structure with positions and permissions.
Custom Fields
Organization-specific data: Emergency Contact, License Number, T-Shirt Size.
Privacy Settings
Control who sees what. Admin defaults + member overrides.
Joining & Growth
Adhesion (Applications)
Formal membership applications with admin approval, draft returns, and rejection.
Waitlist
Queue interested people when membership is full. Invite from the waitlist when ready.
Invitations
Let members invite others by email. Track who brought who.
Referral Program
Track referral sources. Enable invite-only mode for exclusive communities.
Member Management
User Statuses
Active, Inactive, Suspended, Unapproved — control access and track lifecycle.
Family Members
Link parent-child accounts, age restrictions, parental controls.
Identity Validation
Document upload, OCR extraction, admin verification.
Departures
Resignation
Formal departure with mandatory reason, admin approval, and retention tracking.
Account Deletion
Permanent removal for GDPR compliance. Irreversible.
Troubleshooting
A member says they can't log in
A member says they can't log in
Check their status. If it’s Inactive, Suspended, or Unapproved, they can’t access the platform. Go to their profile → Edit → Permissions tab → check the Status dropdown. See User Statuses.
A new member registered but can't see anything
A new member registered but can't see anything
Check Status After Register in Settings → Users & Profiles → Configuration. If it’s set to Unapproved, someone needs to manually approve them. Also check if Adhesion is enabled and mandatory — if so, they need to complete and get approved for their application first.
A member wants to leave the organization
A member wants to leave the organization
If Resignation is enabled, they go to Profile → Settings & Privacy → Close account → Resign. An admin must approve the request. If resignation is not enabled, they can directly delete their account (if enabled) or ask an admin to set their status to Inactive.
I need to collect new information from existing members
I need to collect new information from existing members
Add the field to Profile Fields and mark it as required. Next time each member logs in, they’ll see a splash screen prompting them to fill it out. They can’t skip it.
I want different registration forms for different member types
I want different registration forms for different member types
Create User Types first, then go to Settings → Users & Profiles → Registration Form. Each user type gets its own form where you can enable different fields.
Members are seeing too much of each other's data
Members are seeing too much of each other's data
Go to Settings → Users & Profiles → Privacy Defaults and set sensitive fields (email, phone) to admin-only. Members can also restrict their own profiles under Settings & Privacy → Privacy.