When to use this
| You want to… | OAuth Server? |
|---|---|
| Let members log in to your website with their Orgo account | Yes |
| Authenticate users in a custom mobile app | Yes |
| Provide SSO for internal tools (wiki, project manager) | Yes |
| Give partner services access to member data (with consent) | Yes |
| Let external people log in to Orgo using Google/Microsoft | No — that’s SSO Authentication (inbound), not OAuth Server (outbound) |
How it works
Setting up an OAuth application
Settings → Developers → OAuth Applications → Create Application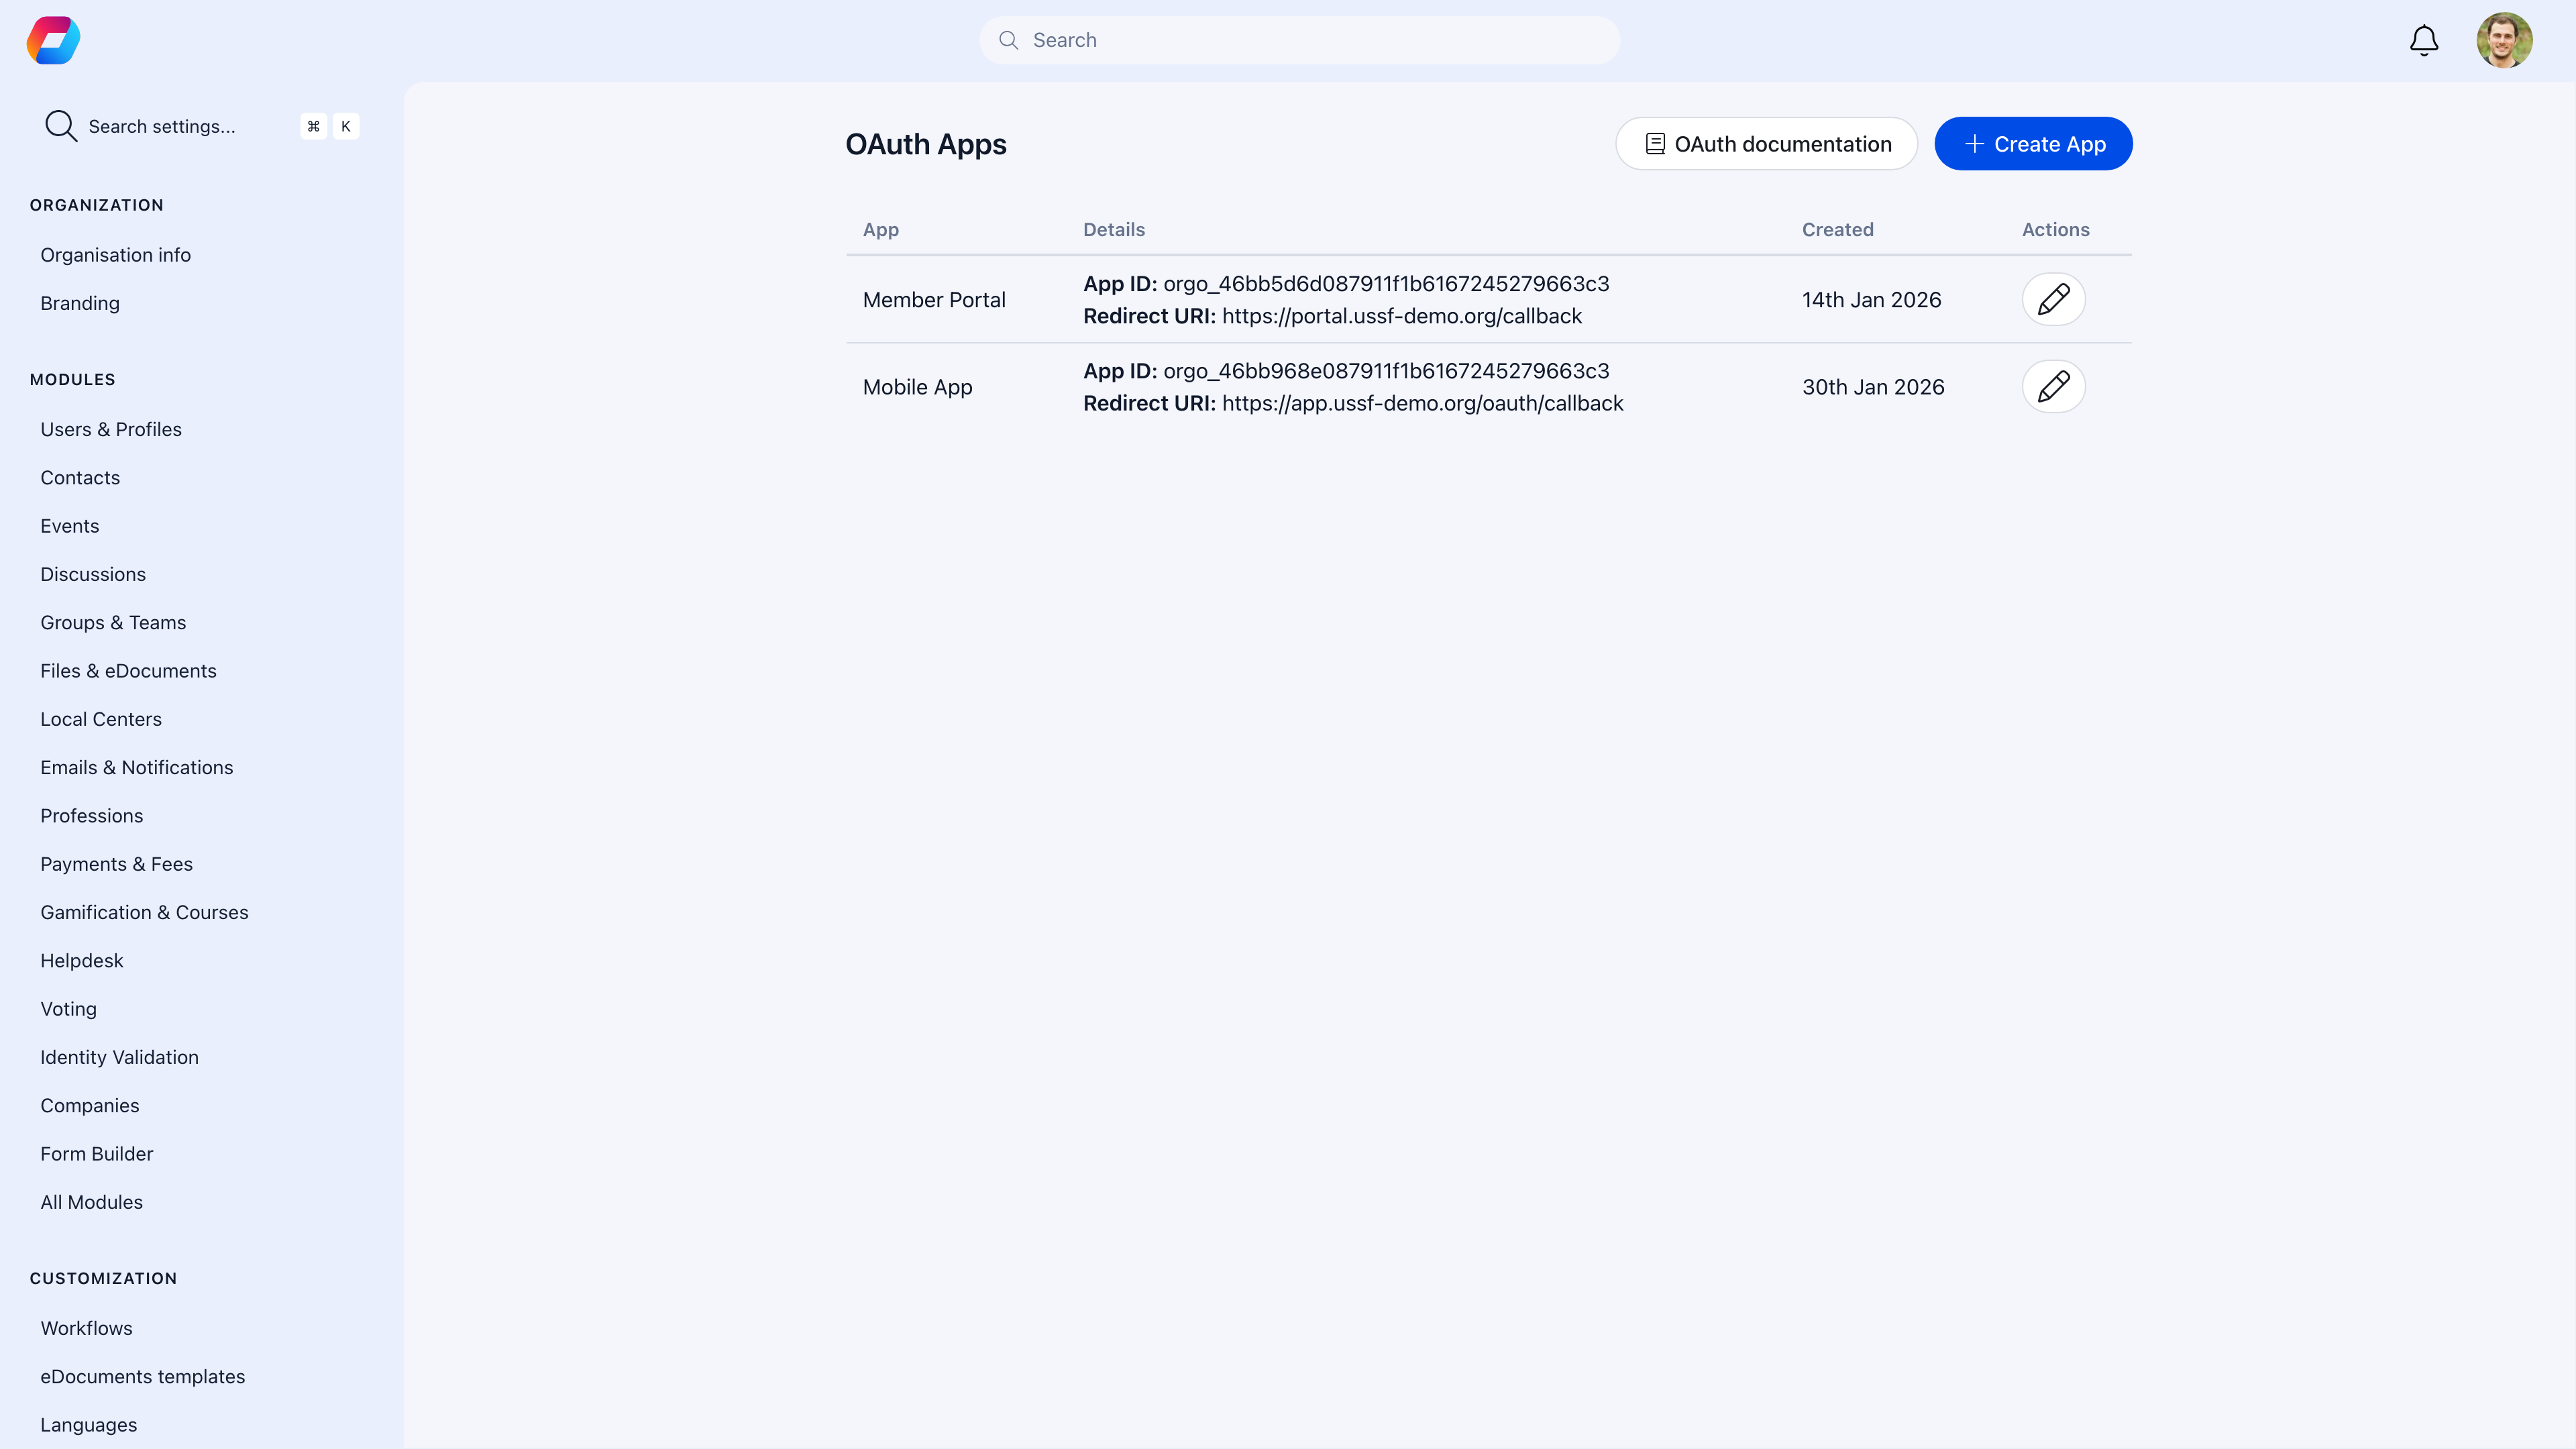
| Field | What to enter |
|---|---|
| Name | What users see during authorization — “My Organization Website” |
| Description | What the app does (for your reference) |
| Redirect URIs | Where Orgo sends users after authorization — must match exactly |
| Scopes | What data the app can request |
OAuth endpoints
| Endpoint | Purpose |
|---|---|
/oauth/authorize | Where you send users to log in |
/oauth/token | Where your server exchanges the code for a token |
/oauth/userinfo | Where your server retrieves the authenticated user’s data |
Orgo includes a built-in OAuth documentation page that developers can reference when building integrations:
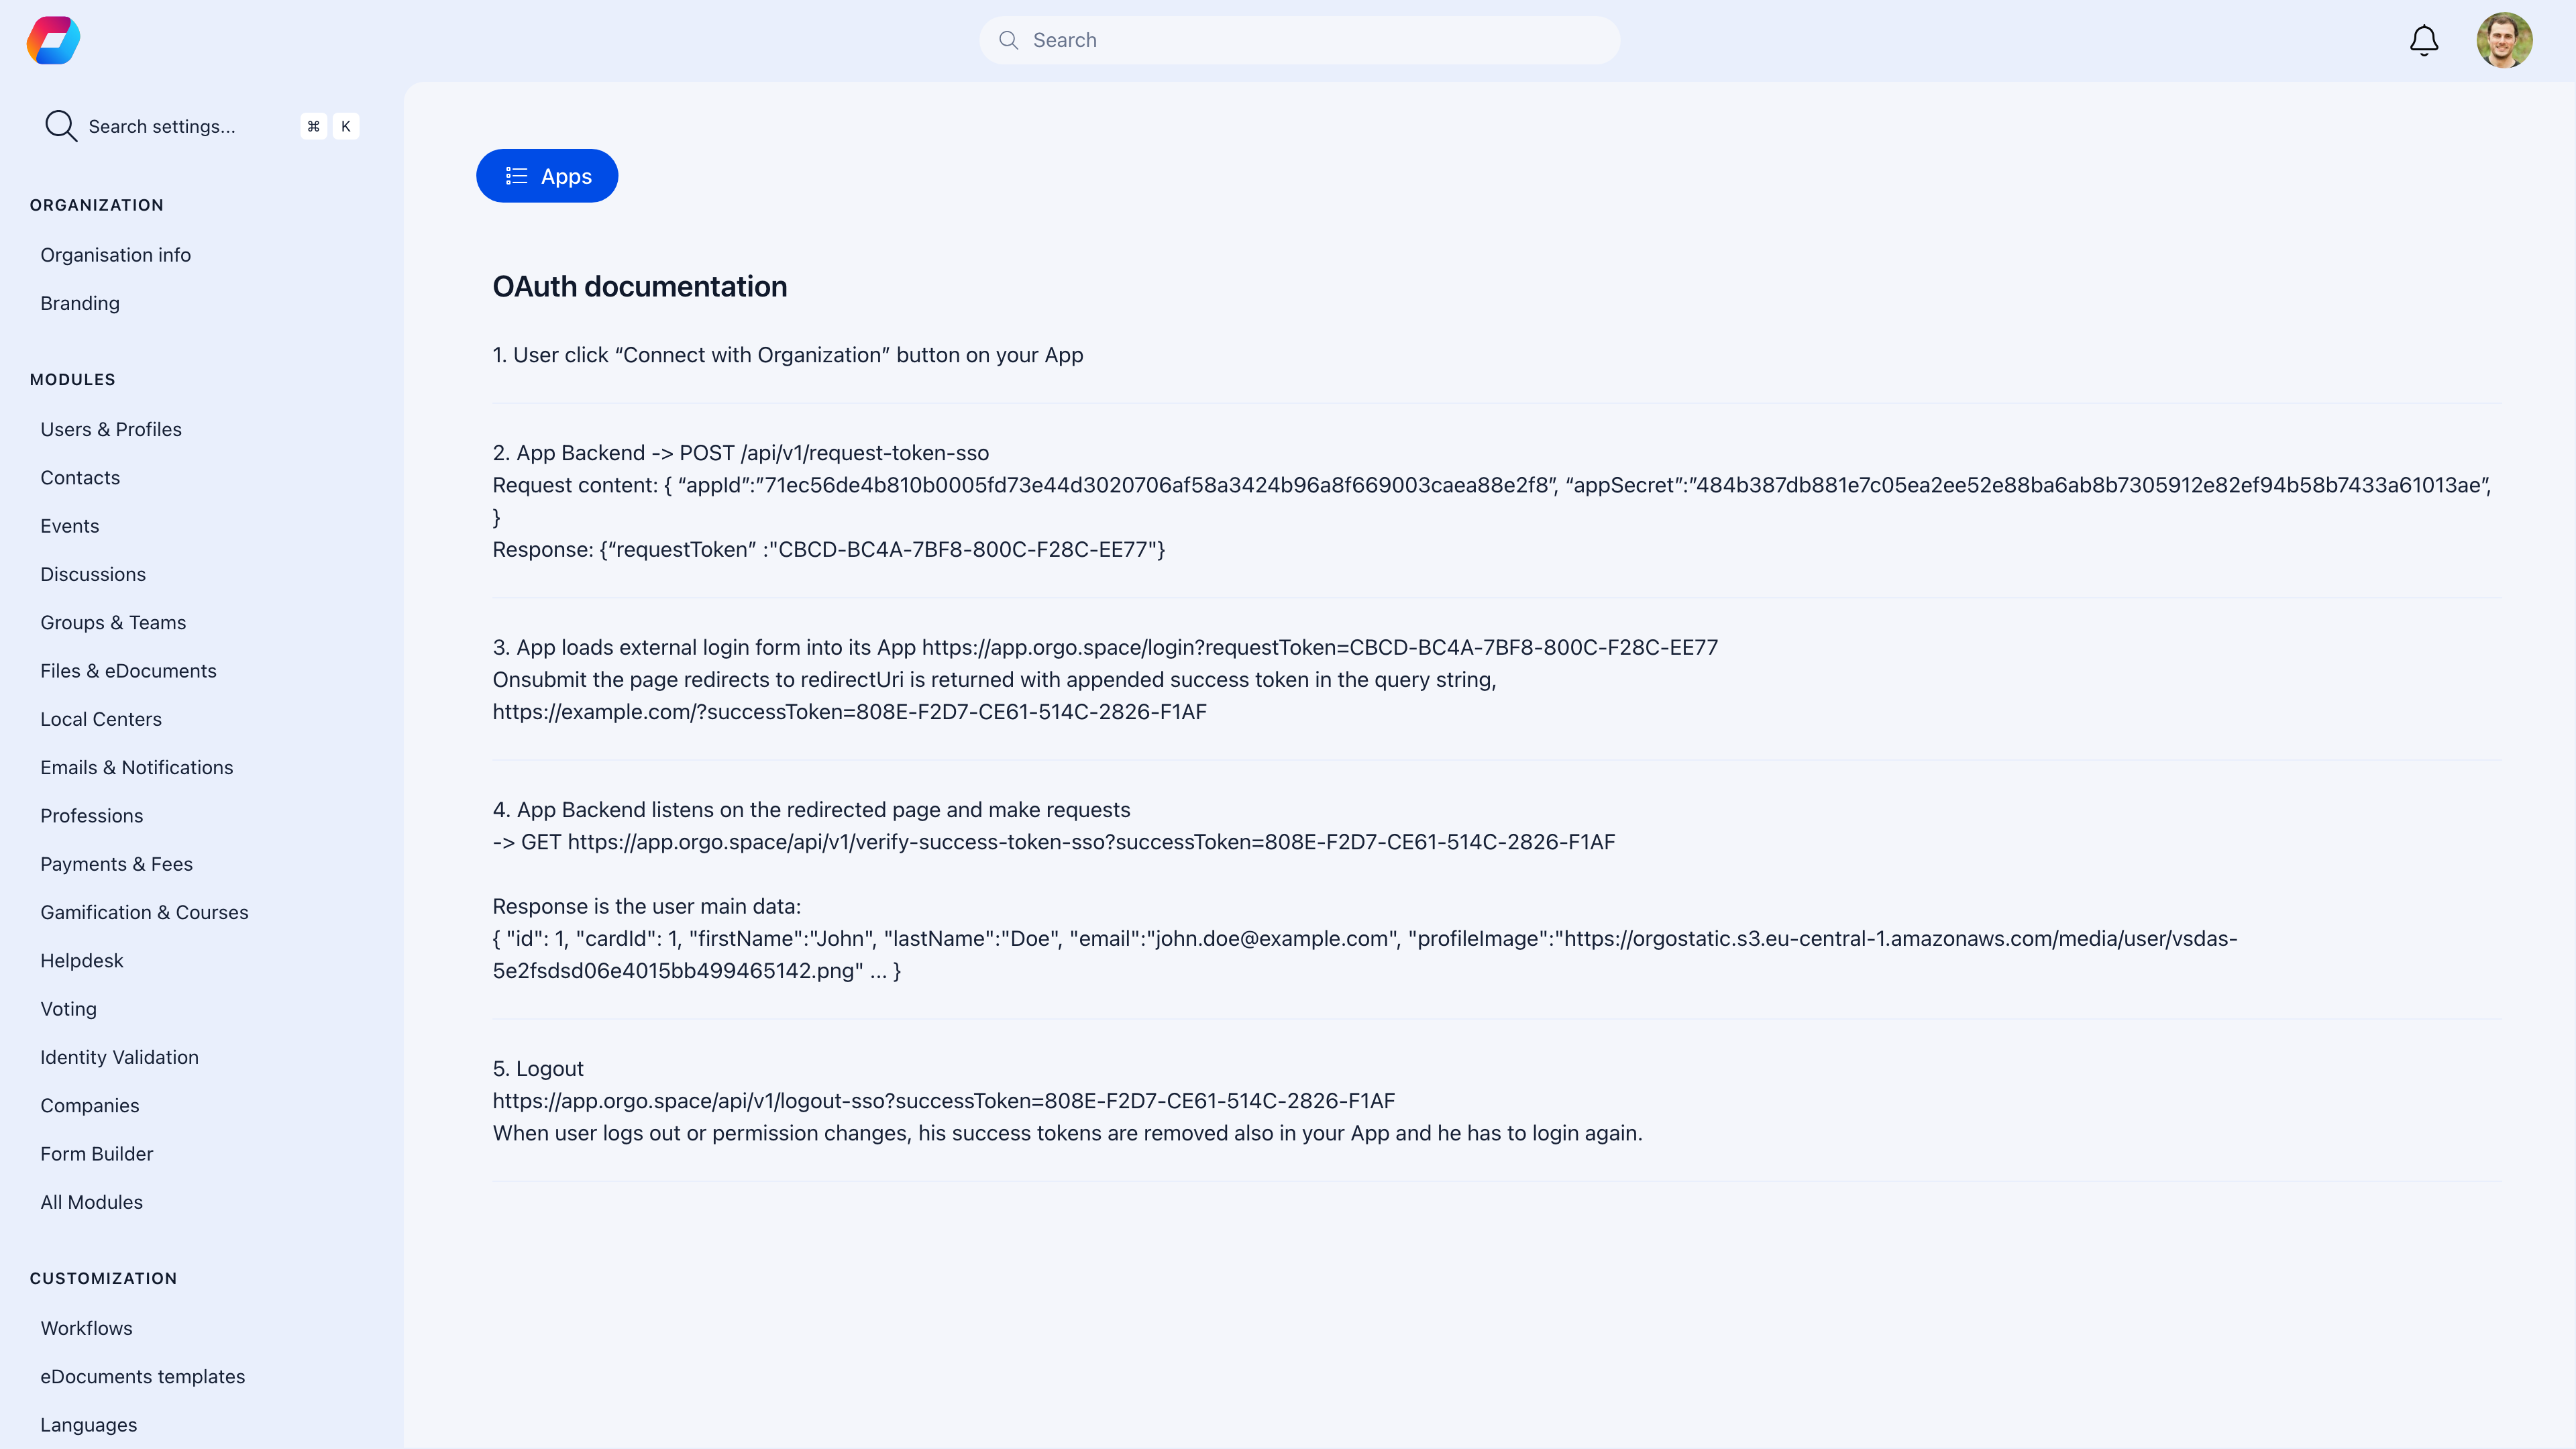
Implementation
Step 1: Redirect to authorization
Send users to Orgo’s authorization endpoint:Step 2: Exchange code for token
After the user authorizes, Orgo redirects to your URI with a code. Exchange it server-side:Step 3: Get user info
Use the access token to retrieve the user’s profile:Available scopes
| Scope | What it grants access to |
|---|---|
profile | Name, profile picture |
email | Email address |
groups | Group memberships |
roles | User roles and permissions |
Common scenarios
I get 'invalid redirect URI' errors
I get 'invalid redirect URI' errors
The redirect URI in your authorization request must exactly match one of the URIs registered in the OAuth app settings. Watch for trailing slashes, http vs https, and port numbers.
Access tokens are expiring
Access tokens are expiring
Access tokens have a limited lifetime. Use refresh tokens to get new access tokens without requiring the user to log in again.
Can I use this with a single-page app (SPA)?
Can I use this with a single-page app (SPA)?
SPAs can’t safely store the Client Secret. Use the PKCE extension of the Authorization Code flow for browser-based apps, or handle the token exchange on your backend.
How do I map Orgo roles to permissions in my app?
How do I map Orgo roles to permissions in my app?
Use the
roles scope to get the user’s Orgo roles. In your app, map these roles to your permission system — e.g., Orgo ADMIN_TENANT → your app’s admin role.Related
- Integrations — Connect third-party services to Orgo
- Members — User data that OAuth provides access to