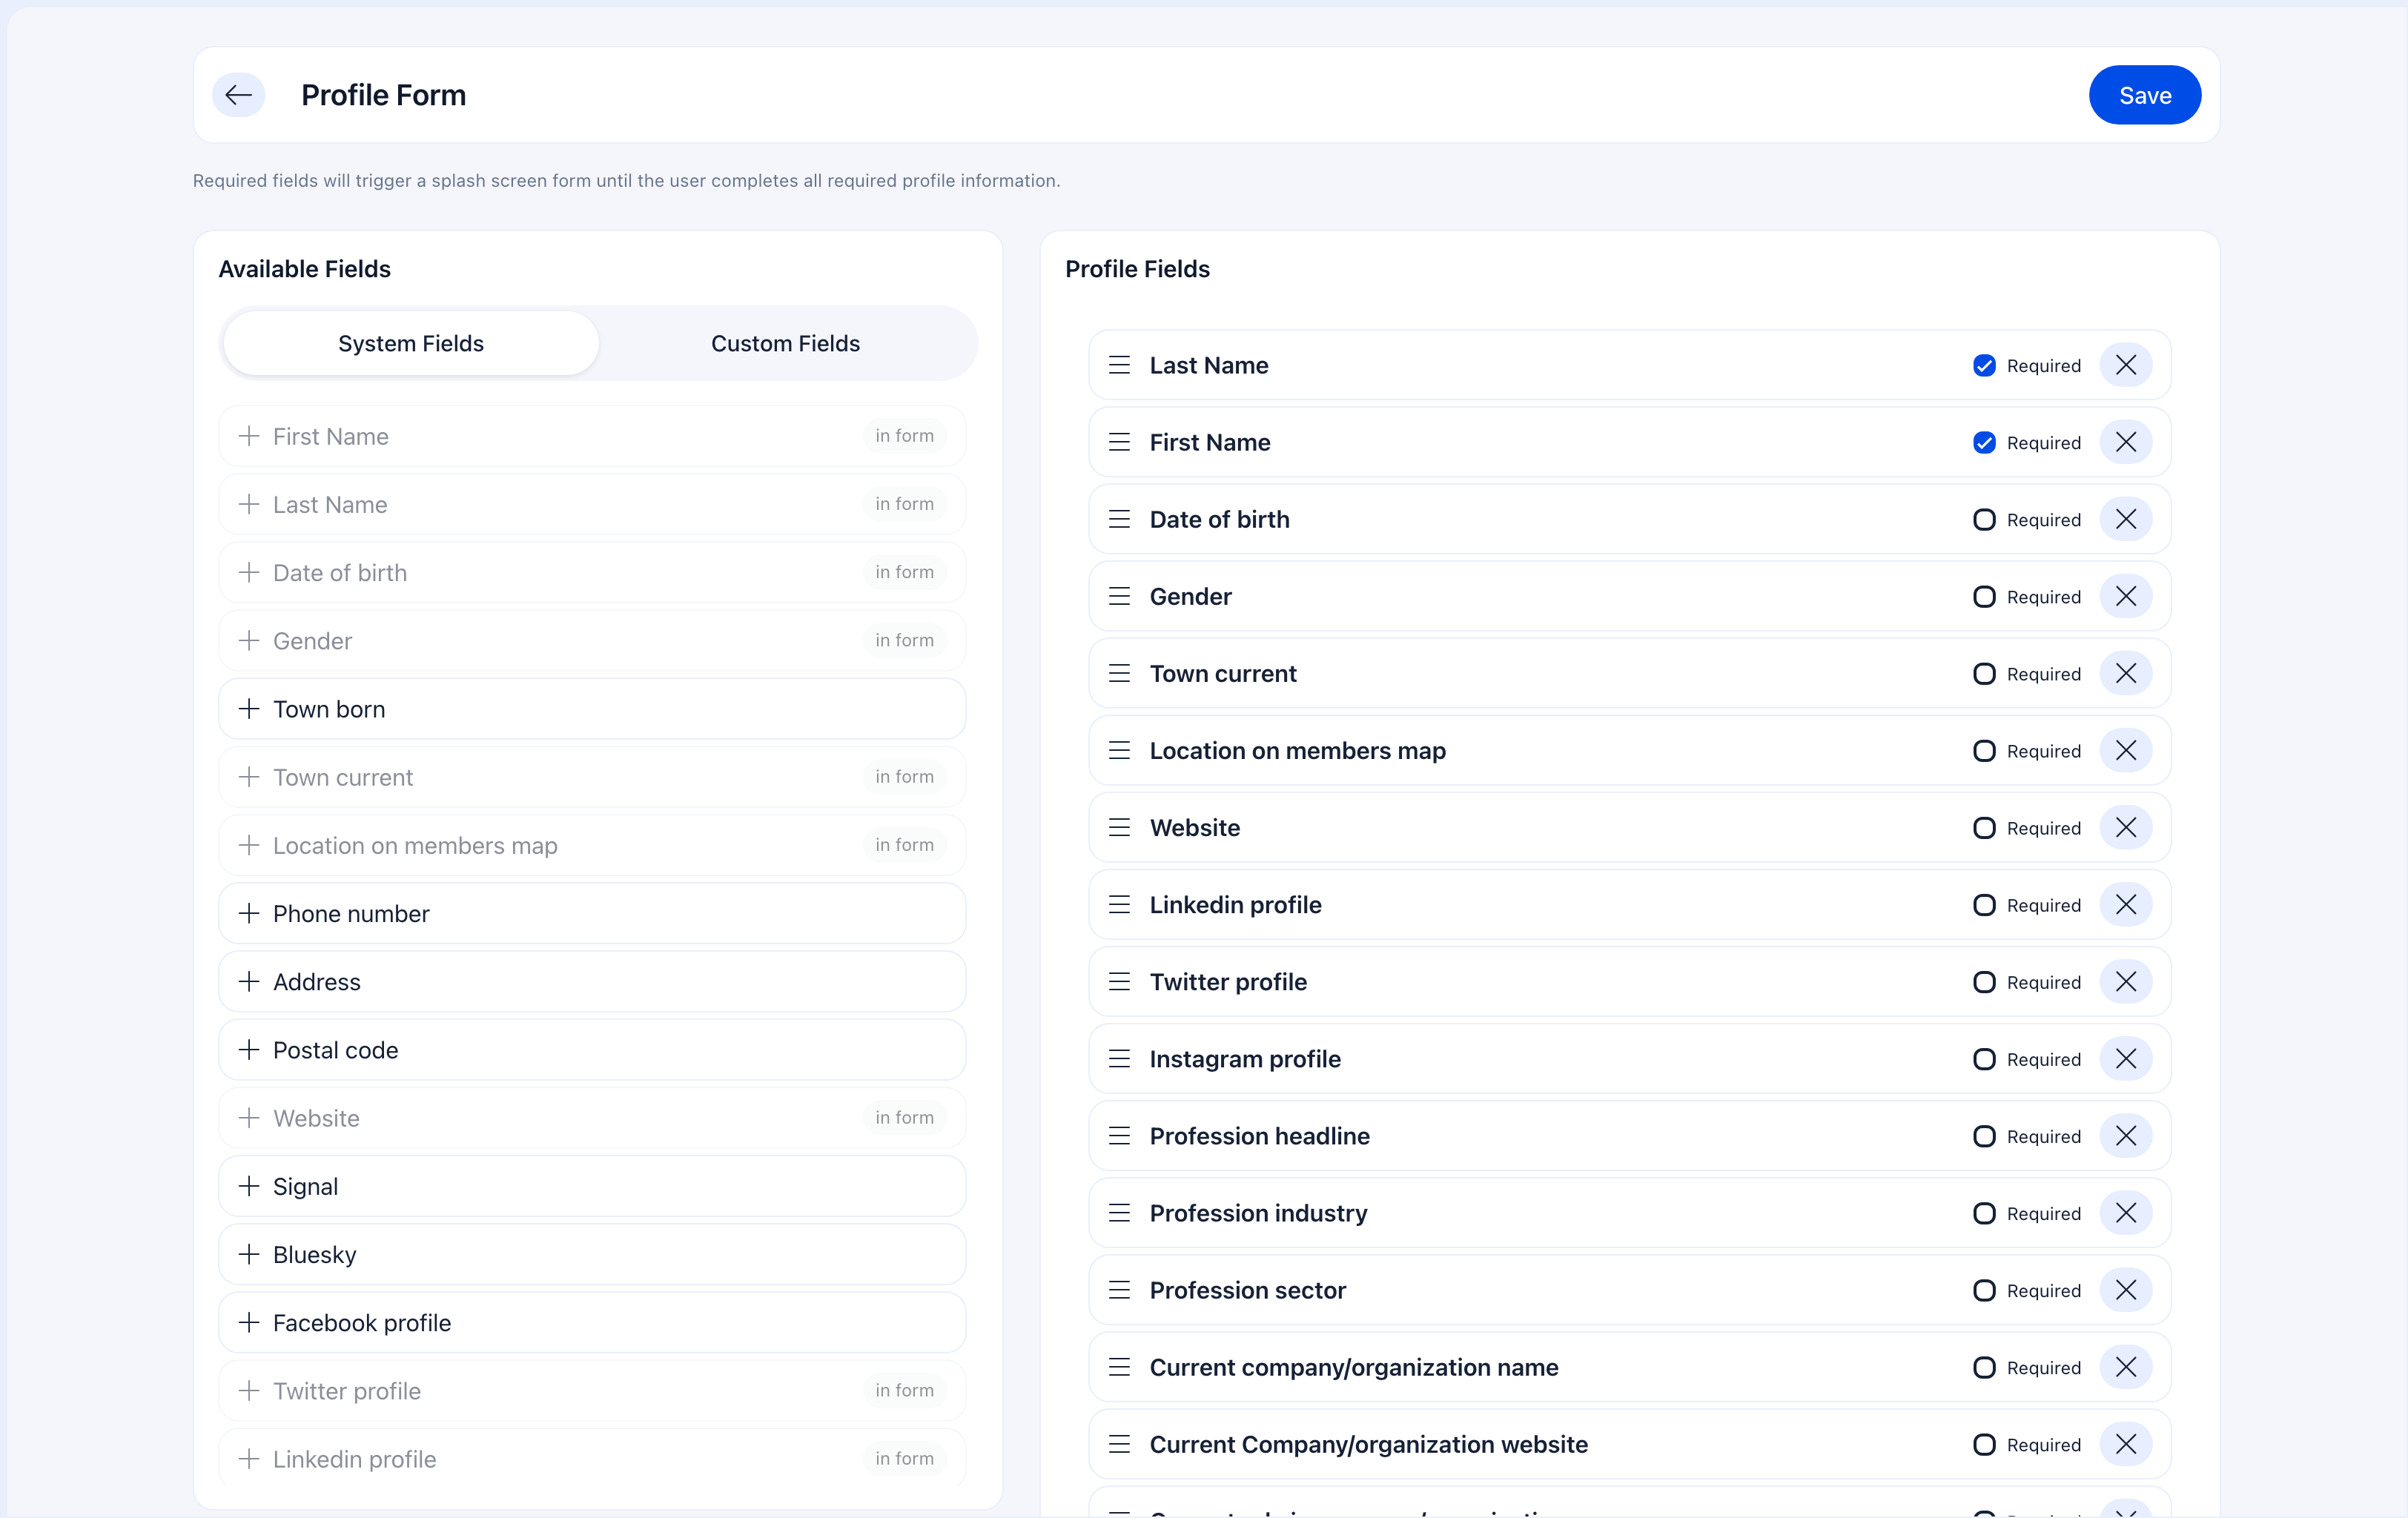
How to access
Settings → Users & Profiles → Profile FieldsThe splash screen mechanism
This is the key feature that makes profile fields operationally powerful:Splash screen appears
If any required field is empty, a modal form appears showing only the missing fields. The member cannot dismiss it.
- You just added “Emergency Contact” as a required field — all 500 existing members will be prompted on their next login
- New regulatory requirements mean you need everyone’s date of birth — mark Birthday as required
- You created a custom field “Membership Renewal Year” — make it required and everyone fills it out automatically
Field configuration options
For each field, you control three things:| Option | What it does | Impact |
|---|---|---|
| Enabled | Field appears on the profile edit page | Members can see and fill it |
| Required | Field must be filled | Triggers splash screen if empty on login |
| Immutable (custom fields only) | Value can’t be changed after first entry | Only admins can modify it once set |
When to use immutable
Mark a field as immutable when the value should be set once and never changed by the member:- Membership ID numbers
- Official registration dates
- Verified credentials or license numbers
- Admin-assigned categories
What members see
Members edit their profiles at Profile → Update Profile. The profile edit page is organized into tabs: Profile (personal info, bio, location), Permissions, Roles, Profession, Badges, Family, Notifications, and Settings & Privacy. The Profile tab shows editable fields for name, date of birth, gender, bio, town of residence, location on map, and any enabled custom fields. A Save button appears at the top right of each section.Registration form vs profile fields
These two features work together as a two-stage data collection pipeline:| Registration Form | Profile Fields | |
|---|---|---|
| When | During sign-up | After login, on the profile page |
| Purpose | Get the minimum to create an account | Build a complete member profile over time |
| Required fields | Block registration (they can’t submit without them) | Trigger splash screen on login (they can’t use the platform without them) |
| Immutable | Not available | Available for custom fields |
| Strategy | Keep short to maximize completion | Add fields progressively as your needs grow |
A field can be on both forms with different settings. Phone might be optional at registration but required on profiles — meaning new members can skip it during sign-up, but they’ll be prompted for it on their next login.
Progressive profiling strategy
Instead of asking for everything at registration, collect data in stages: Stage 1 — Registration: Email, name. That’s it. Get them in. Stage 2 — First login splash screen: Birthday, phone, local center. Mark these as required profile fields. Members fill them out immediately after their first login. Stage 3 — Over time: Profession, social profiles, custom fields. Keep these enabled but not required. Members fill them out when they feel engaged enough. Stage 4 — When you need something new: Create a new required profile field. Every member gets the splash screen on their next login. Data collected within a week without a single email.How profile fields connect to other features
| Feature | How it interacts |
|---|---|
| Registration Form | Registration collects initial data; profile fields extend it. Both can use the same fields with different settings. |
| Custom Fields | Custom fields you create appear in the profile builder. This is where you enable them for member profiles and set required/immutable. |
| Privacy Settings | Privacy controls determine who can see each field. A field can be on the profile but hidden from other members. |
| Adhesion | Adhesion forms can include profile fields. Data from approved applications can pre-fill the member’s profile. |
Common scenarios
I need to collect a new piece of information from all existing members
I need to collect a new piece of information from all existing members
- Create the field (or find it in the existing list)
- Enable it in Profile Fields
- Mark it as Required
- Done — every member sees a splash screen on their next login and must fill it out
Members are complaining about the splash screen
Members are complaining about the splash screen
You probably have too many required fields. Only require what’s truly essential. If a field is nice-to-have, keep it enabled but not required — members will fill it out voluntarily (or not, and that’s OK).
I want admins to see a field but not members
I want admins to see a field but not members
Create a Custom Field and mark it as Admin Only. It will appear in the admin’s view of the profile but members won’t see it.
A member entered the wrong value in an immutable field
A member entered the wrong value in an immutable field
An admin can change immutable field values — the restriction only applies to the member. Go to the member’s profile → Edit → find the field and update it.
Related
- Registration Form — What members fill out when signing up
- Custom Fields — Create organization-specific fields
- Privacy Settings — Control who sees profile data