- Your organization has a membership cap (physical space, legal limit, charter restriction)
- You accept members in batches or cohorts (seasonal enrollment, academic terms)
- You want to gauge demand before expanding capacity
- You’re creating exclusivity or scarcity intentionally
- Registration is always open and there’s no capacity limit
- You already use Adhesion and it handles your intake pace
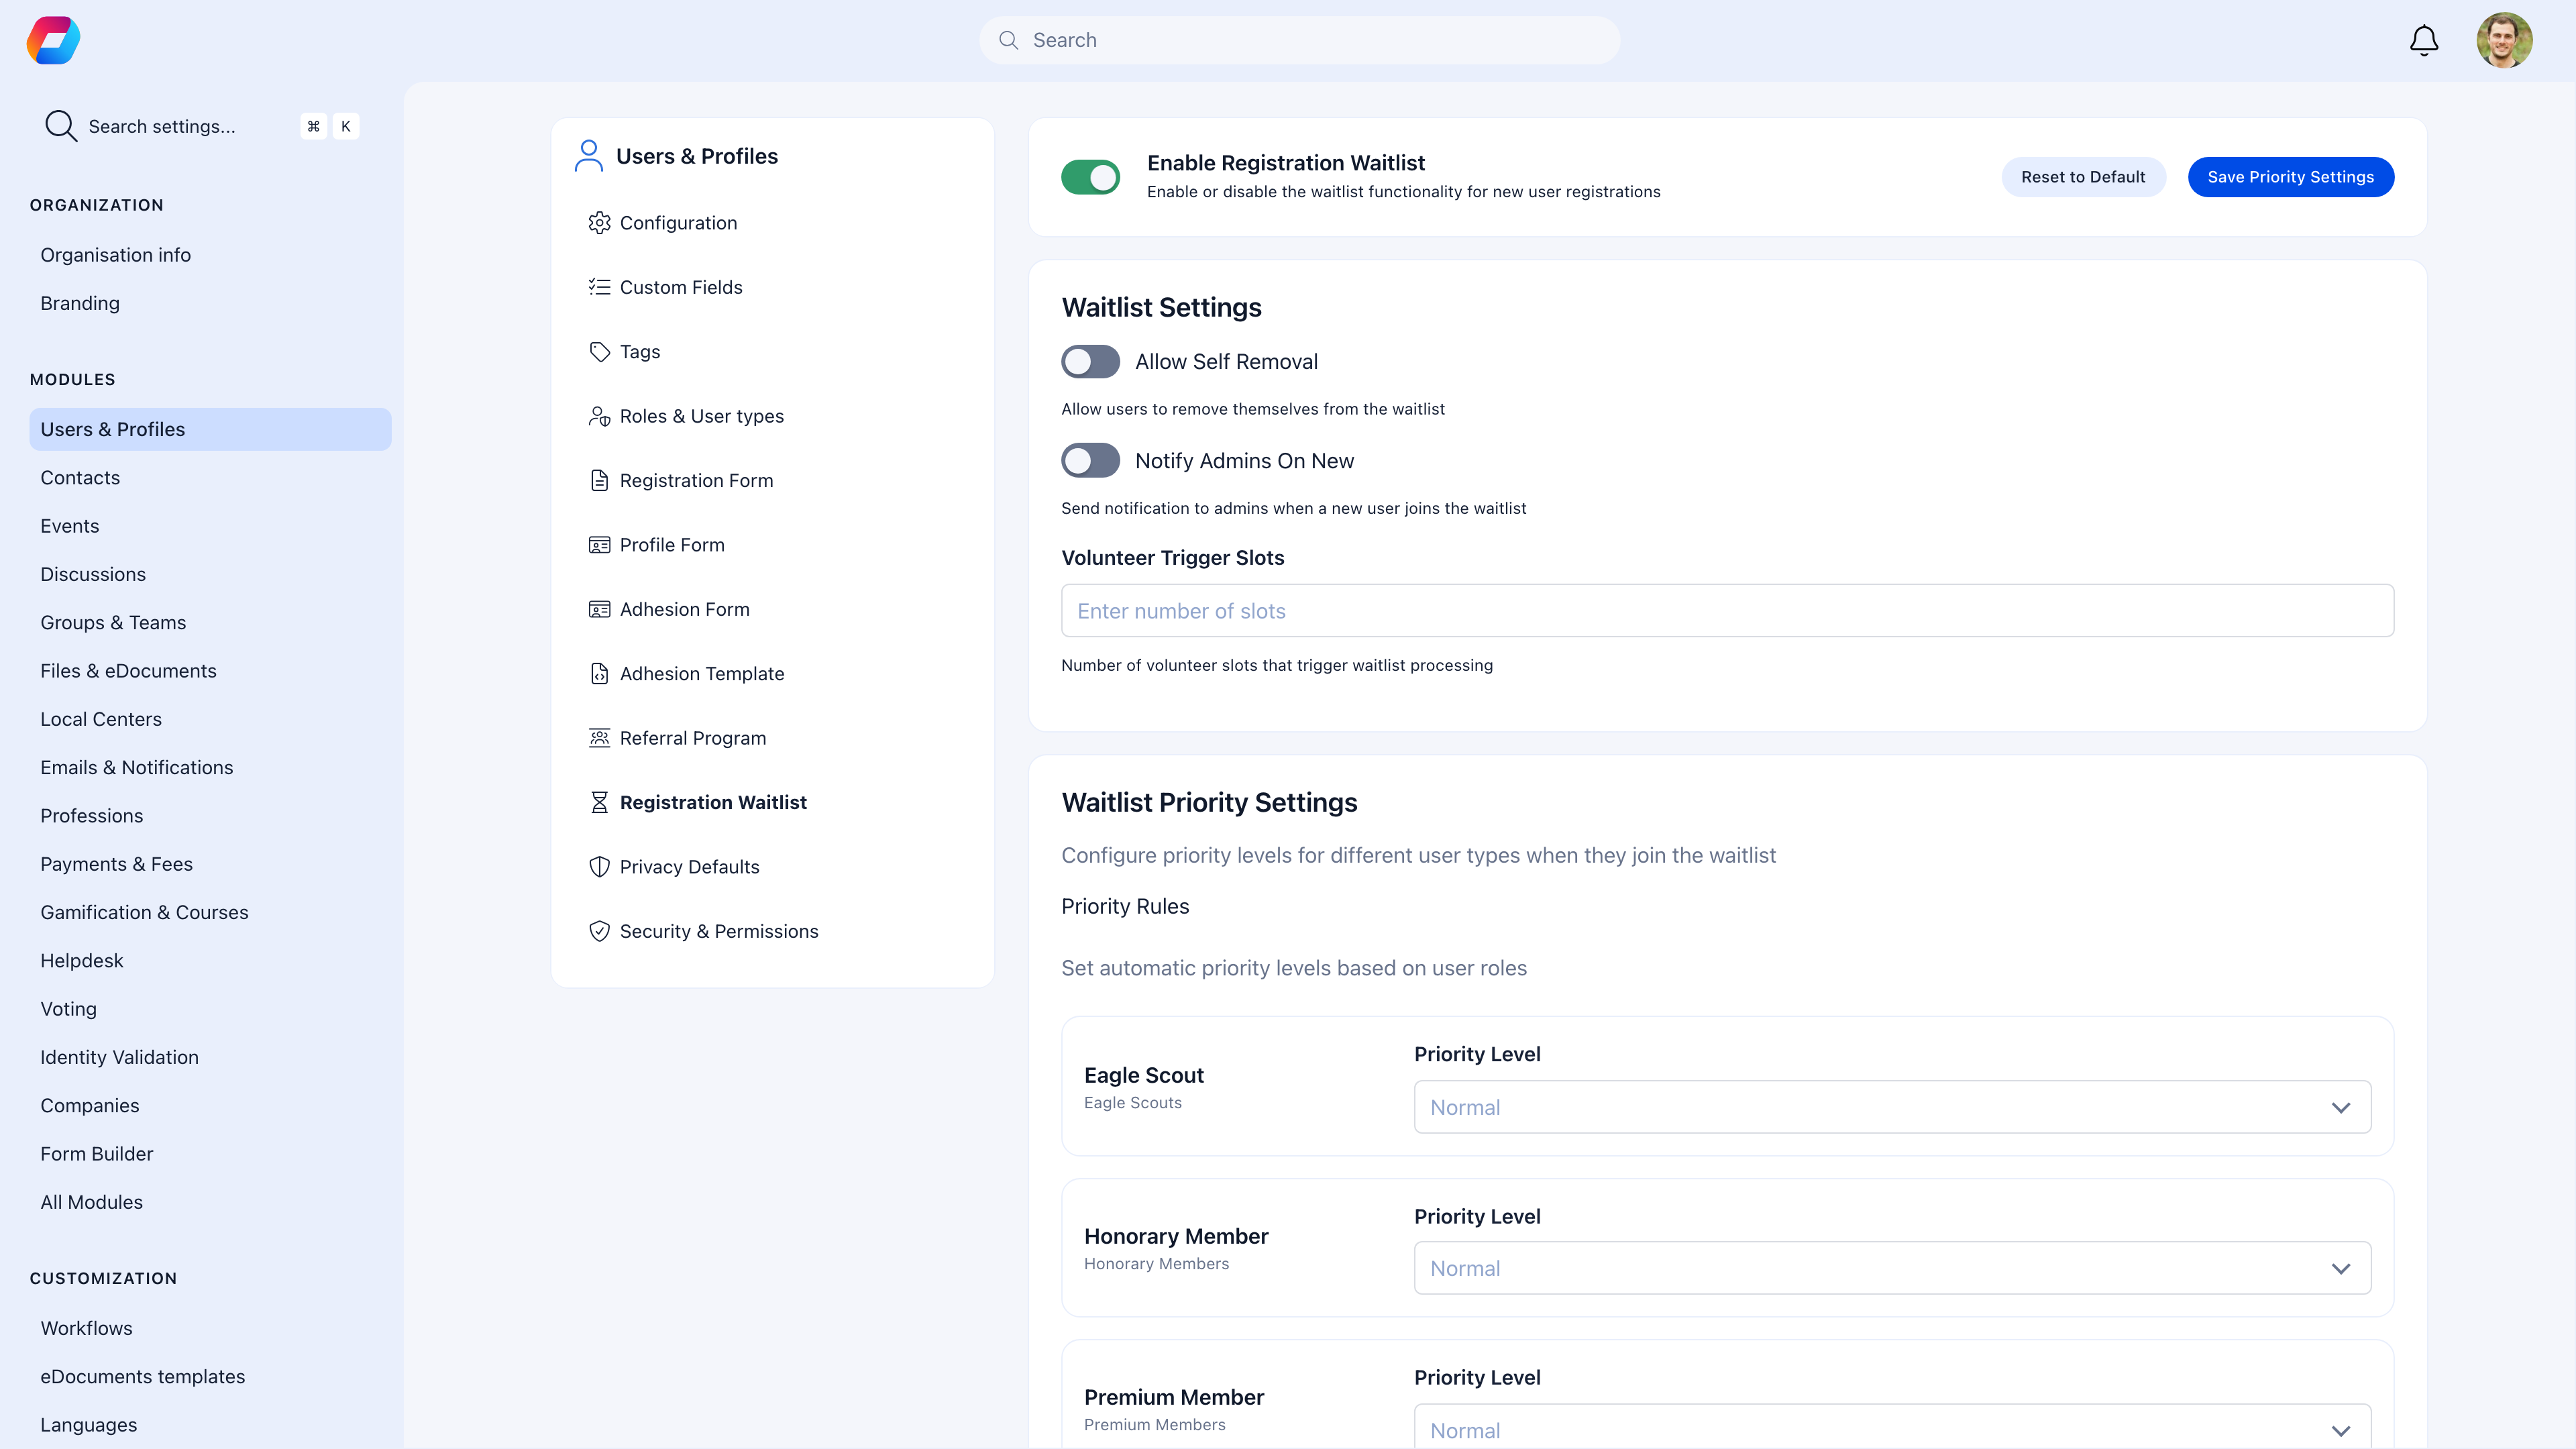
How to enable
Settings → Users & Profiles → Registration Waitlist| Setting | What it does |
|---|---|
| Waitlist | Toggle to enable. When active, visitors can join the waitlist when registration is closed or full. |
| Allow self-removal | When on, users can remove themselves from the waitlist. When off, only admins can remove entries. Keep it on — it keeps the list accurate. |
| Notify admins on new entry | Email notification when someone joins the waitlist. Useful if you want to track demand in real time. |
What happens when someone joins the waitlist
Visitor tries to register
When membership is closed or the waitlist is active, the registration page shows a waitlist option instead of (or alongside) the regular form.
They wait
They receive a confirmation that they’re on the list. They can check their position if self-removal is enabled.
You invite them
When a spot opens, you approve entries from the waitlist. They receive an invitation to complete registration.
Managing the waitlist
Navigate to Waitlist in the sidebar to view and process entries.Admin actions
| Action | What it does |
|---|---|
| Approve | Sends the person an invitation to register. Can select individual entries or use Approve Selected for bulk processing. |
| Reject | Removes from the waitlist. The person is notified. |
| Change Priority | Move entries to High, Normal, or Low priority. High-priority entries are surfaced at the top. |
| Send Notifications | Send a bulk notification to waitlisted people (e.g., “spots opening soon”). |
| Export CSV | Download the waitlist for external analysis or communication. |
Priority system
The default order is first come, first served. Use priority to adjust:- High — Move to the top of the queue (e.g., returning members, VIP referrals)
- Normal — Standard queue position
- Low — Deprioritized (e.g., incomplete information, questionable entries)
Waitlist + adhesion (the full pipeline)
For organizations that need both capacity management and application review:- Waitlist handles demand — people queue when membership is full
- When spots open, you invite from the waitlist
- Adhesion handles vetting — invited people fill out a full application
- Admins review and approve/reject the application
- Approved applicants become active members
Common scenarios
How do I process people from the waitlist?
How do I process people from the waitlist?
Go to Waitlist in the sidebar. Select the entries you want to invite (use the checkboxes), then click Approve Selected. They’ll receive an invitation email with a link to complete registration.
The waitlist is getting stale — people signed up months ago
The waitlist is getting stale — people signed up months ago
Export the list to CSV and review. Send a bulk notification asking if they’re still interested. Remove entries that don’t respond after a reasonable time. If self-removal is enabled, some will remove themselves naturally.
I want to open registration temporarily without the waitlist
I want to open registration temporarily without the waitlist
Disable the waitlist toggle in settings. Registration returns to normal. When you want to close it again, re-enable the waitlist. Existing waitlist entries are preserved.
Can someone on the waitlist access the platform?
Can someone on the waitlist access the platform?
No. Waitlist entries are not registered users — they’ve expressed interest but haven’t gone through registration. They become users only after being invited and completing registration.
What's the difference between the waitlist and setting Status After Register to Unapproved?
What's the difference between the waitlist and setting Status After Register to Unapproved?
The waitlist is for pre-registration — people can’t even create an account yet. They’re in a queue.Unapproved status is post-registration — people have accounts but can’t do much until approved.Use the waitlist when you want to control the total number of members. Use Unapproved when you want everyone to register but need to review them before granting access.
Related
- Adhesion — Application review after waitlist invitation
- Registration Form — What members fill out after being invited
- Invitations — Manual invitation system (separate from waitlist)
- User Statuses — Alternative: Unapproved status for post-registration gating