

Private or open to join
These are the two member-run access modes. Pick deliberately, because they behave very differently.
You can switch a group between the two modes later by editing it, provided you have
ADMIN_TENANT for the open modes. Starting private and opening up later is safer than the reverse.
Creating a group
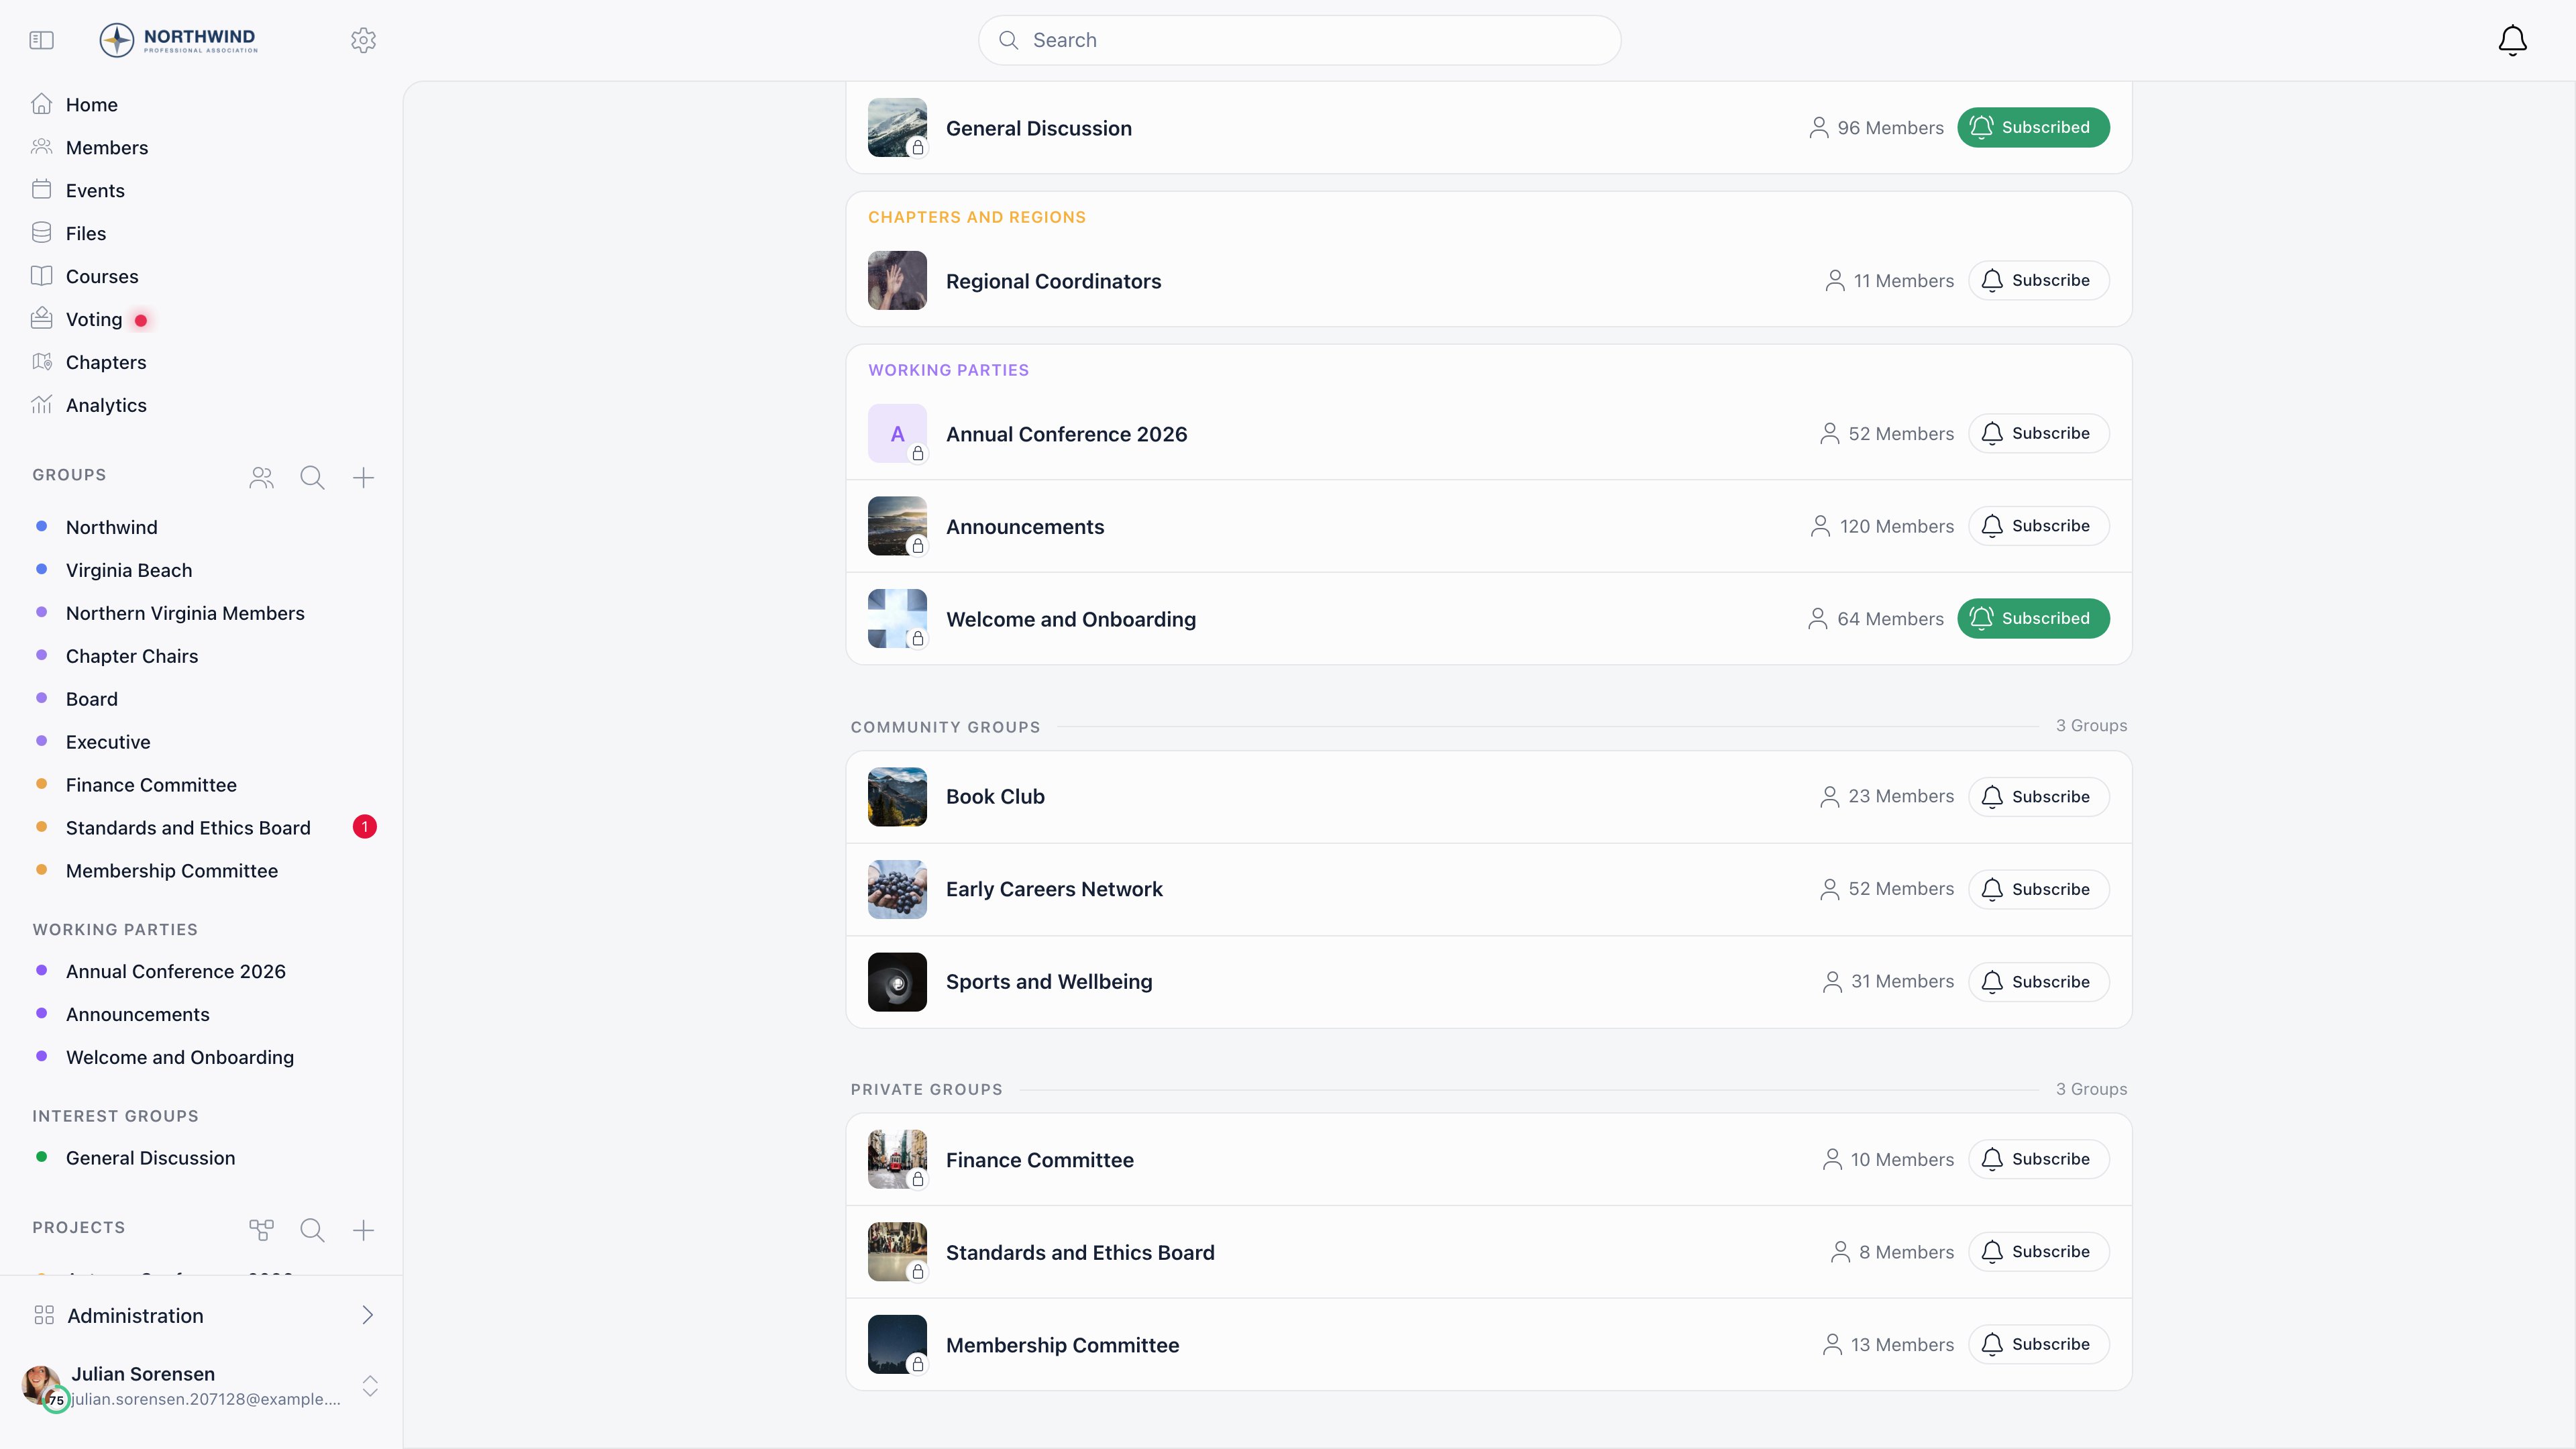
Groups → Create group, or the + in the sidebar’s Groups section.1
Name it
A name that explains the purpose. “Q4 Marketing Campaign” beats “Marketing Group”. Optionally pick a Menu emoji that shows beside it in the sidebar.
2
Set Access
Private for invite-only. Organization admins also see Open to join, Auto-enroll all members and Role group. Members without
ADMIN_TENANT do not see the Access selector at all and get a private group.3
Pick a category
Only offered on open and auto-enroll groups, and only when Enable Group Categories is on. You only see the categories you are allowed to create in.
4
Choose Features
Discussions, Files and Events. At least one must stay on. Each one also needs its module enabled organization-wide to appear.
5
Set Who can post?
Everyone in the group or Only admins. This one control covers discussions, files and events together.
6
Add a description
Rich text, with images. Once set, it becomes the group’s About tab.
7
Save
You become the group’s owner and its first admin, and you land on the Members tab ready to add people.
Managing members
Open the group and go to the Members tab.Adding people
Group admins get a search box on the Members tab. Type a name, pick the member, and they are added immediately. There is no email invitation and no pending state, so the person must already have an account in your organization. For an Open to join group, the Join group link button copies a URL you can paste into an email or chat. Anyone in your organization who opens it is joined on the spot and taken to the group’s discussions.Roles inside a group
Promote or demote from the row menu on the Members tab: Make Admin and Dismiss as Admin.
Adding someone to a group requires an active admin role inside that group. Removing a member and changing who is an admin is also open to organization moderators (
HR_TENANT), and ADMIN_TENANT can edit, archive and delete any group whether or not they are in it.
Leaving and removing
Members can leave from Leave group in the group’s header menu. The owner cannot leave their own group, and nobody can leave an auto-enroll group. Admins remove members from the row menu on the Members tab. Removal takes effect immediately and the person loses access to everything in the group.Who can see what
Archiving and deleting
Open the group’s Settings from its header, or edit it from the Groups page.Prefer archiving. Archived groups keep their discussions, decisions and files, and an organization admin can bring them back at any time. A group with a newsletter attached refuses to delete until you remove the newsletter, so archive it instead.
Common scenarios
Should I let members create their own interest groups?
Should I let members create their own interest groups?
Members can already create groups if Who can create is left at its
USER default, but what they get is a Private group only they can see until they add people. To let members discover and self-join interest communities, an organization admin has to create the group as Open to join.A project finished, what do I do with the group?
A project finished, what do I do with the group?
Archive it. It leaves the main list but everything is preserved, and it can be unarchived later.
Can I convert a private group into a role group?
Can I convert a private group into a role group?
Not by editing it. The Role group option in the Access selector is a different kind of space with criteria-based membership. Create a role group and archive the private one.
The group owner left the organization
The group owner left the organization
Any member with
ADMIN_TENANT can open the group’s settings and manage it, including archiving or deleting it. Ownership itself stays with the original account and is not reassignable from the interface.I want a group everyone can find but only admins post to
I want a group everyone can find but only admins post to
Create it as Open to join and set Who can post? to Only admins. Members find it, join it and read it; only group admins and organization moderators post.
Someone was added to a private group by mistake
Someone was added to a private group by mistake
Remove them from the row menu on the Members tab. Access ends immediately, though anything they already read or downloaded is obviously already out.
Why does the group have no Discussions tab?
Why does the group have no Discussions tab?
Either Discussions is off in the group’s Features, or the Discussions module is off for the whole organization. The same applies to Files and Events. Non-members never see the tabs at all.
Related
- Groups & Teams - all access modes and when to use each
- Role Groups - criteria-based automatic membership
- Main Group - the organization-wide space
- Local Centers - geographic branches
- Permissions - what
ADMIN_TENANTandHR_TENANTcover