Requires Tenant Admin permissions. Only organization administrators see the gear icon in the sidebar. If you don’t see it, ask your organization’s main admin to grant you Tenant Admin access.
The Settings page
Open Settings from the gear icon at the bottom of the sidebar. The settings area is organized into four sections, each handling a different aspect of your workspace: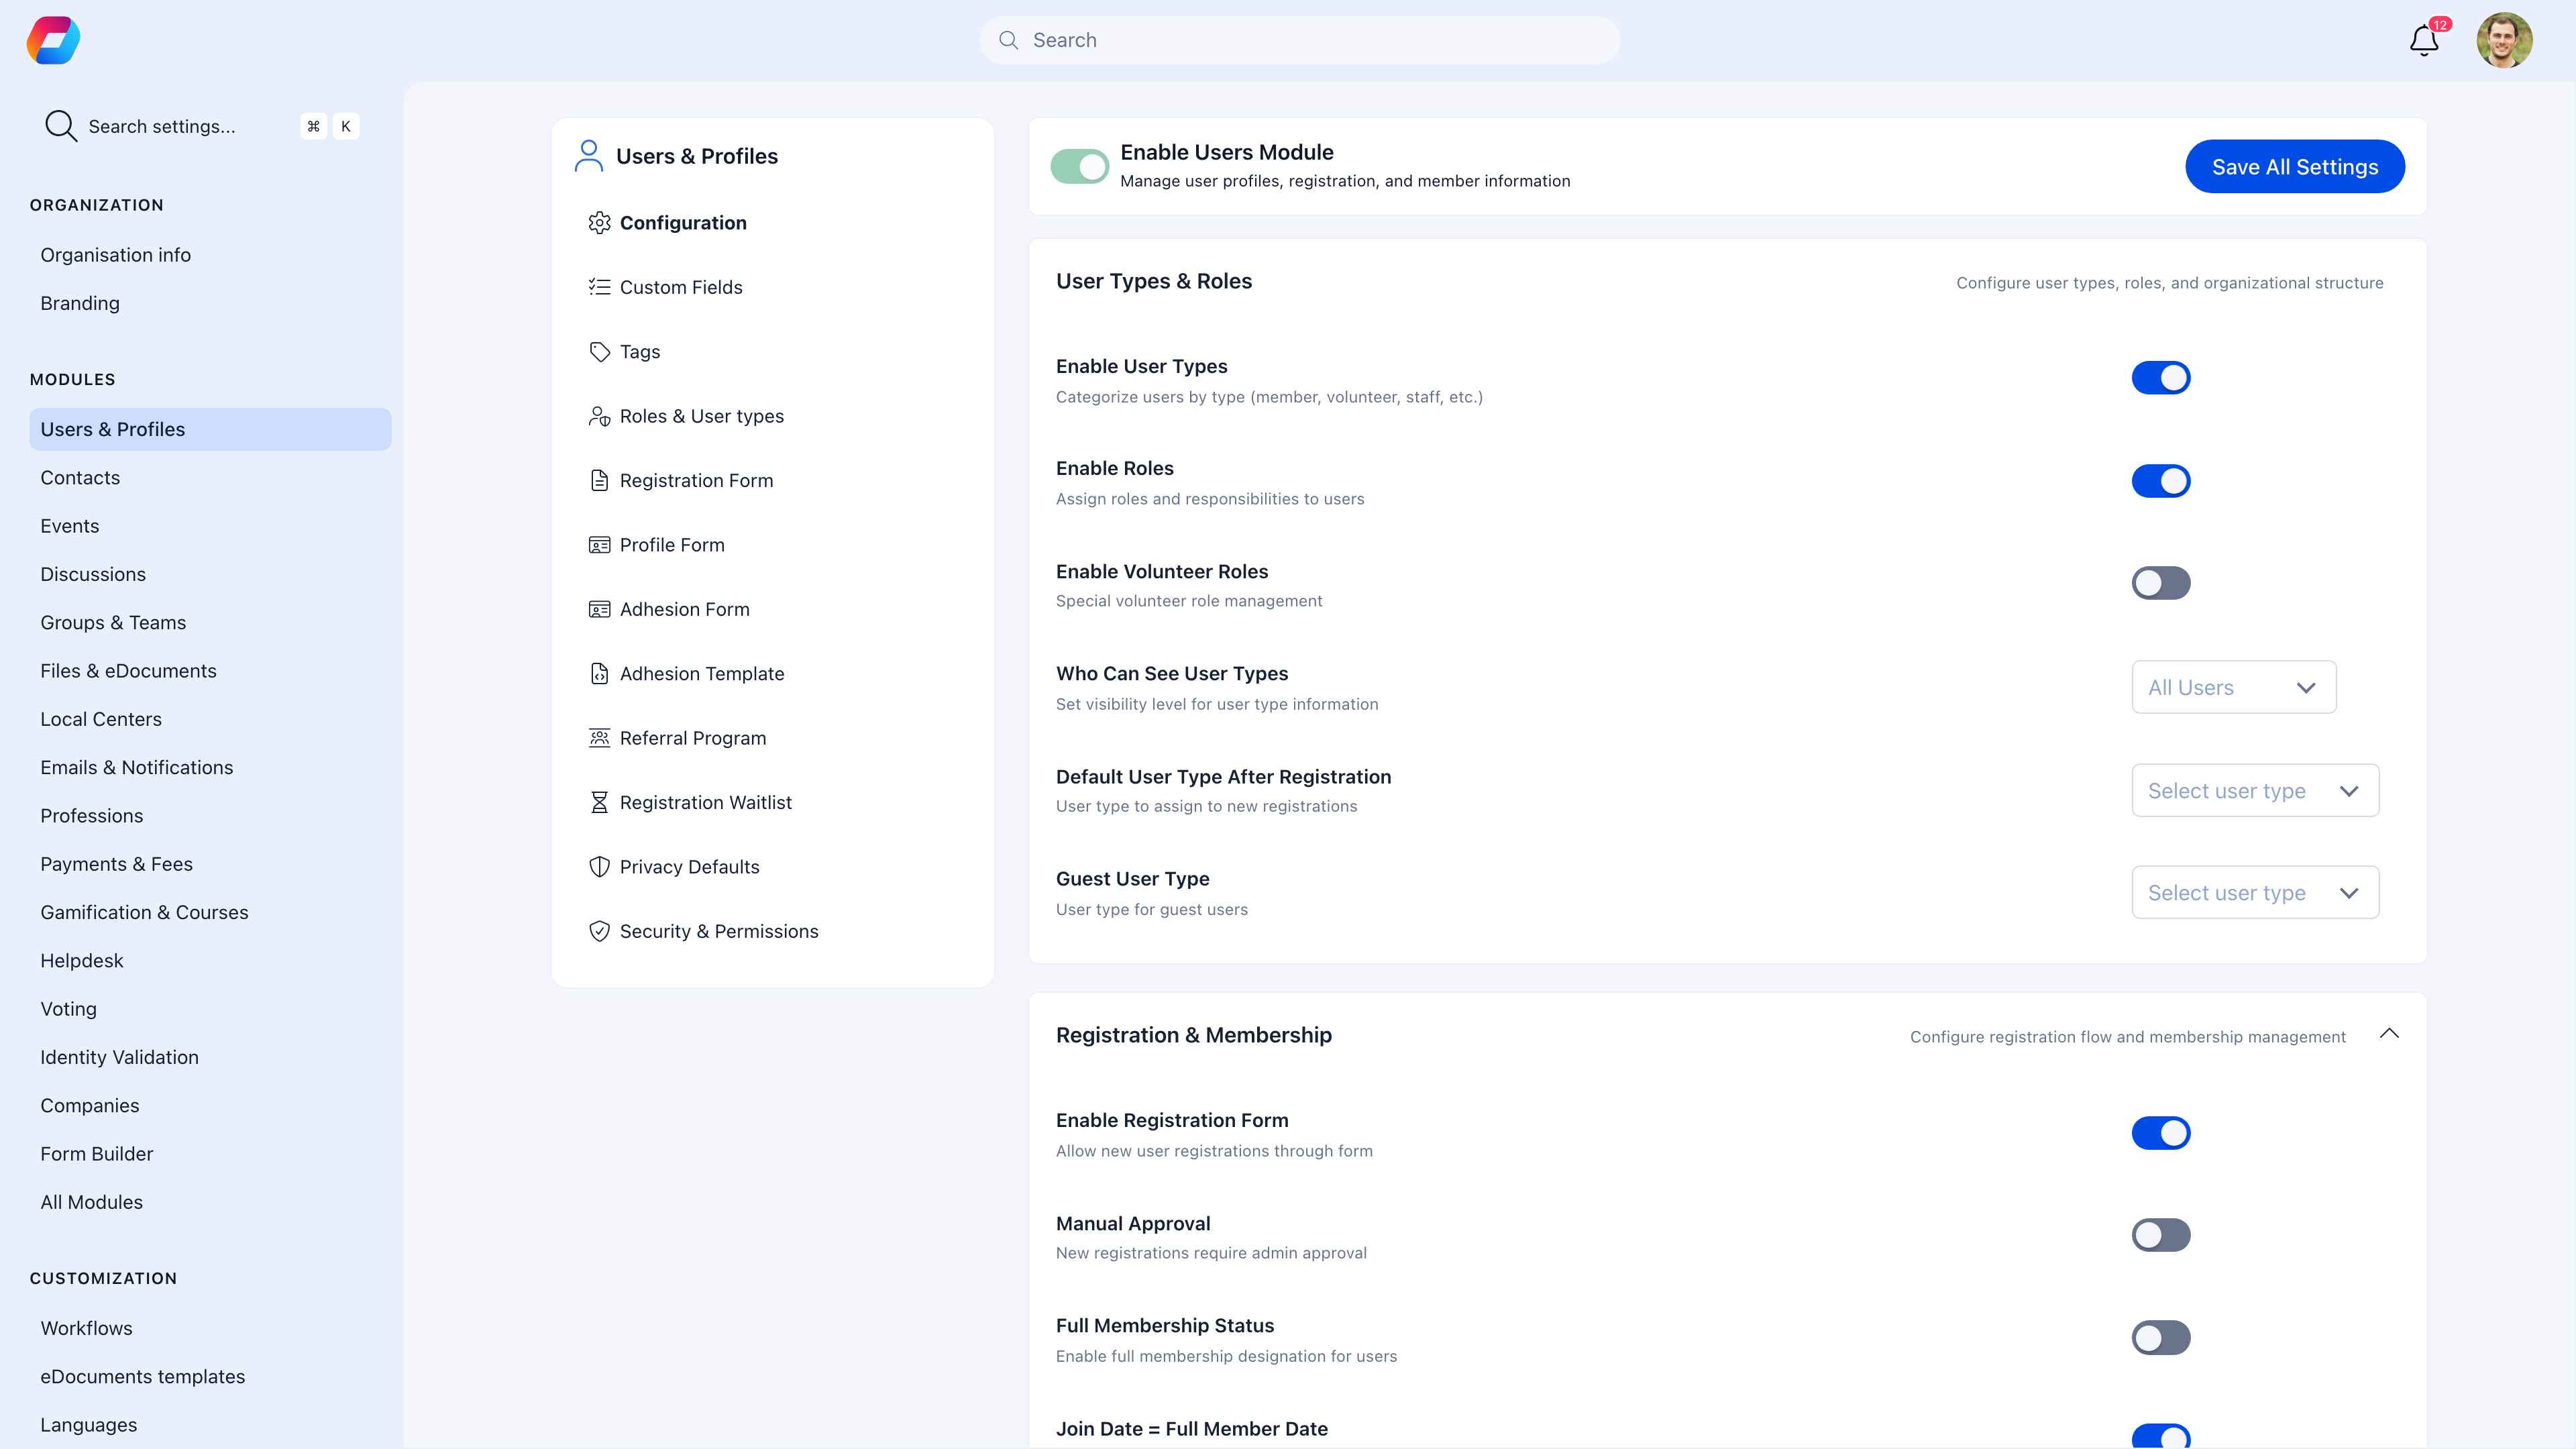
Organization
Your organization’s identity — name, country, contact details, legal information, currency, social media links, and visual branding (logos and login background). This information flows into invoices, emails, registration pages, and the mobile app.
Modules
Enable or disable platform features like Events, Discussions, Fees, Newsletter, Courses, and more. Each module can be individually configured — turn on what your organization uses, leave the rest off to keep the interface clean.
Customization
Tailor the member experience — set languages, rename default terminology (e.g., “Members” to “Scouts”), rearrange the sidebar menu, configure the dashboard layout, write welcome messages, and import data from CSV files.
Developers
Technical integrations — API access tokens for third-party systems, OAuth application configuration for single sign-on, and webhook endpoints for real-time event notifications.
Recommended setup order
If you’re setting up a new workspace, configure Settings in this order:- Organization Info — Set your name, country, timezone, contact details, and currency first. These appear everywhere.
- Branding — Upload your logos and set the login background so the platform looks like yours from the start.
- Modules — Enable the features you need (Events, Discussions, Fees, etc.) and disable the rest.
- Customization — Set languages, rename terms, organize the sidebar menu, and configure the dashboard.
- Forms — Configure what data you collect during registration and on member profiles.
- Email Templates — Review and customize the automated emails members will receive.
Organization identity
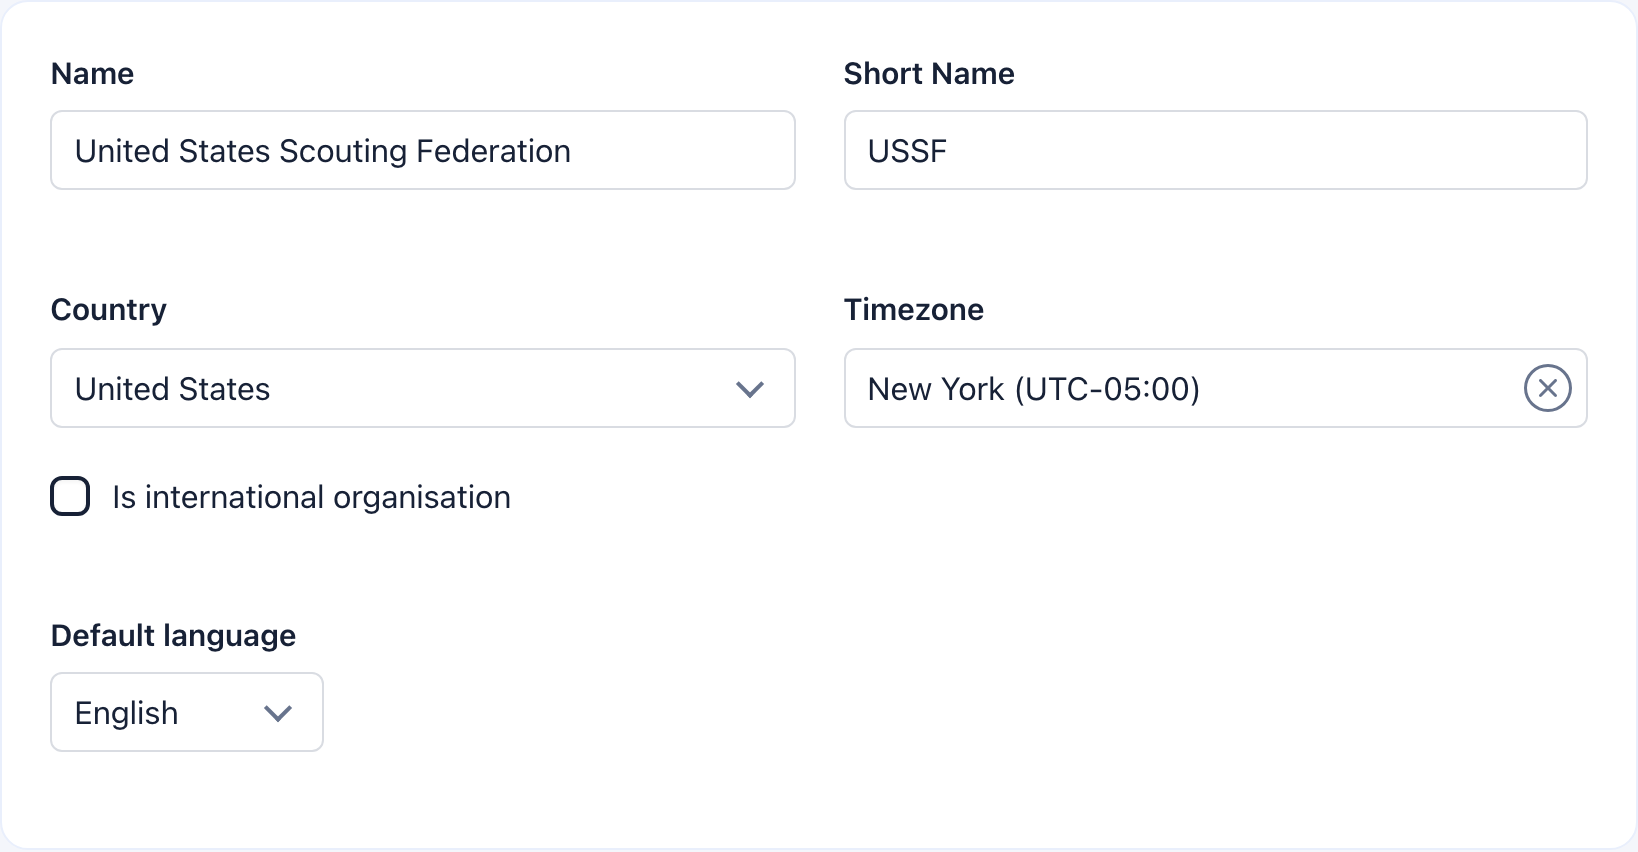
The Organization section contains two pages that define how your workspace looks and is identified:Organization Info
Your organization’s name, short name, country, timezone, default language, office email, phone, address, privacy policy URL, terms of service URL, social media links, currency, legal name, VAT number, and bank IBANs. Everything entered here appears on invoices, automated emails, registration pages, and the mobile app.
Branding
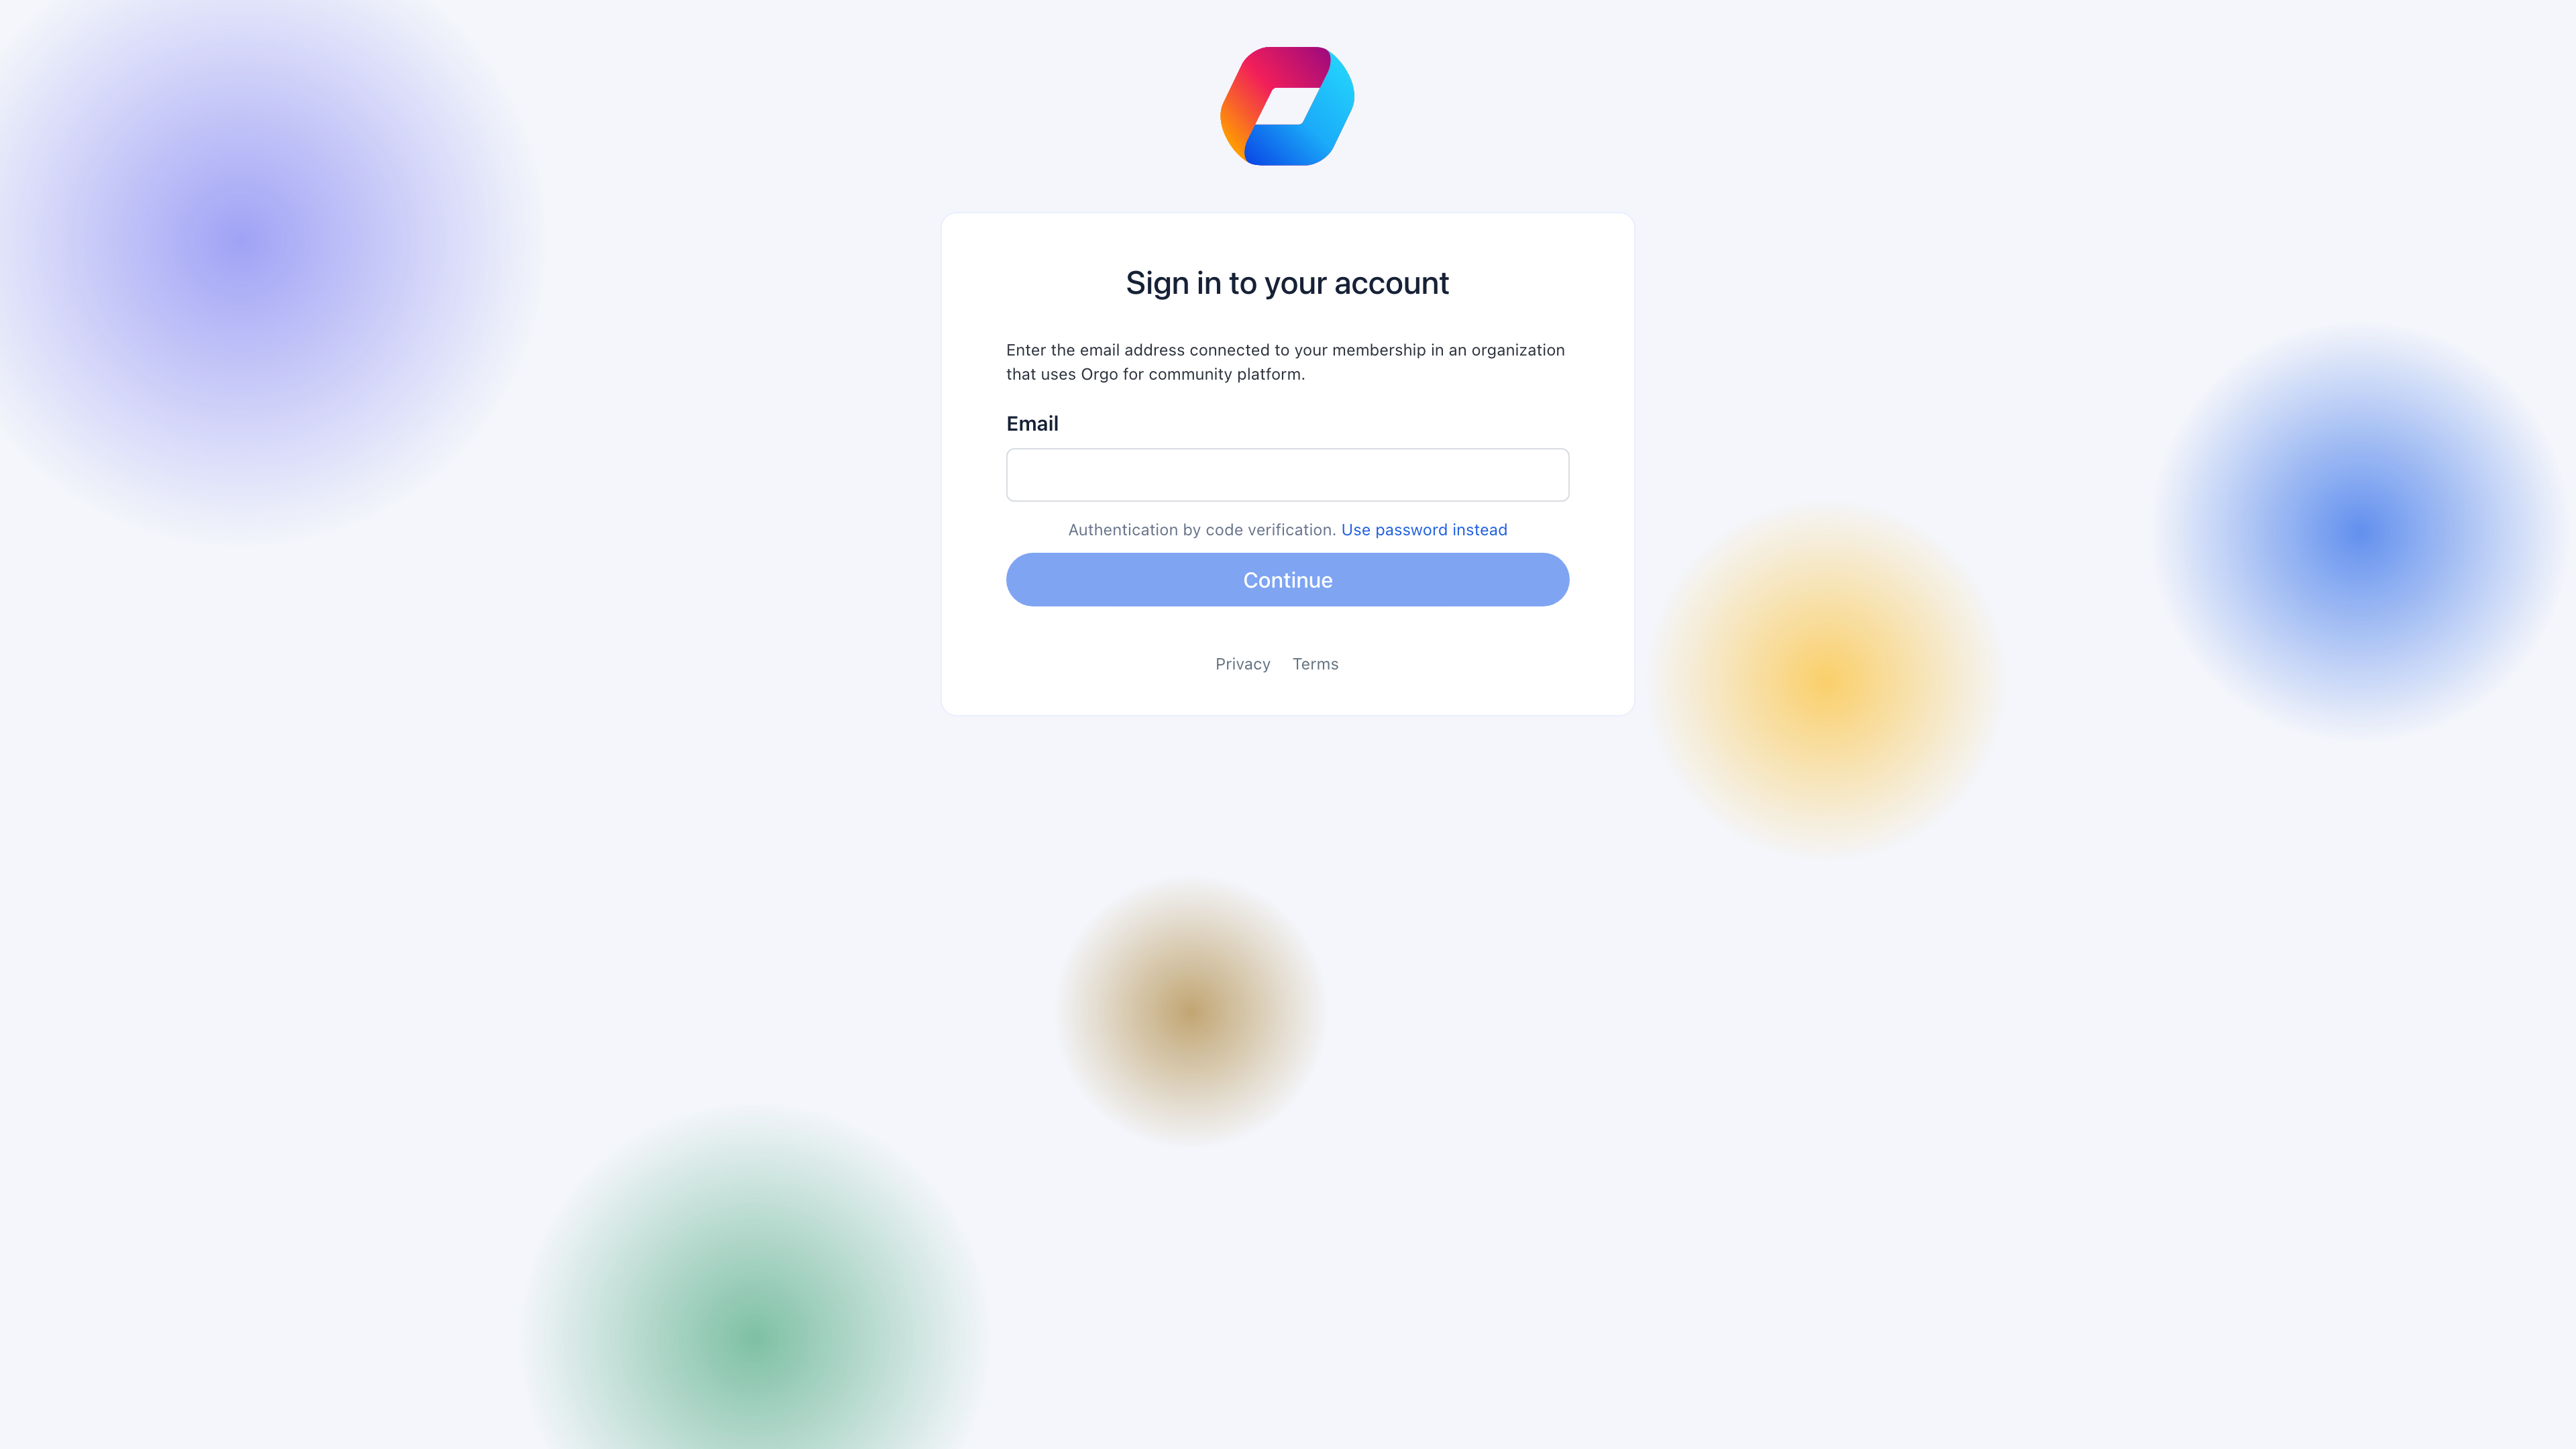
Four logo variants (light theme, dark theme, squared, and icon dark) and a login background image URL. Logos appear in the sidebar, email headers, mobile app, and browser favicon. The login background shows behind the login, registration, and password reset screens.
Organization profile
Branding
Forms
Forms control what data you collect from members at different stages. They’re configured inside the Users & Profiles module and use the same drag-and-drop builder across all three form types:Registration Form
The form new members fill in when signing up. Controls the first impression — keep it short to reduce drop-offs. Email is always required and cannot be removed.
Profile Form
Fields visible on a member’s profile after registration. Can include file uploads (photos, documents) since the member is already authenticated. Mark fields as required to trigger a splash screen prompt on next login.
Adhesion Form
A separate application form for prospective members who need approval before joining. Useful for organizations with membership criteria, vetting processes, or paid applications that require admin review.
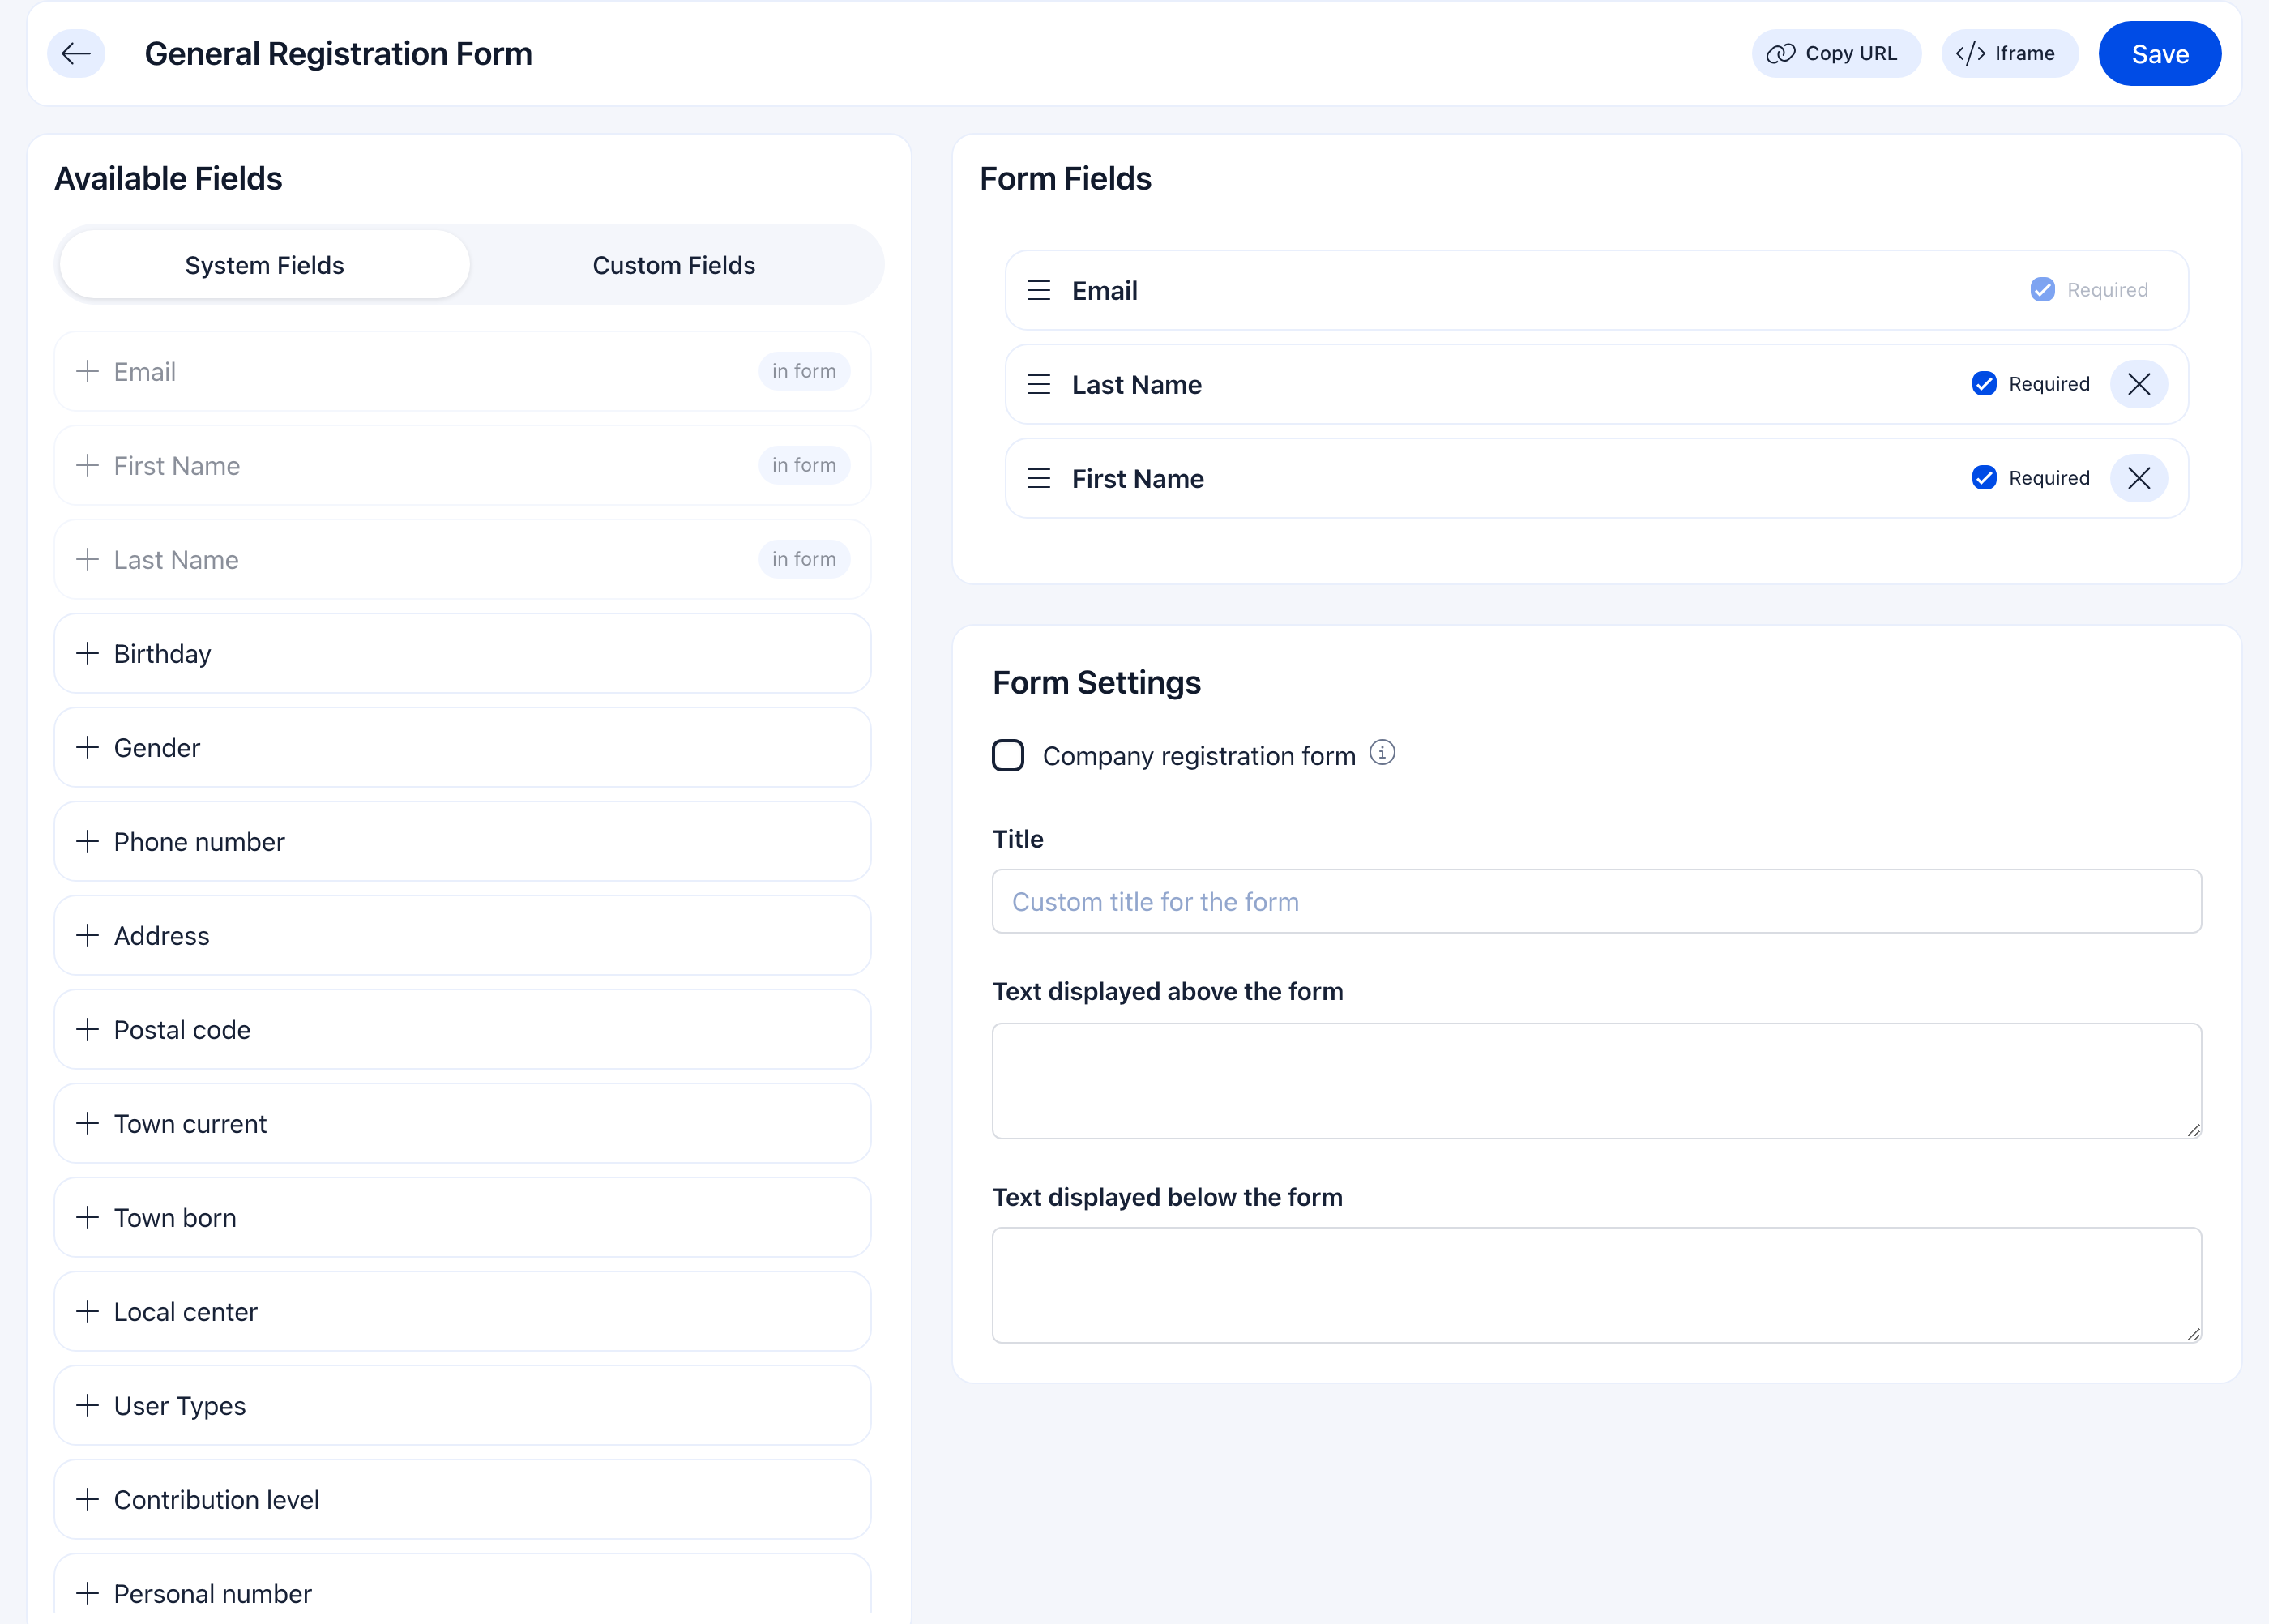
- Email is always included and cannot be removed — it’s how Orgo identifies each member
- Switch between System Fields (built-in fields like name, phone, address) and Custom Fields (fields you created) using the tabs on the left
- Add a title and intro text in the Form Settings section below the field list — this appears at the top of the form
- Click Iframe to get an embeddable link you can place on your website, so visitors can register without leaving your site
- If you have User Types configured, each type gets its own form — you can require different fields for different member types
File upload fields (photos, documents) only appear on the Profile Form — they require authentication, so they’re excluded from the Registration Form. Collect documents after the member has created their account.
Email templates
Settings → Modules → Emails & Notifications → Templates Every automated email Orgo sends — welcome messages, event reminders, fee payment confirmations, password resets, newsletter opt-ins — has a customizable template. Templates are organized by category (Authentication, Events, Fees, etc.), and each template has a rich text editor where you can modify the subject line, body text, and dynamic placeholders.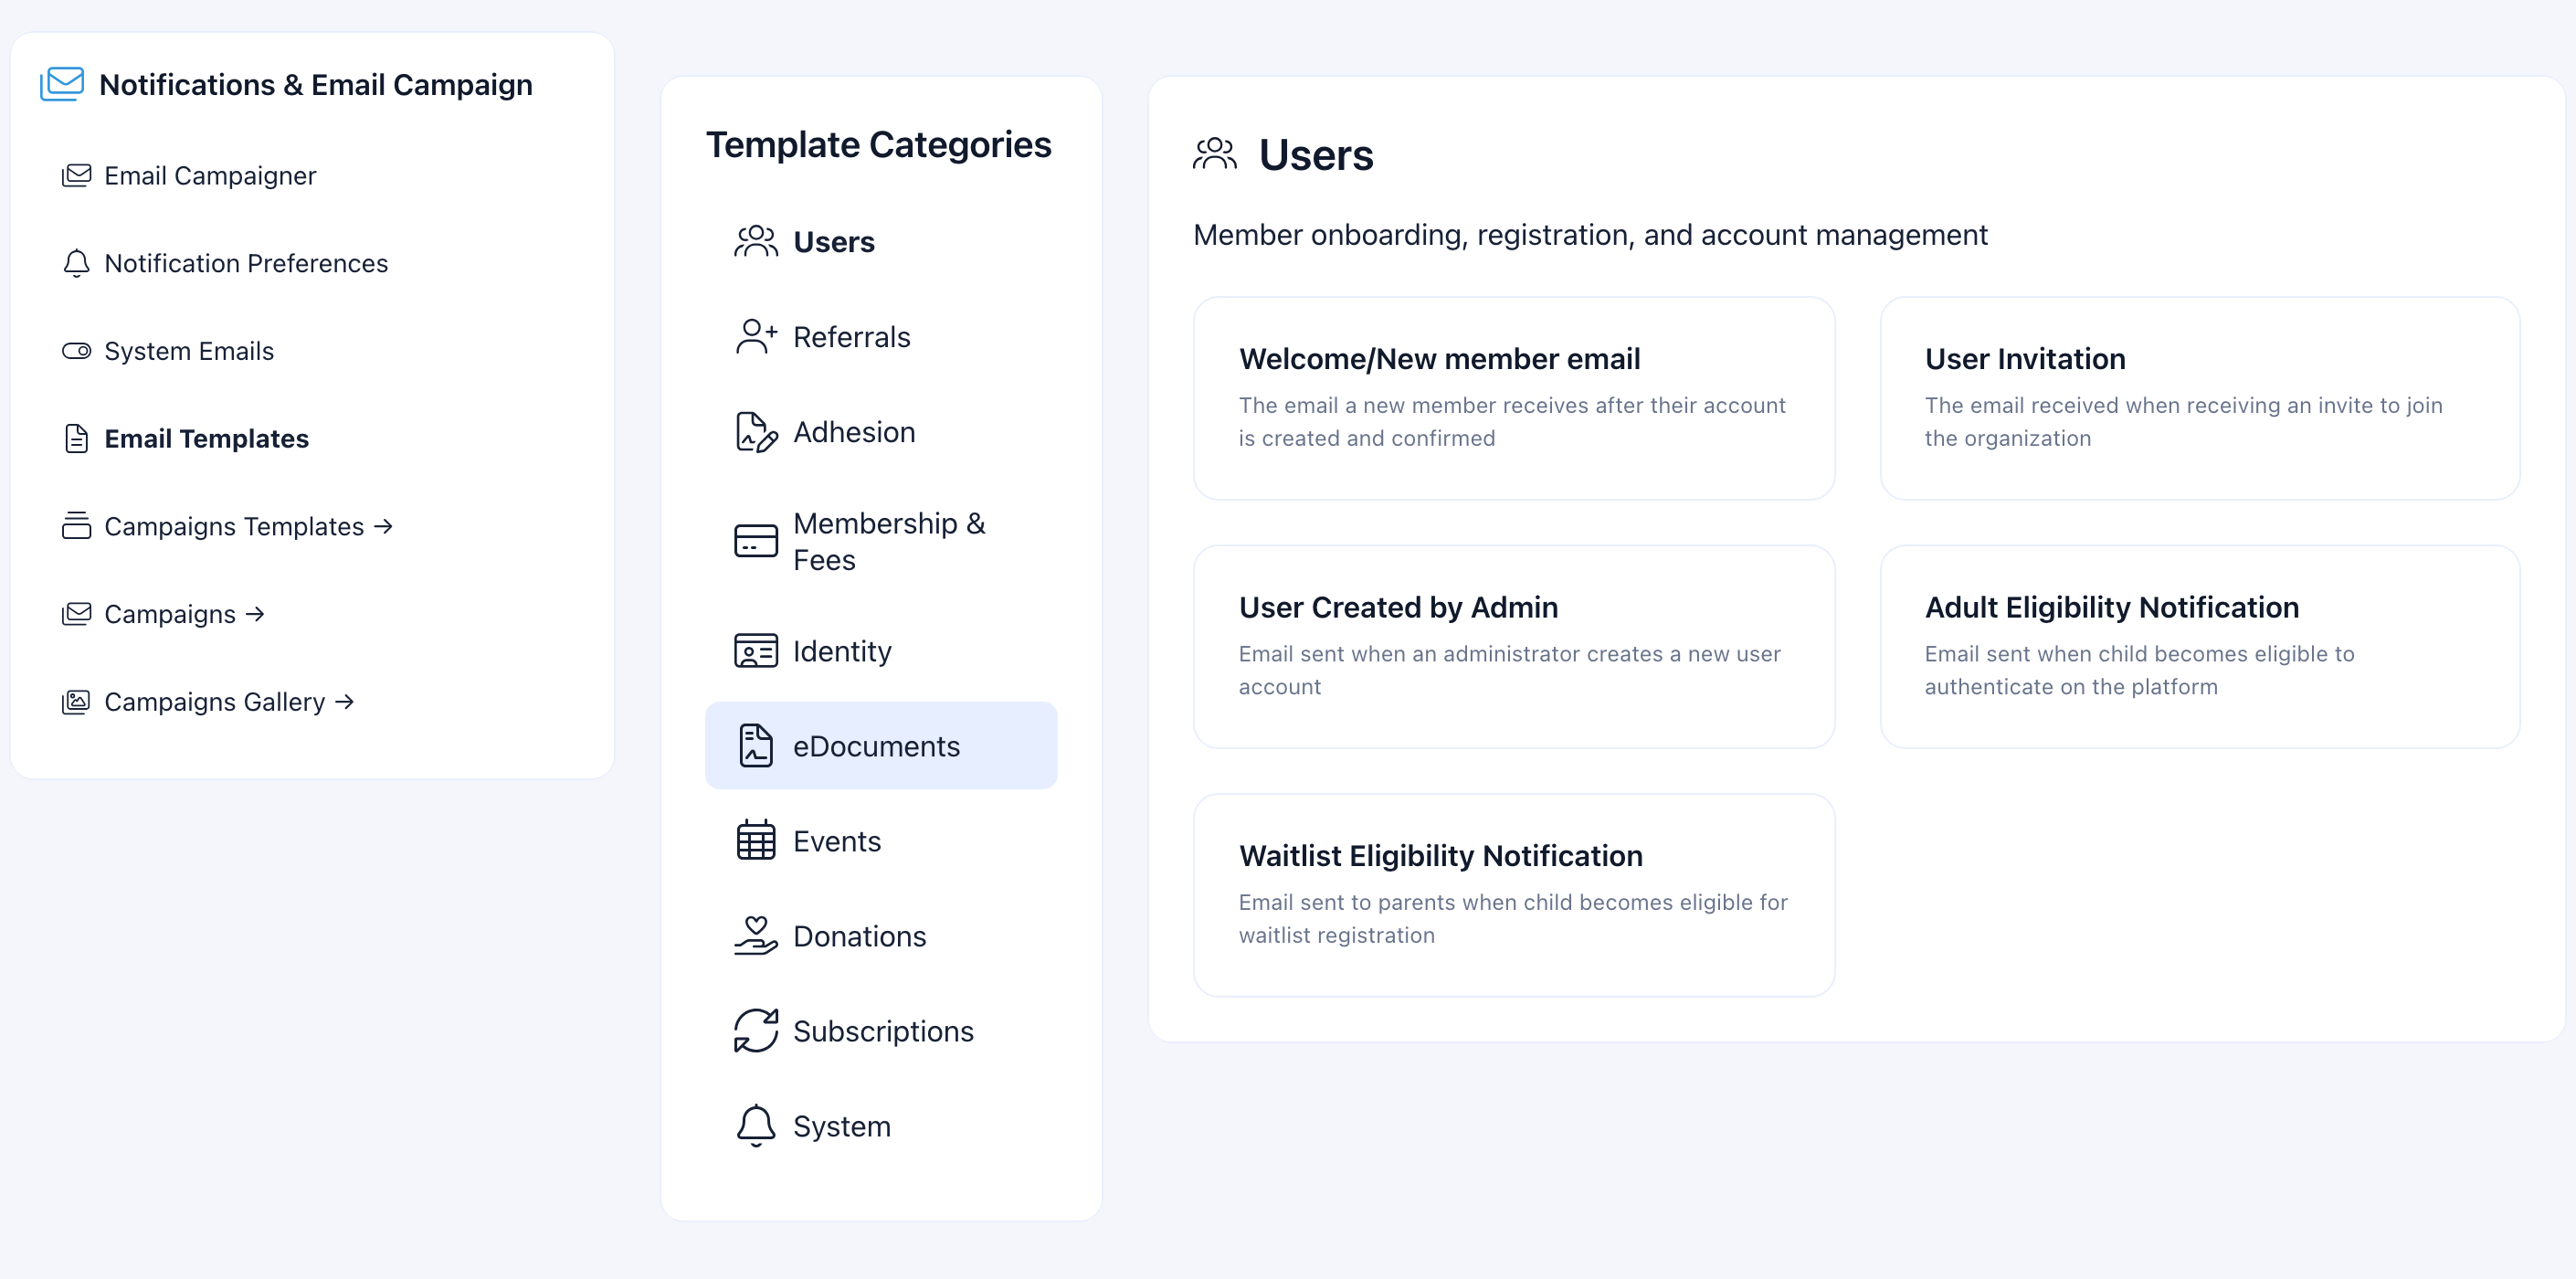
{firstName} and {organizationName}) that automatically fill in per-recipient data.
The template categories match your enabled modules: if you enable the Events module, the Events email category appears with templates for event confirmations, reminders, and cancellations. If you disable a module, its email templates are hidden but preserved — re-enable the module and they come back with your customizations intact.
Real-world example
Scenario: A regional arts council launching Orgo for 800 members — visual artists, performers, and administrators.
- Organization Info: Set name “Regional Arts Council”, country, timezone, office email. Add privacy policy and terms URLs for registration compliance. Set currency to EUR, add legal name and VAT for invoice generation.
- Branding: Upload the council’s horizontal logo (teal on transparent) for light mode, white version for dark mode. Square logo with just the icon for mobile. Login background: a photo from last year’s annual exhibition.
- Modules: Enable Events (exhibitions, workshops), Discussions (member forum), Fees (annual membership dues), and Files (shared resources). Disable Courses, Newsletter, and E-Voting for now.
- Registration Form: Keep it minimal — email, first name, last name, and a custom “Artistic Discipline” dropdown field. Move detailed profile fields (bio, portfolio link, address) to the Profile Form with a splash screen prompt.
- Email Templates: Customize the welcome email with the council’s tone and a link to the getting-started guide. Disable the event reminder email until events are set up.
Troubleshooting
Some email template categories are missing
Some email template categories are missing
Email template categories are tied to active modules. If you don’t see the “Events” category, it’s because the Events module isn’t enabled. Go to Settings → Modules, enable the relevant module, and the corresponding email template category appears immediately. Your existing customizations are preserved even when toggling modules off and on.
Required profile fields aren't prompting members to fill them in
Required profile fields aren't prompting members to fill them in
The splash screen prompt triggers after login, not during registration. Make sure the field is both visible and required on the Profile Form page (Settings → Modules → Users & Profiles → Profile Form). Members see the prompt on their next login after you make the change — it doesn’t retroactively appear mid-session.
I changed the organization name but it still shows the old one in some places
I changed the organization name but it still shows the old one in some places
The organization name propagates to the sidebar, emails, and registration pages immediately after saving. However, already-sent emails and already-generated invoices/receipts won’t update — they preserve the name from when they were created. Browser-cached pages may also show the old name until the member refreshes. For the mobile app, members may need to force-close and reopen the app.
Related
- Organization Info — Name, contact details, financial settings, social links
- Branding — Logos and login background
- Modules — Enable/disable platform features
- Customization — Languages, labels, menu, dashboard, data import
- Registration Form — Configure what data you collect during sign-up