

Where the code comes from
Each registration gets its own code the moment the row is created, whatever its status. What confirmation adds is the emailed ticket carrying that code. Guest tickets each get their own, so a member bringing three people hands over four different codes. Attendees find theirs in three places:- the PDF ticket attached to their confirmation email, with the code, ticket number, event, date and location;
- on the event page, once their registration shows as confirmed;
- in the event app, under their tickets.
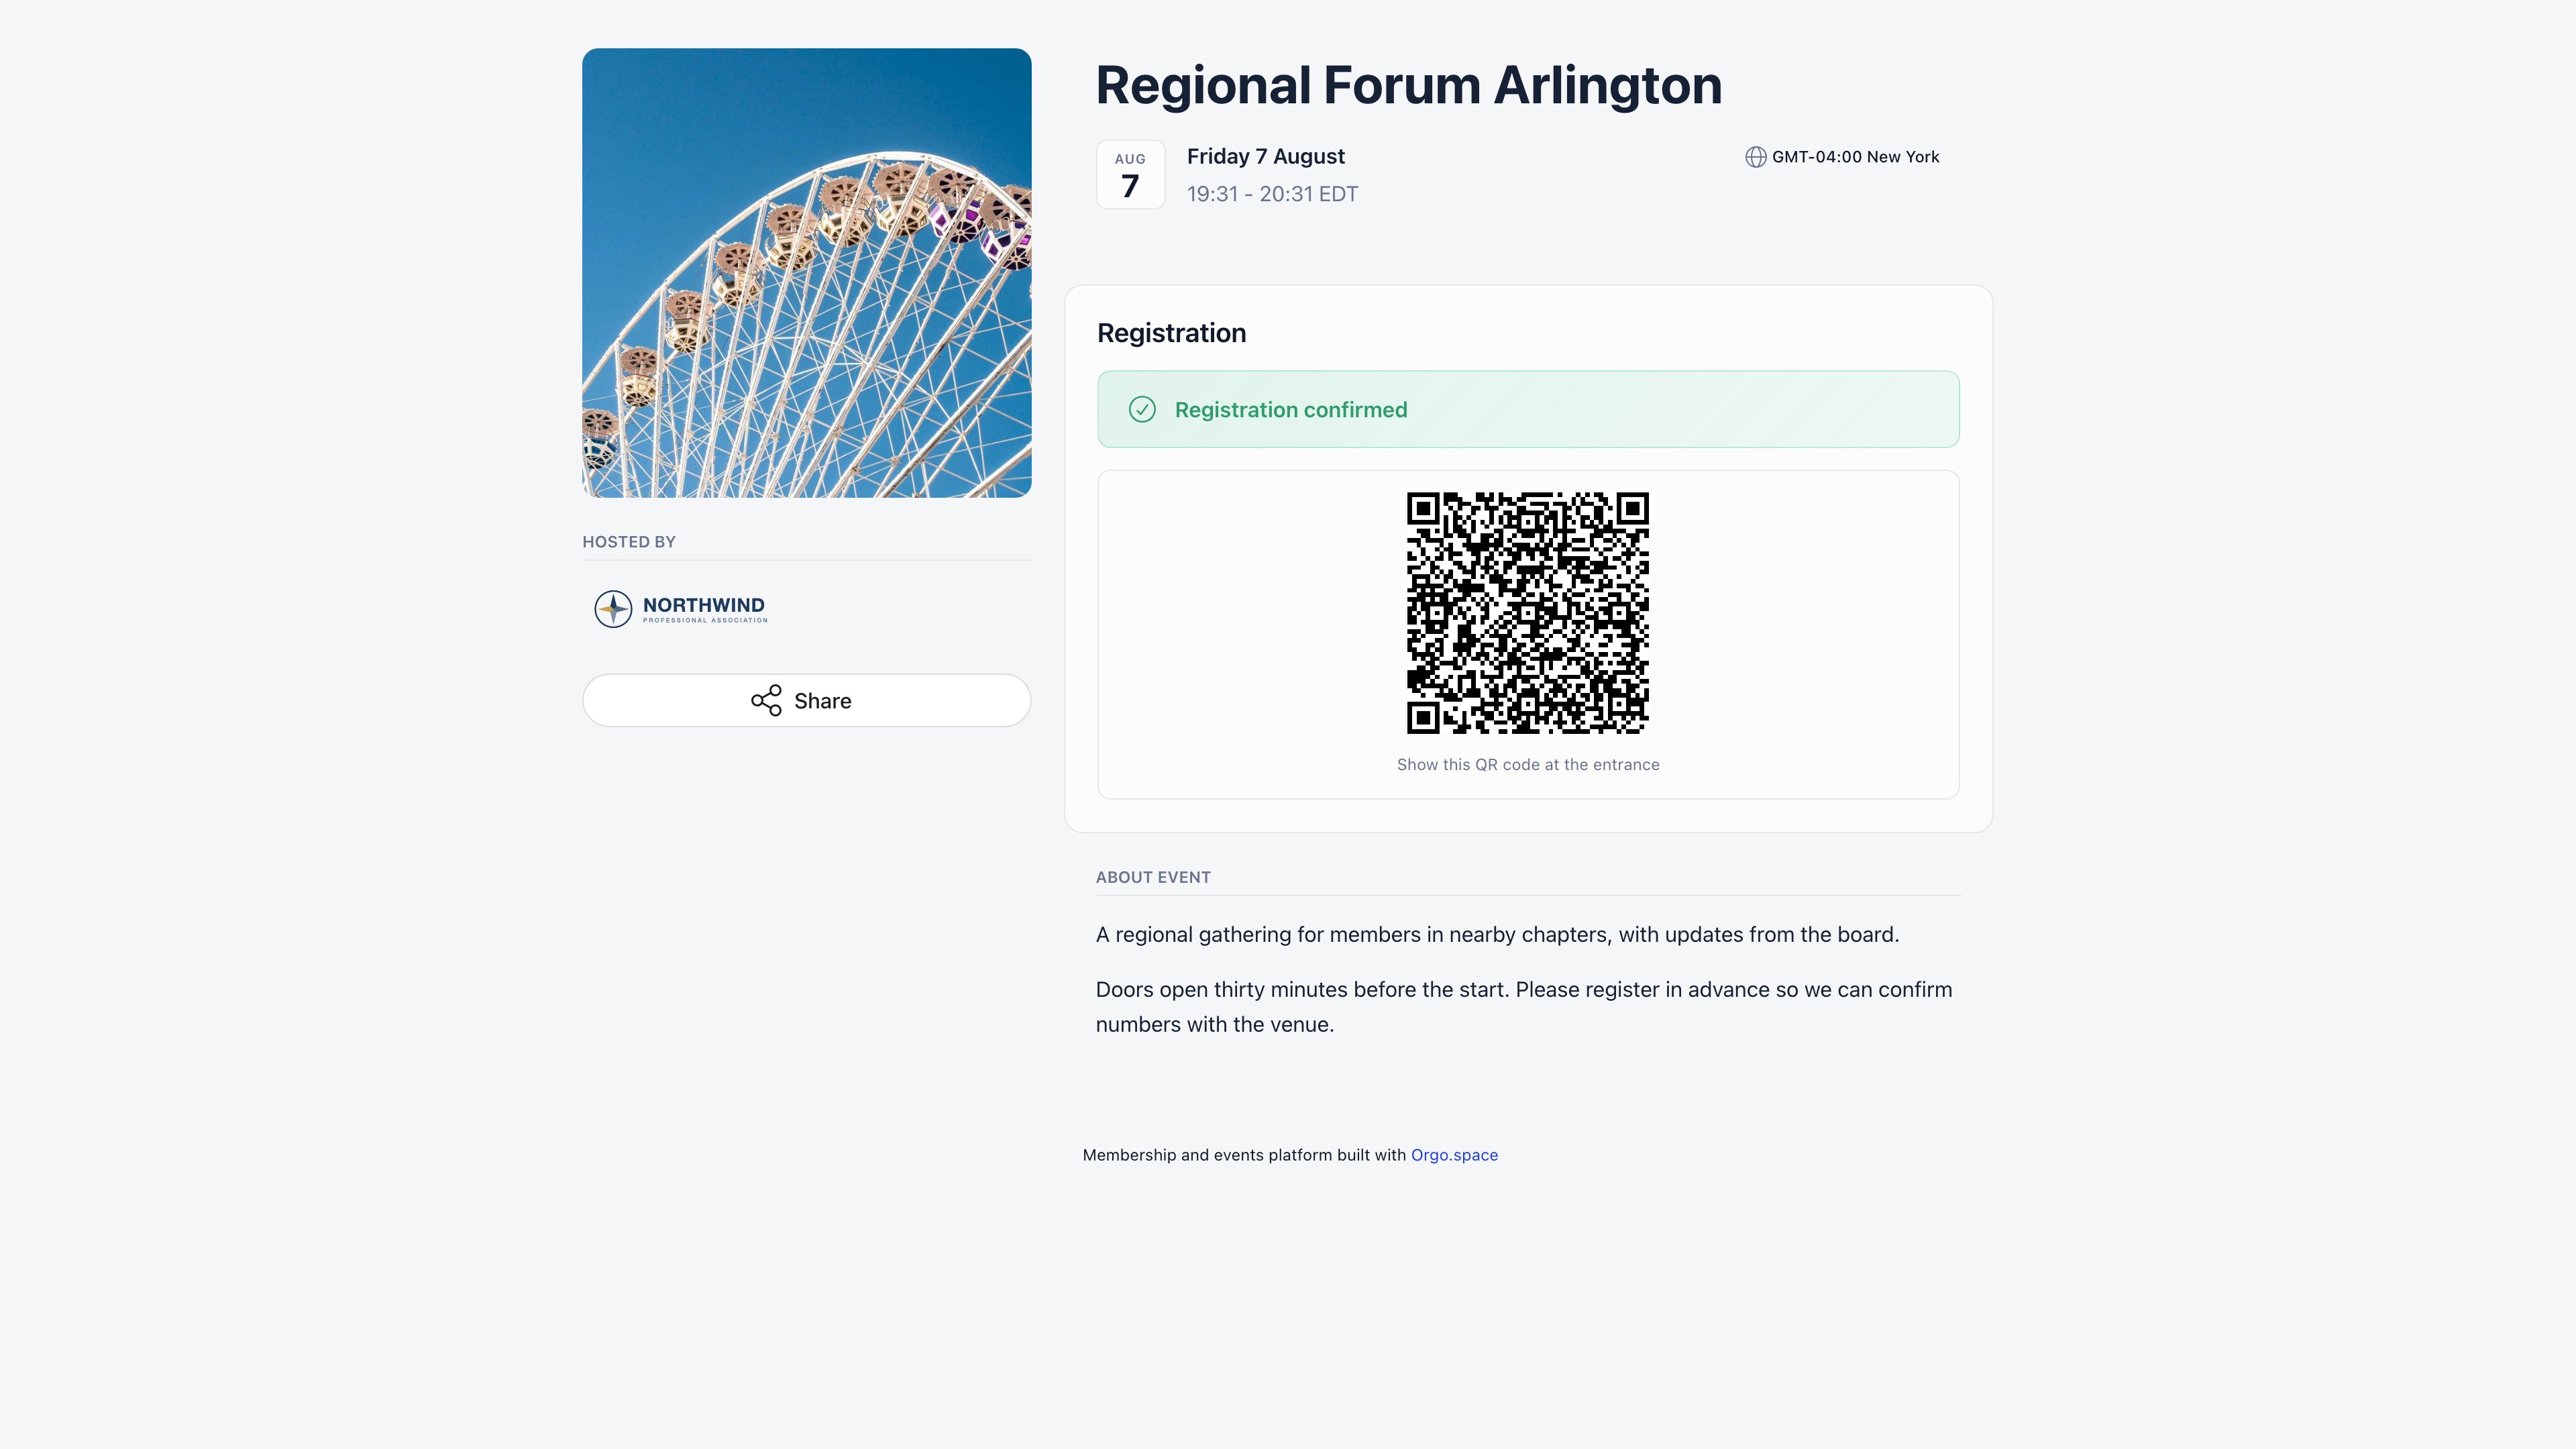
The PDF ticket is only generated for events that have a location, or that use a registration form. A
locationless event with simple RSVP still produces a code on screen, but no attachment.
Who can scan
This is the thing to sort out before the doors open, not on the day.
Marking somebody present without a scan is wider: the event owner,
EVENT_LOCAL on the event’s group,
HR_TENANT and admins of the event’s group can all set an RSVP to Attended from the participant
list, and the attendee can set their own row. A refunded registration is the exception: its row shows
a static Refunded tag with no RSVP to change.
Scanning
1
Point a camera at the code
Any phone camera works. The code is a link to your organisation’s Orgo address, so it opens the
check-in page in the browser. Inside the Orgo mobile app, open the event and use Scan instead,
which keeps you in the app between attendees.
2
Read the card
You get the attendee’s photo, name and email, the event name, the ticket number, the ticket type
and price, and a badge saying whether this is a paid, free, invited or guest entry. A guest pass
also shows who it was issued to.
3
Tap Check in
The card turns green and the registration’s RSVP becomes Attended. Scanning the same code
again shows that they are already checked in rather than an error, so a double scan is harmless.
When there is no code
Speakers, sponsors, staff and anyone who paid by bank transfer often turn up with nothing to scan. A code exists only where a registration exists, so the fix is always the same: put them on the list. Open the event → Participants → Invite, add them as a member or by email, and Orgo confirms them and emails a ticket with a code. Then either scan it or set their RSVP to Attended directly. There is no way to issue a bare code without a registration behind it.Troubleshooting
The scanner says the ticket is invalid or access denied
The scanner says the ticket is invalid or access denied
Almost always permission, not the ticket. Check the scanning account against the table above,
especially if a helper was handed a phone at the door. Fix it in
permissions and rescan.
The camera never starts
The camera never starts
The scanner reports the reason rather than failing silently: “Camera access denied” when the
device has refused the permission, “No camera found” when there is no usable camera. Grant the
permission in the device settings and reopen the scanner.
A code from another event scans fine
A code from another event scans fine
It resolves to whatever registration it belongs to, and the card names the event. Read the event
name on the card before tapping check in, particularly at multi-day or multi-session gatherings.
An attendee says the code never arrived
An attendee says the code never arrived
Check their registration first. The ticket email goes out when a registration is confirmed, so
an attendee sitting at Invited has a code but no email yet. Use the confirm action on their
row, which sends the ticket. A row at Pending approval or Awaiting payment has no
confirm action at all: move it to Invited first, or set it to Registered and accept
that no email is sent.
Internet drops at the venue
Internet drops at the venue
Check-in is online only. Fall back to an exported participant list on paper, mark it up, and
record the RSVPs afterwards from the participant screen.
Related
- Attendance: the participant list, statuses and export
- Ticketing: what a ticket is and how it gets paid for
- Registration Forms: what confirms a registration
- Speakers and Trainers: the people who usually arrive without a ticket
- Permissions: granting
EVENT_TENANTto door staff