Participant statuses
Every registered person progresses through these statuses:| Status | What it means |
|---|---|
| Registered | Signed up (and paid, if ticketed) — hasn’t attended yet |
| Checked In | Confirmed as attended — marked at the event |
| Invited | Received a complimentary invitation — bypassed normal registration |
| Waitlist | Capacity was full — waiting for a spot to open |
| Cancelled | Registration withdrawn (by the attendee or admin) |
| No Show | Registered but didn’t attend — marked after the event |
Checking people in
QR code scanning (fastest)
Every registered attendee receives a QR code in their confirmation email. At the event:Manual check-in (backup)
For attendees who forgot their QR code:- Open the event → Participants tab
- Search for the person by name or email
- Click the check-in button
- Status changes to “Checked In”
Bulk check-in
For small events or informal gatherings where individual scanning isn’t practical:- Select multiple participants from the list
- Apply “Check In” to all selected
- Done in seconds
Before the event
Prepare for check-in
| Task | Why |
|---|---|
| Test the QR scanner | Make sure it works on your phone/tablet |
| Brief your check-in team | Show them how to search and manually check in |
| Download the participant list | Have a printed backup if internet is unreliable |
| Set up check-in stations | One station per 100-150 expected attendees for smooth flow |
Send reminders
Remind registered attendees about the event and ask them to have their QR code ready. If you enabled attendance reminders in module settings, the system sends these automatically.Manage the waitlist
Before the event, review the waitlist:- If spots opened up (cancellations), approve waitlisted people
- If the event is full, you may want to close the waitlist
During the event
Handling common situations
| Situation | What to do |
|---|---|
| Attendee lost their QR code | Search by name in the participant list, check in manually |
| Name not on the list | Check for typos, try email search, check if they registered under a different name |
| Walk-in (no registration) | Register them on the spot — add as a new participant and check in immediately |
| Scanner not working | Switch to manual check-in from the participant list. Always have this as backup. |
| VIP attendee | VIP ticket holders are flagged in the participant list. Direct them to any priority handling. |
After the event
Record attendance (if you didn’t check in live)
Not every event has a check-in station. For casual meetups or small meetings, record attendance after the fact:- Go to the event → Participants tab
- Mark each person as “Checked In” or “No Show”
- Add any walk-ins who weren’t pre-registered
If you enabled attendance reminders in module settings, event hosts receive an email 24 hours after the event ends reminding them to record attendance. This solves the common problem of forgetting to track who showed up.
Mark no-shows
People who registered but didn’t attend should be marked “No Show”. This data helps you:- Set realistic capacity for future events (plan for 70-80% of registrations showing up)
- Identify chronic no-shows
- Prioritize waitlist management
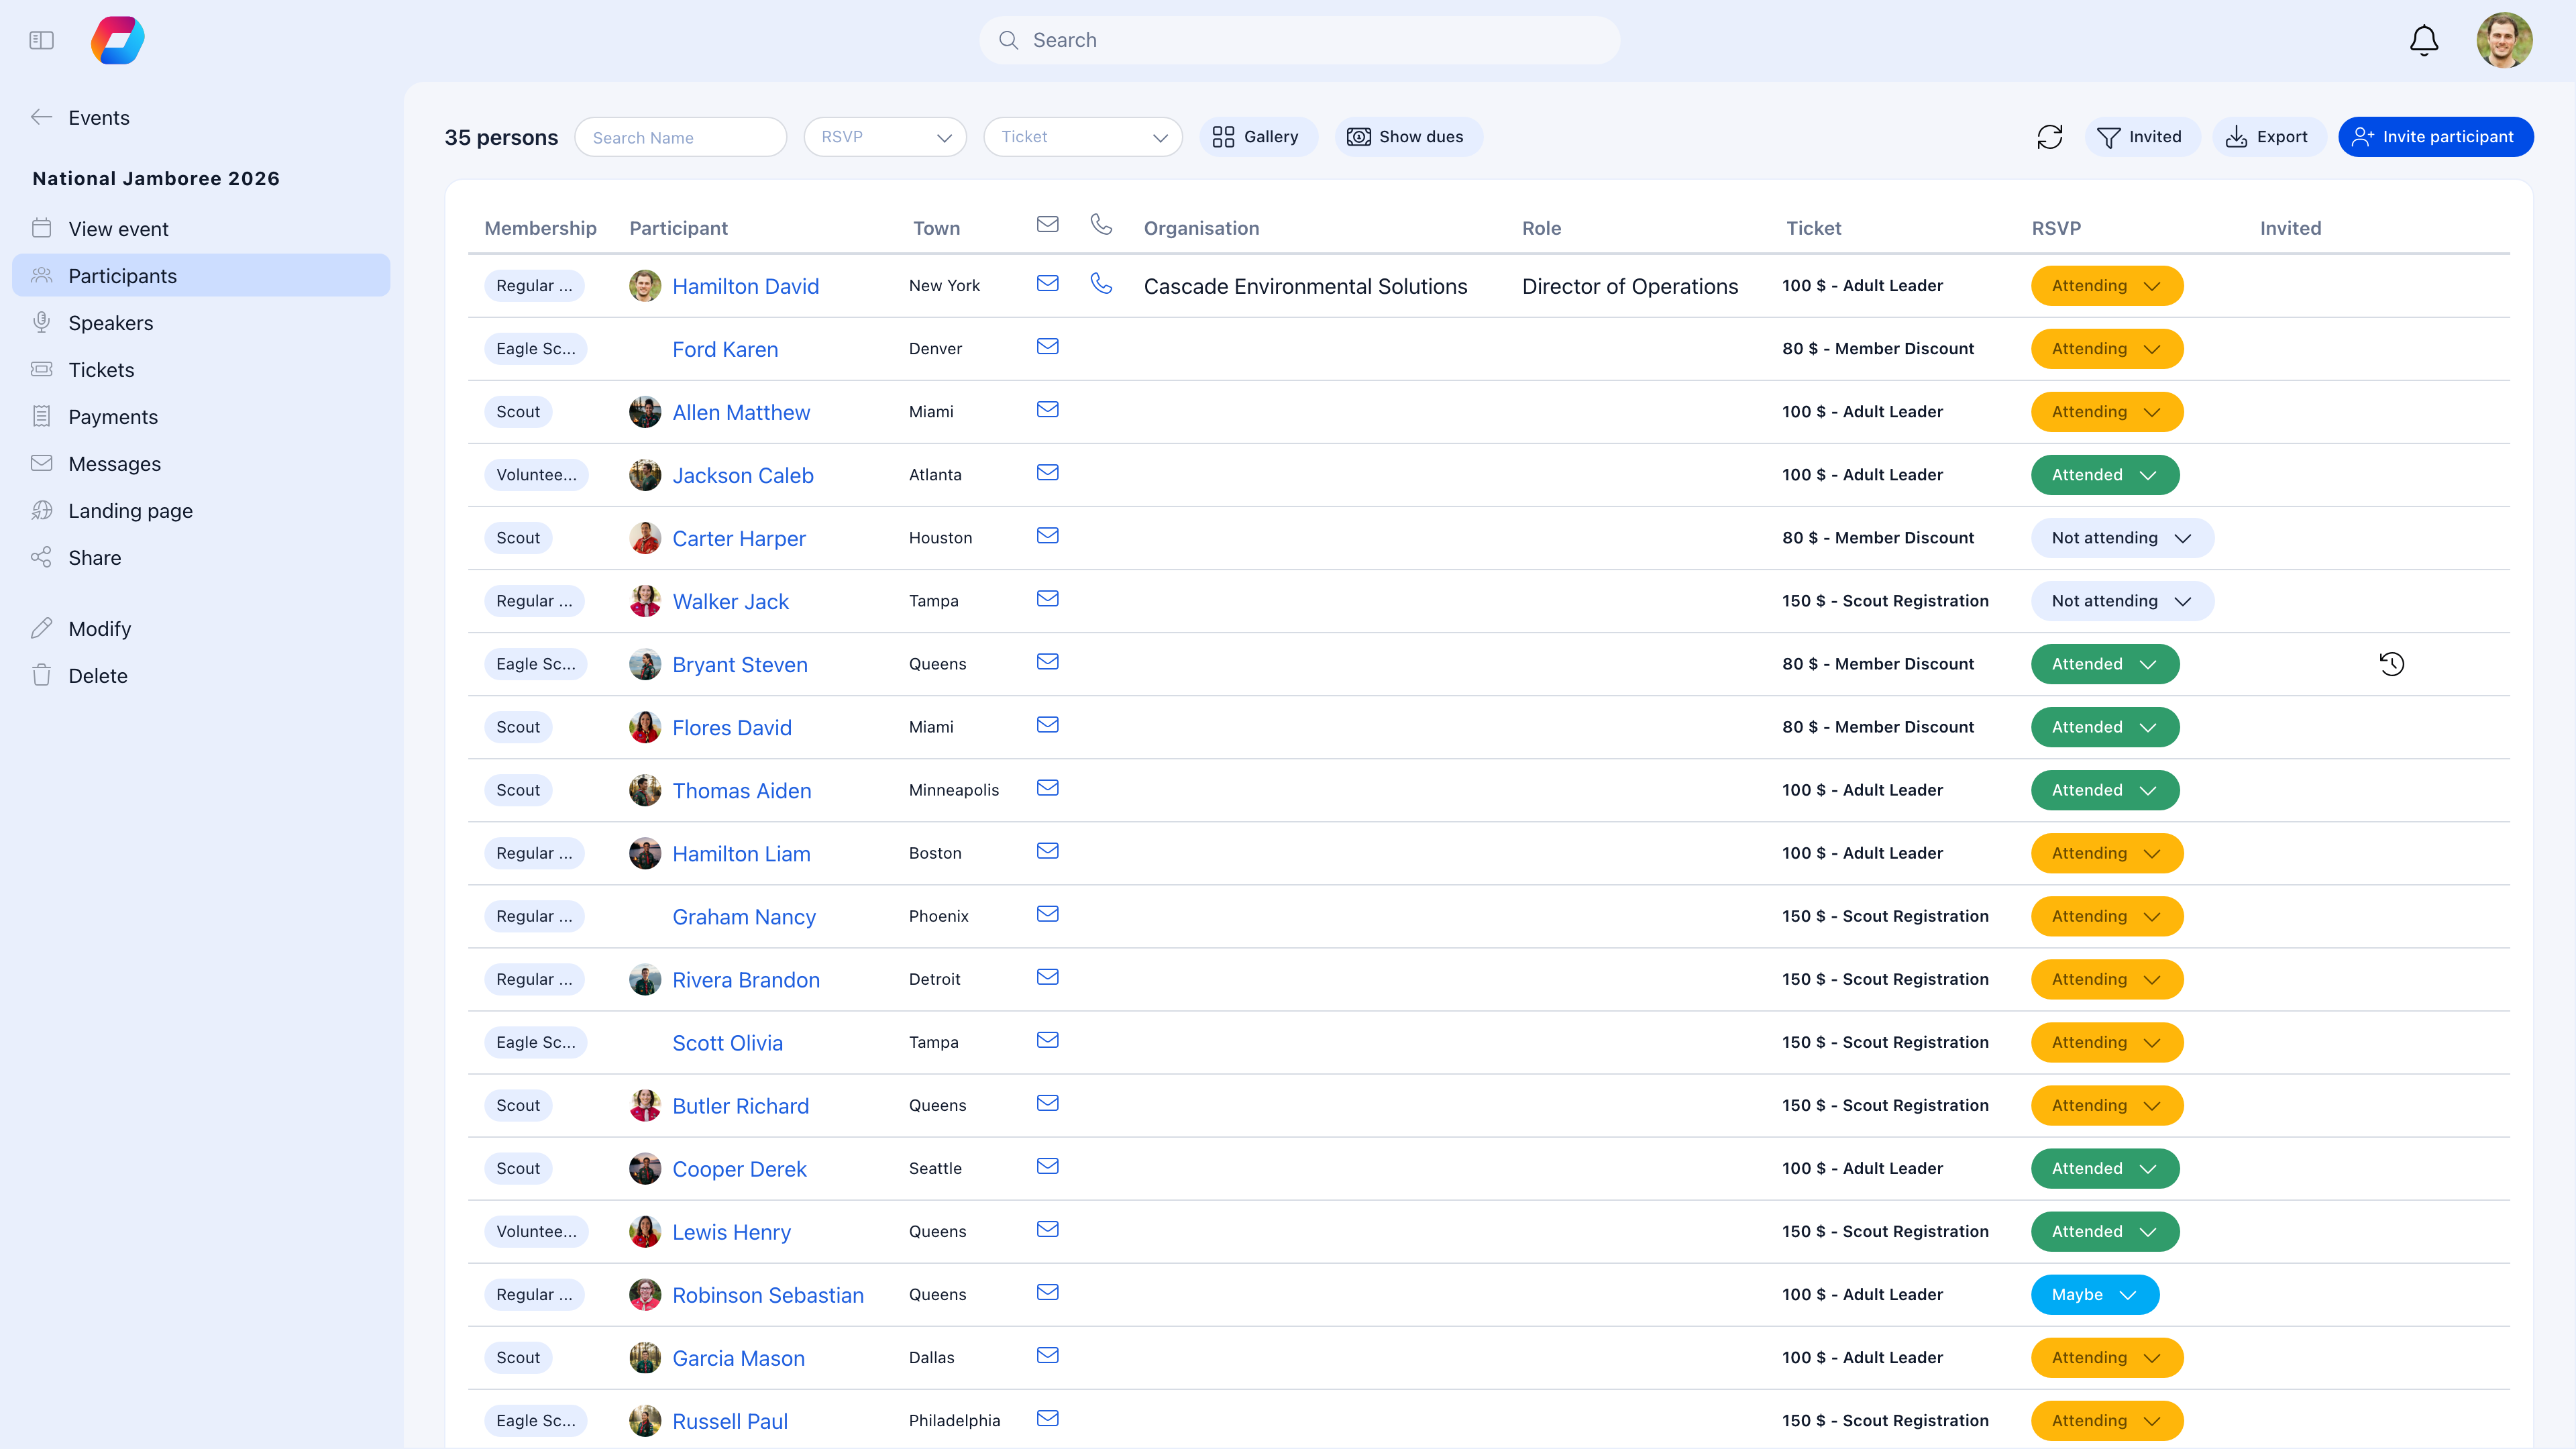
Viewing participant data
The participant list shows:| Column | Content |
|---|---|
| Name | Attendee’s full name |
| Contact email | |
| Ticket type | Which ticket they registered with (if ticketed) |
| Registration date | When they signed up |
| Status | Registered, Checked In, No Show, etc. |
| Payment | Paid, Free, Complimentary |
Filtering
Filter participants by status, ticket type, registration date, or payment status. Combine filters to find specific groups (e.g., “VIP ticket holders who haven’t checked in yet”).Exporting
Export the participant list as CSV for:- Name badges — export names before the event
- Attendance certificates — export checked-in attendees after
- External reporting — share with sponsors or funders
- Follow-up emails — contact attendees or no-shows
How attendance connects to other features
| Feature | Connection |
|---|---|
| Event Reports | Attendance numbers feed directly into post-event reports |
| Annual Report | Yearly attendance statistics aggregated across all events |
| Badges/Gamification | Award points or badges for event attendance (if gamification enabled) |
| Training records | Attendance at training events can trigger course completion records |
Common scenarios
We don't formally check people in — is attendance tracking still useful?
We don't formally check people in — is attendance tracking still useful?
Yes. Even without QR scanning, recording attendance after the event (even approximate headcounts) gives you data for reporting, capacity planning, and understanding engagement. It takes 5 minutes and pays off in your annual reports.
The event had way more people than registered — how do I track walk-ins?
The event had way more people than registered — how do I track walk-ins?
Add them as participants after the event. Go to the participant list, add new entries for walk-ins, and mark them as “Checked In”. Or use the actual attendance count in the event report to override the registered-only number.
Can attendees check themselves in?
Can attendees check themselves in?
Not directly — check-in is done by event organizers or staff. This prevents people from marking themselves present without actually attending. The QR scan requires someone at the event to scan the code.
Internet went down at the event — can I still check people in?
Internet went down at the event — can I still check people in?
If you have the mobile app, offline check-in may be supported. Otherwise, use a printed participant list and manually update statuses after the event when you’re back online.
Related
- Create Event — Setting up registration and capacity
- Ticketing — Ticket types and purchases
- Event Reports — Post-event documentation
- Annual Report — Yearly attendance statistics