

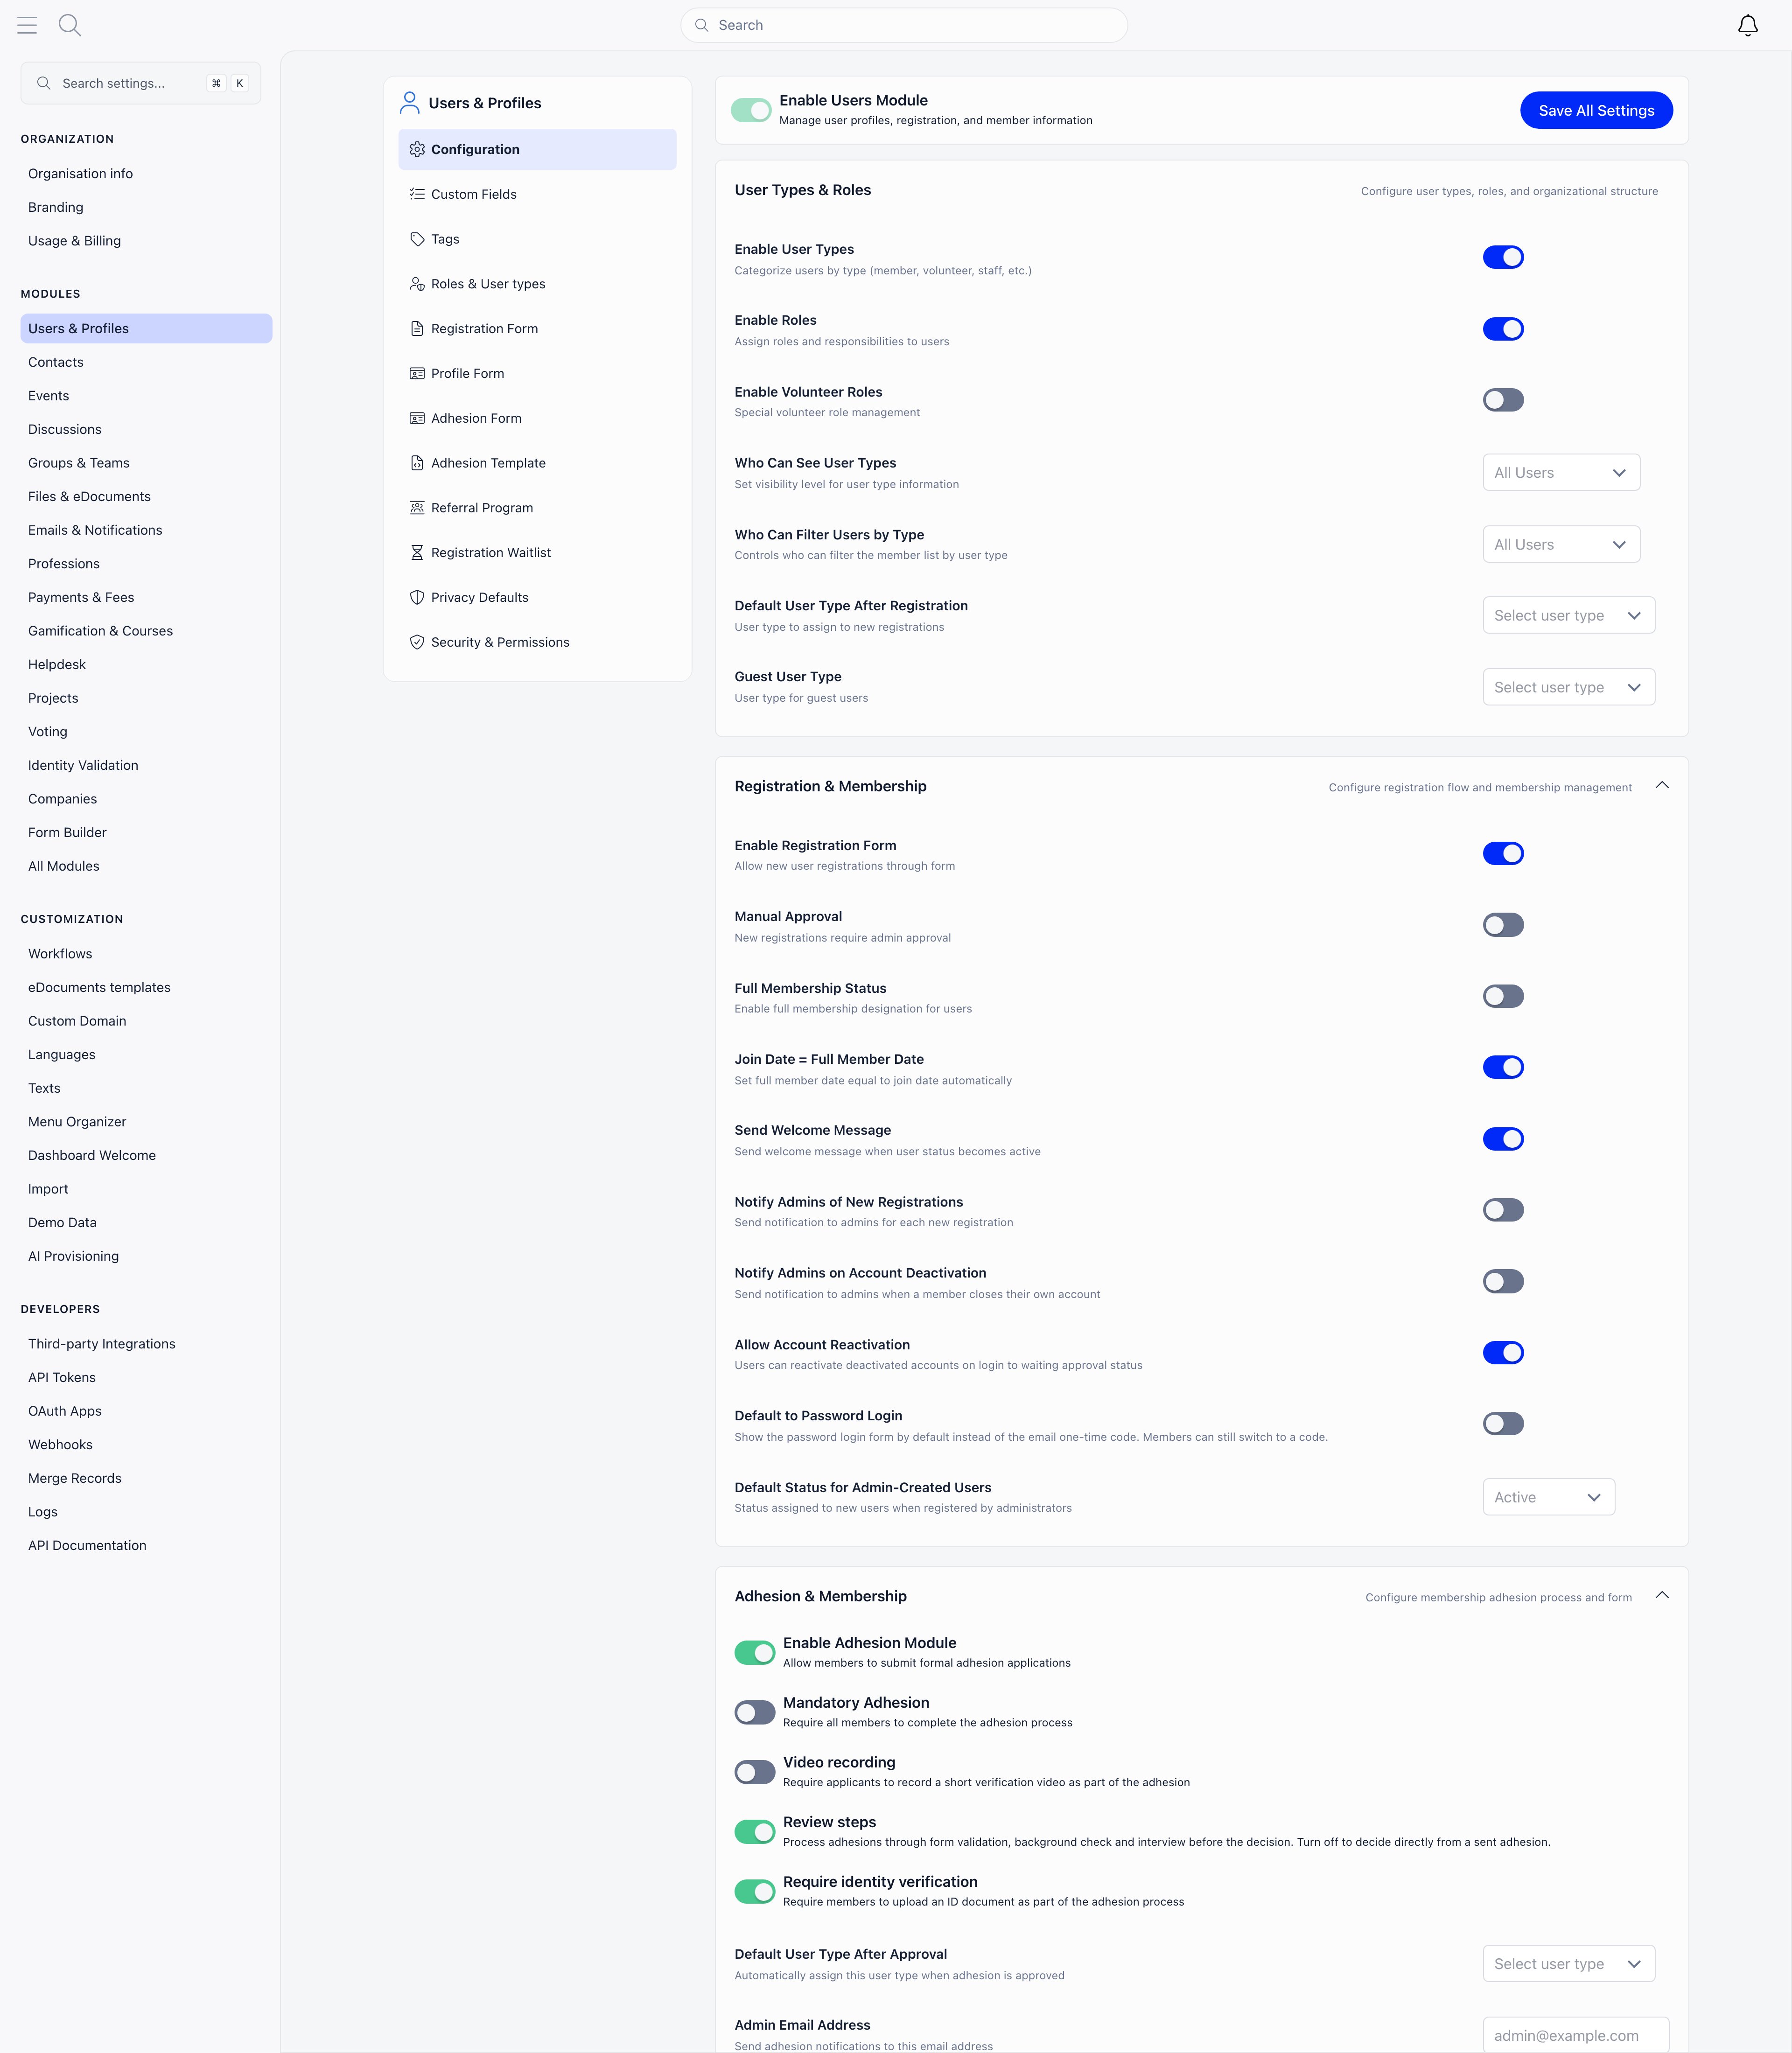
The cog icon and the menu entry both require ADMIN_TENANT, and so does nearly every page inside. Two exceptions: Merge Records is open to HR_TENANT and Billing to FINANCIAL_TENANT.
Organization
Who you are.Modules
What members can see and do. Each entry is a feature area with its own configuration page and its own on/off switch, and turning one off hides it across the app. Users & Profiles, Contacts, Events, Discussions, Groups & Teams, Files & eDocuments, Emails & Notifications, Professions, Payments & Fees, Gamification & Courses, Helpdesk, Projects, Voting, Identity Validation, Companies, Form Builder, and All Modules for the full switchboard. Files & eDocuments only appears in this list once the Drive module is active. See Modules for what each one turns on and the settings inside it.Customization
How the app looks, reads and is filled with data.
Demo workspaces get two extra entries here, Demo Data and AI Provisioning, for seeding a workspace with sample content.
Developers
Finding a setting
There are several hundred individual toggles. Rather than hunt through the menu, use the Search settings… box at the top of the settings sidebar, or pressCmd + K (Ctrl + K on Windows and Linux) while you are anywhere inside Settings. It searches page names and individual setting labels and jumps straight to the one you pick.
Setting up a new workspace
1
Organisation info
Name, country, timezone, default language and office email first. Everything else reads from these, and Name and Office Email are required before the form will save.
2
Branding
Upload your logos and login background so the app looks like yours before anyone signs in.
3
Modules
Turn on what you use and leave the rest off. A module that is off does not appear in the sidebar, and its settings and email templates stay out of the way.
4
Forms
Configure what you collect at registration and on member profiles, under Users & Profiles.
5
Financial details
If you will take money, finish the currency, legal name, VAT and IBAN fields on Organisation info before issuing the first invoice. Documents keep the values they were generated with.
6
Customization
Rename vocabulary, reorder the menu and set the dashboard once the shape of the workspace is settled.
Troubleshooting
I cannot see the cog icon
I cannot see the cog icon
It renders for ADMIN_TENANT only, and only on desktop. Local admins, HR and finance managers, and regular members do not get it. On a phone, use the avatar menu instead.
The keyboard shortcut does not open the search
The keyboard shortcut does not open the search
Cmd + K is only bound inside the settings area. Open any settings page first, then press it.Related
- Organisation info every field on the organization record
- Branding logos and login background
- Modules the full module reference
- Customization languages, labels, menu and dashboard
- Permissions who can reach what